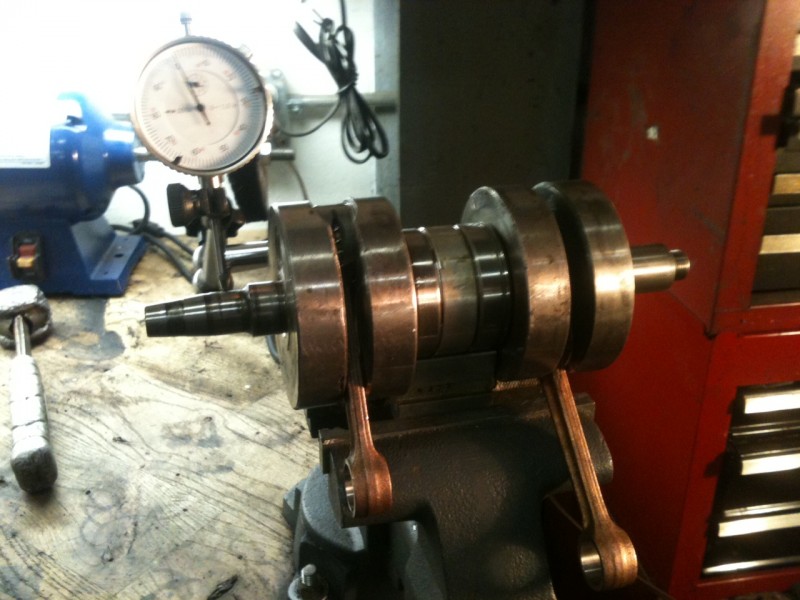
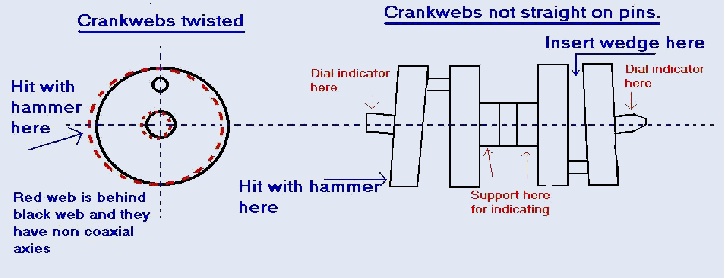
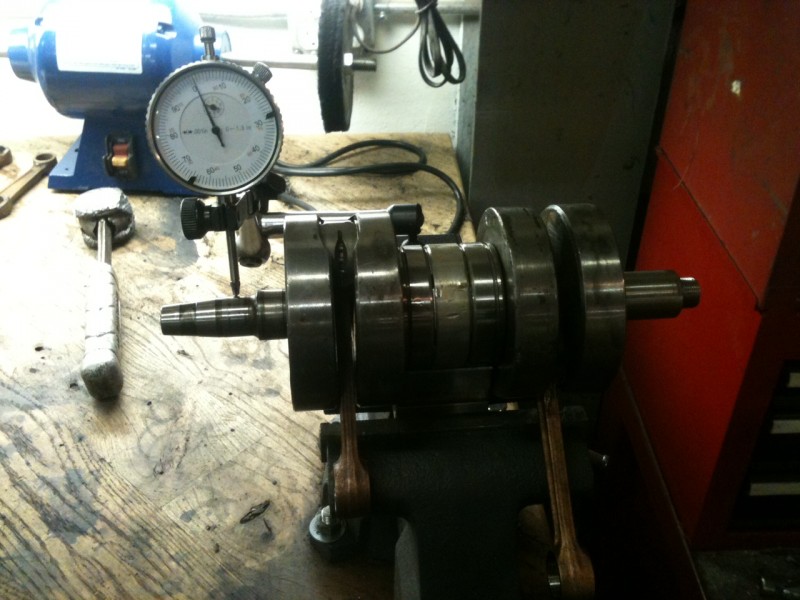
By now Im sure all of you are banshee and Rd built up crank experts. This week we will be truing the crank. With the assembly being built up of 6 parts there are plenty of places for it to be out. The spec we will be shooting for is .02mm or .000787 in, thats seven hundred eighty seven ten thousandths. There are three places to check this “trueness”, on the two ends of the crank and in the center bearings. If you paid someone to do this this is where money all went. We will support the crank on the center bearings and take our measurements with a .0005 dial indicator mounted on a magnetic base. First we set the crank on the V block and spin it through supporting the rods and making sure there are no hang ups. After you establish that you spinning free its time to put the indicator on it and establish a baseline as to where its out . As you can see from the drawing below there are 4 planes we are checking in. We’ll call the crankpin 0 then 90 degrees going around the crank, 180, and 270 respectively.
  Rotate the crank checking all these and see the chart as to where you should hit to correct it. Don’t be shy at first, my crank was over .040 out when I started and it took a good while to get my arm calibrated on how hard to hit it. Check all points after each time you adjust he alignment. As you get close you will want ease up and just lightly tap it to bring it home. It took me about 45 min to get it within .001 and an additional 30 min to get it to .0005 where I left it. Well within spec and at this point Don’t breathe around it as you might just throw it off a few 10 thousandths.
  -DAN
-DAN
GreasyGringo
Motorcycles & Projects

0.000787 is seven hundred eighty seven millionths of one inch or just over three quarter thou. Seven hundred eighty seven ten thousandths would be 0.0787, but a machinist would say seventy eight and seven tenths (or tens).