I’m on a roll here! Three shop sessions in a single week. Feast or famine.
I’ve been thinking this project over in my head every day and considering things I may have overlooked or misunderstood in earlier sessions. That’s the way I work. Constantly confirming observations and reassessing approach. I catch a lot of mistakes and omissions this way. Last night I tested a few initial assumptions with some layout blocks and squares. First, that the protrusion of the fork axle bosses was equal on both sides. It wasn’t. Second, that the hub and brake plates were symmetrical. They are despite different casting features on the speedo drive side. Lastly, that material must be removed symmetrically from fork leg pairs and brake plate pairs. Not true. An artificial constraint. Really, only the total amount of material removed the combination of brake plate and fork on each side must be same (less any symmetry difference in the legs) in order to leave the hub centered in the fork.
This last realization allowed me to save more material around the speedo drive boss and leave it in working condition. There was room to cut the fork back further on the speedo side allowing me to cut back less on the corresponding brake plate. An important finding.
So I got busy after getting home from NYC at 8pm. Getting up for work at 5:30a, traveling to the city to work all day, then driving back to Philadelphia makes for a long day. Didn’t stop me from heading directly to the shop though.
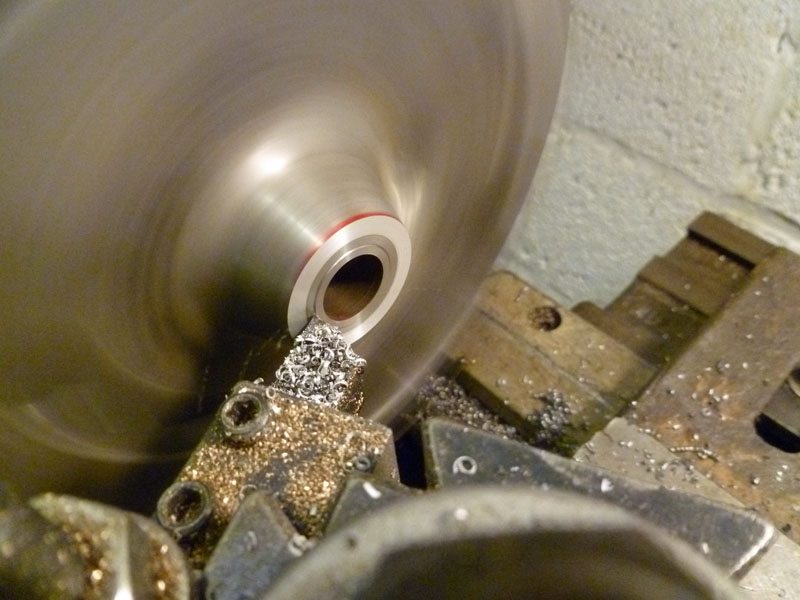
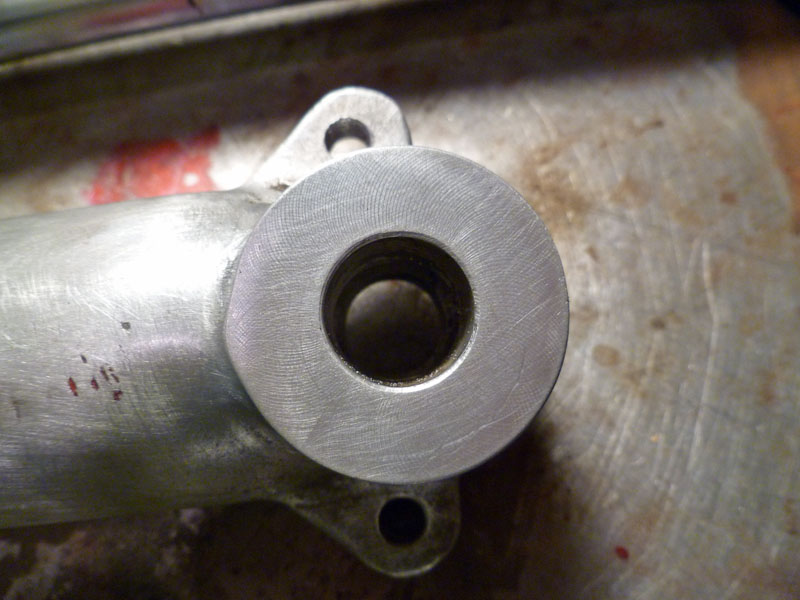
After removing another .110″ from the speedo-side fork leg, I next set about figuring a way to fixture the brake plates in the lathe or mill for final material removal. I preferred to use the lathe if possible as it’d be much easier to ensure the faced surface was perpendicular to the axis of the axle. There was no way to grip the brake plates with my 10″ swing lathe (due to no suitable protrusions, not diameter) so I decided to make an arbor out of some steel round stock, turned down to a press fit in the brake plate sleeve. This worked great. When done, I just pressed the arbor out on the hydraulic press. I also faced off the arbor so that I could use the depth mic to quickly and accurately measure material removed from the brake plates while still fixtured.
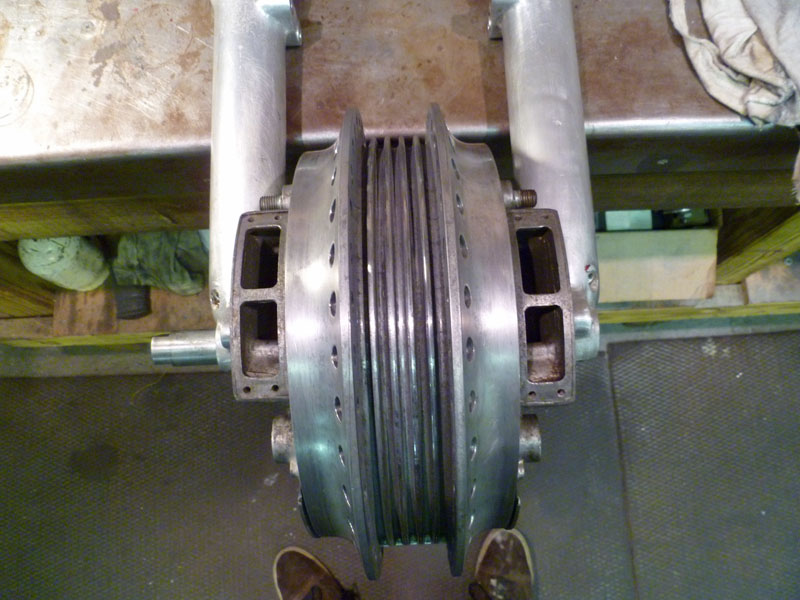
It all worked out and I got much more done than expected. The modifications are complete and the hub/brake setup slipped between the fork legs perfectly!
Next step is to modify the axle and fasteners to fit this Suzuki axle to the Norton fork. We came up with a plan late last night. Details in coming installments. After that, design and creation of brake stay straps and a fork brace to run between the fender bosses. Then finally, to polish and paint it all up for a proper appearance on JW’s fine Brit racer.
Jason
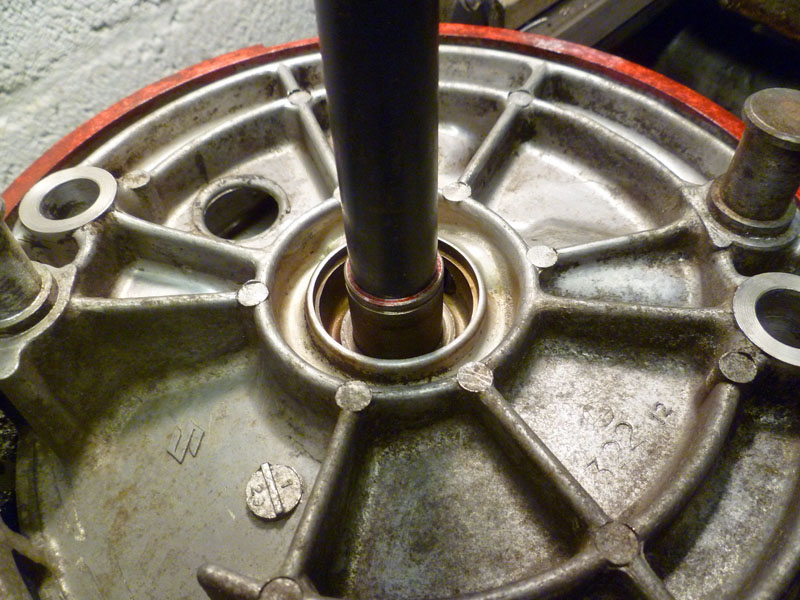
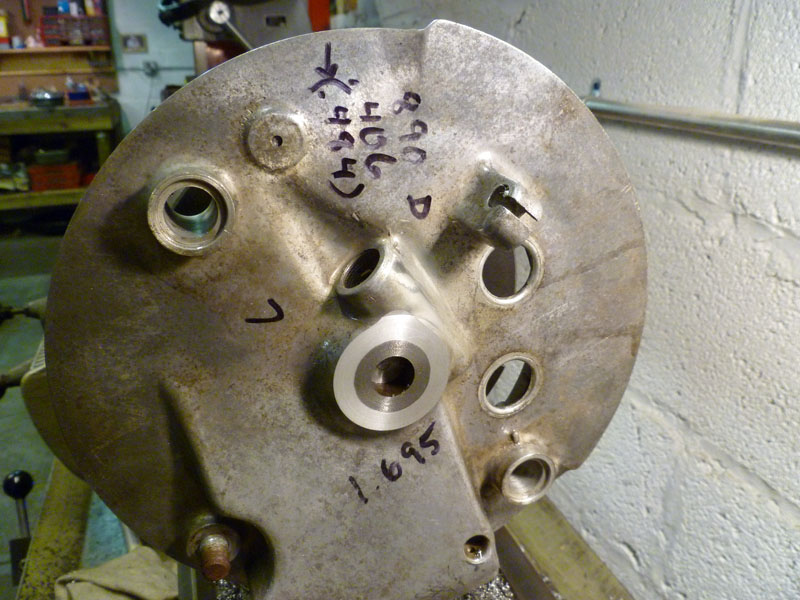
The mouting arbor pressed into place on the brake plate. Fit is .001" interference. The arbor is shouldered. The plate indicated true once mounted in the lathe chuck.
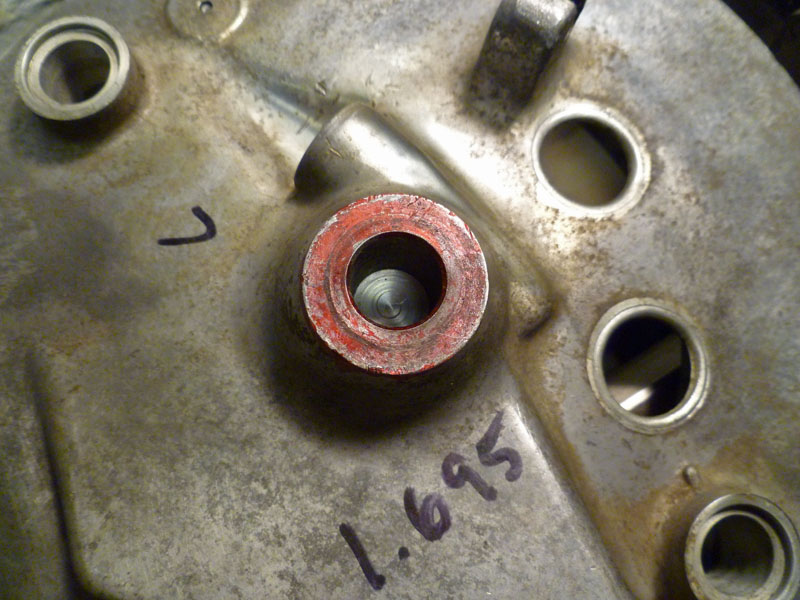
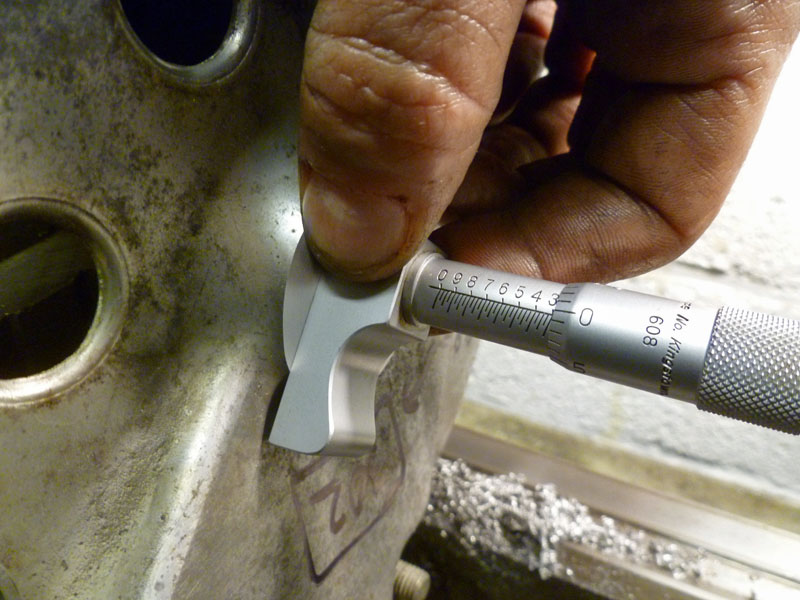
The machined arbor face used to measure material removed. Using a depth micrometer dropped from the boss (in red) a reading can be taken quickly and accurately.
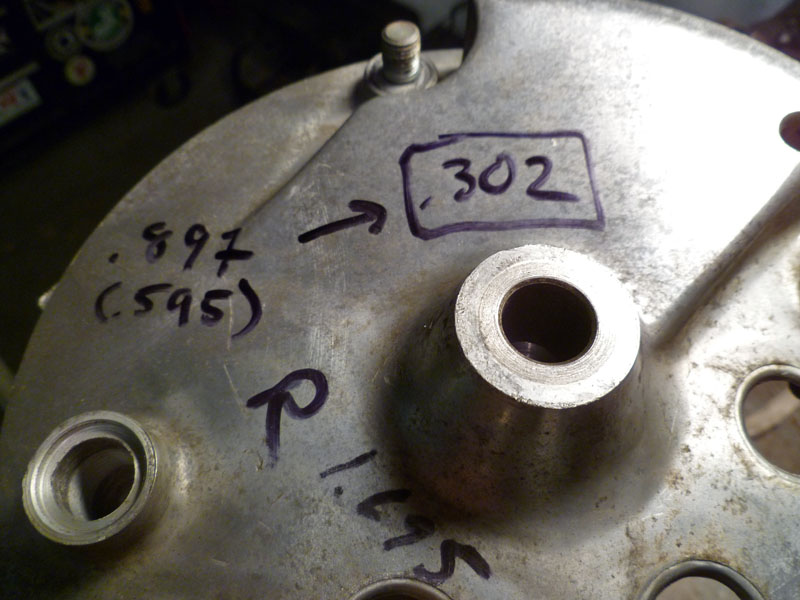
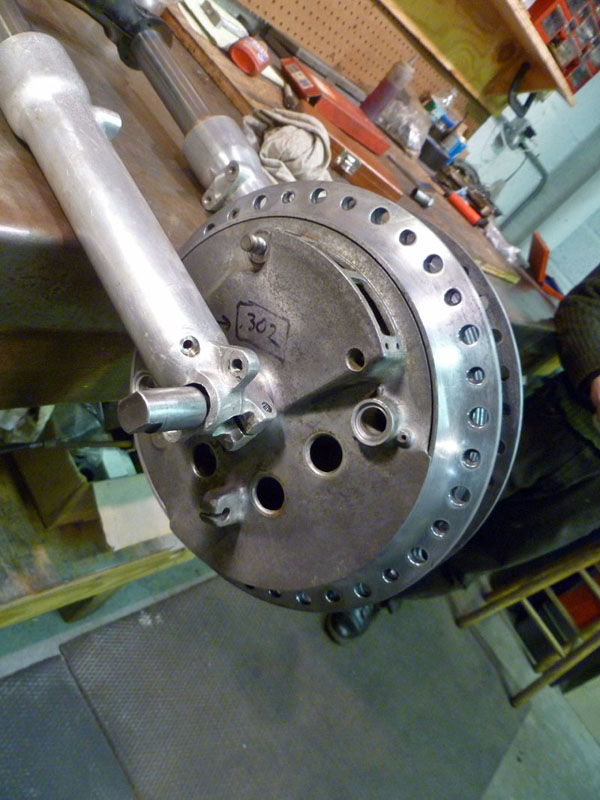
Depth calculations. .595" needed to be removed. Initial depth reading showed .897" to the arbor face. Target depth reading is .302". Might as well write it down where it'll be handy for quick reference while working.

Jason if you or one of the guys would like to use my polishing equipment just let me know…….Skip
Thanks, Skip. I think we’ve got what we need equipment-wise. Casey is discovering that some corrosion and discoloration runs deeper than you can reasonably sand off. He’s a perfectionist it seems and he’s doing a nice job. When you coming around again?
i’m lovin it.
Teaching this old dog new tricks. nice work.
The new dog is learning old tricks.
I like that combo,gonna look sweet. I’m glad your finding the time to work that bad-ass shop……Don’t cost nothing to over think any project……looks awesume Uncle Salt
Looks good. I have trouble just following the tale of the machining and the measurements let alone exactly how it all fits together. It did inspire me to quit my procrastinating and work on my CX500 forks this week.
JASON
I AM IN CURRENTLY BUILDING A DRESDA TRITON MY SELF, I HAVE A BRAND
NEW PAIR OF ROADHOLDER FORKS WITH ALLOY YOKES AT 7″ CENTERS AND A SUZUKI 4LS HUB THAT I WOULD FIT. I HAVE READ THIS ARTICLE
WITH GREAT INTEREST, COULD YOU PLEASE CONFIRM THE SIZE OF THE
YOKES YOU USED ARE THEY 7″ OR 73/8″. MANY THANKS. PAUL.