Found myself with a free afternoon in the shop today and put some more time in on the Suzuki 4LS hub to Norton Roadholder fork conversion. After pulling all the parts out of the kerosene tank from soaking all week, I started to fix up the fork legs.
The one leg had a broken off stud in the fender mount boss that looked like it’d been there for a while. Rusted in pretty good and a nice jagged break indicating it took a lot of force to snap. Usually that means it’s stuck pretty good. The other leg had a brake stop boss that needed to come off. Got both done today but I’ll save the latter for another article. As the new setup will use these fender mount bosses as brake stay mounts, I thought setting them up for a larger stud (1/4″ – 20) and installing steel thread inserts would be wise.
This article will show you how to remove a broken fastener from a blind hole using what is commonly known as an “EZ-Out” or screw extractor. It will also show how to properly install a helical thread repair insert, or Heli-Coil which is the primary manufacturer of these style inserts. I used a milling machine to do the drilling and tapping for the thread repair, but this certainly isn’t necessary. Since I have one, I’m gonna use it where it helps me. You could just as easily do it with a hand drill in a vice (with a little care) or better yet, in a drill press. Drilling and tapping in a fixed setup like a drill press or milling machine ensures the holes are drilled square and the tap starts correctly.
I’ve heard plenty of people say that helical insert thread repairs are no good or don’t last. Bullshit. When installed correctly (I suspect many that say they don’t work are ham-fisters) they will be stronger and last longer than the original threads. Many manufacturing applications use them as standard equipment, not just for repairs but for new products.
There are sleeve style inserts for thread repairs too. They have strengths and weaknesses just like helical inserts. Some fixes may lend themselves to one or the other, but that’s a subject for another day. Both will perform beyond adequately when installed with care.
I had a great day listening to old blues and gospel music with the early spring sun shining in my workshop window. Just me and an interesting project. Hope you find this helpful.
Jason
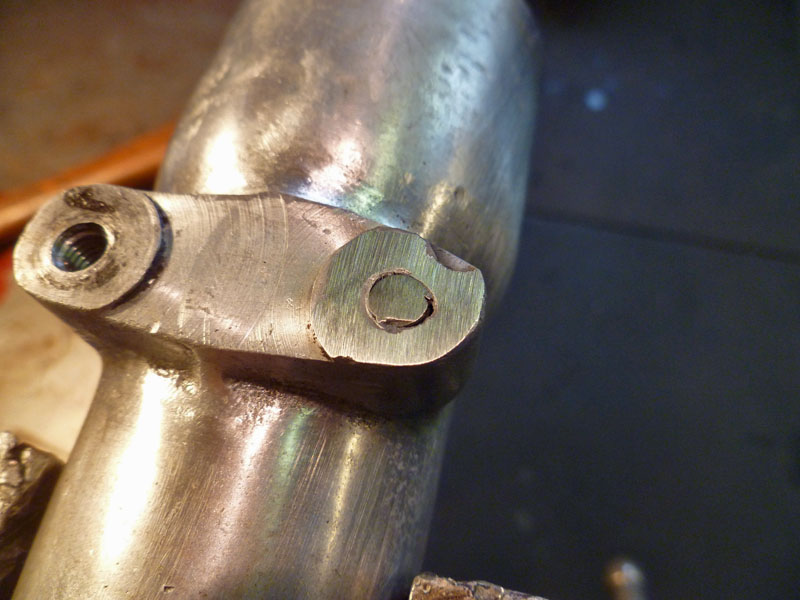
The first step is to grind or file down the broken screw so you have a nice flat surface to start with. Be careful not to gouge up the surrounding area too much. After it's ground flat, you can center punch the broken screw so the drill will not skip off.
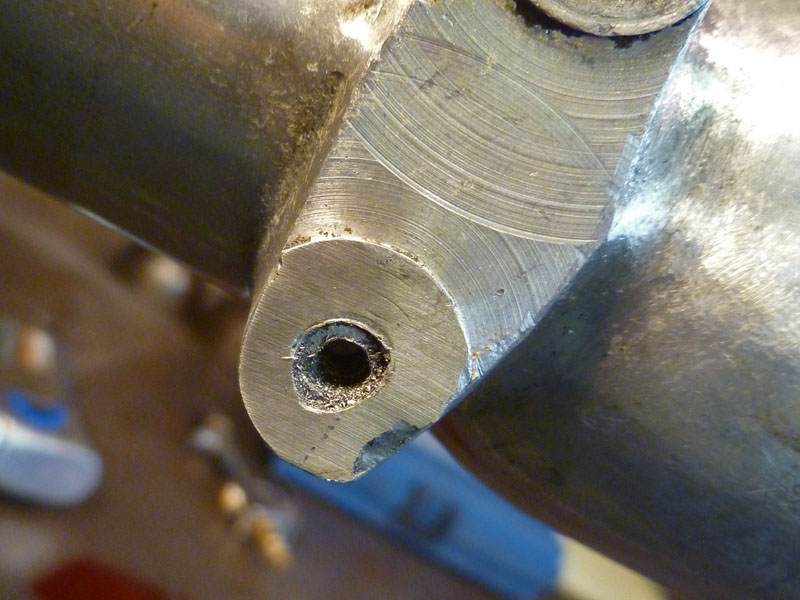
Carefully drill a hole in the center of the broken screw. The largest hole you can drill without going into the surrounding material is best. This serves two purposes: 1) Allows use of a larger screw extractor that can take more force 2) Thins the screw you're attempting to remove, exerting less force on the hole in which it's stuck.
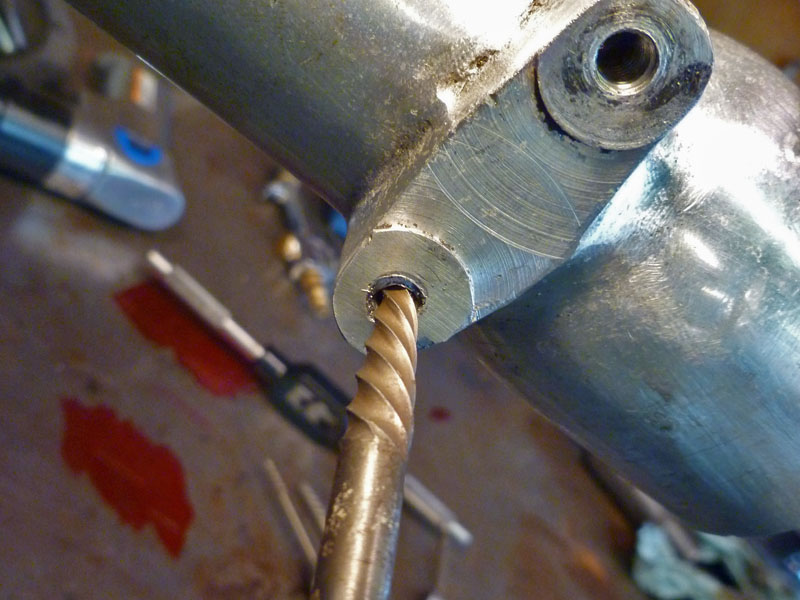
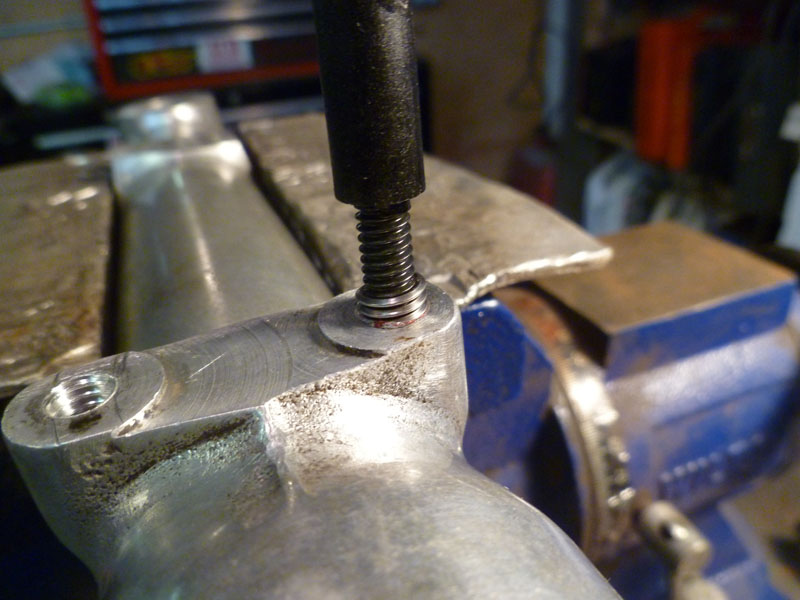
After choosing the extractor that fits the hole you just drilled, place it in the hole and smack it forcefully with a hammer so that it bites into the screw. Be careful not to shift the extractor or put any lateral force on it after you've "set" it into the screw. You can see in the picture how the sharp edges on the extractor bite into the screw and are twisted counter-clockwise such that it grips better as it is turned outward.
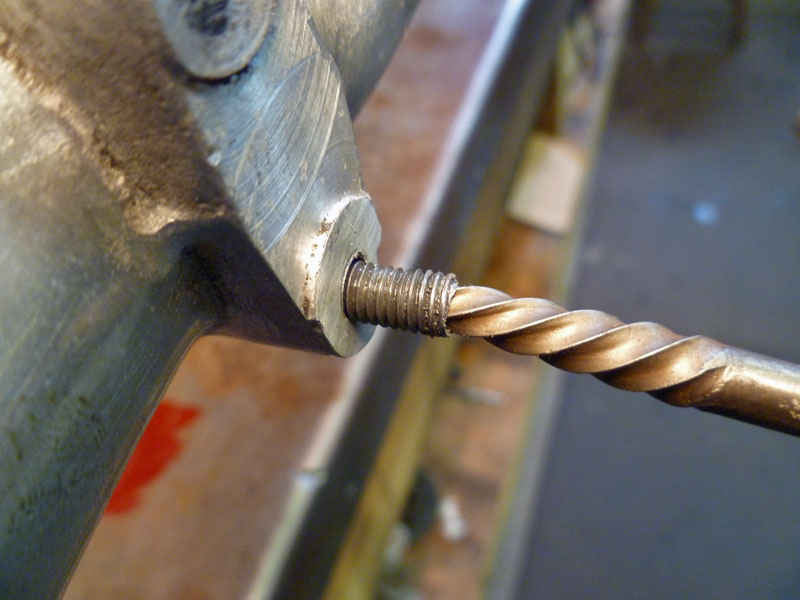
Remove by turning carefully in a counter-clockwise direction with a tap handle. If you've drilled the hole large enough and use a sharp extractor, it should come right out. This one came right out with no hesitation. Sometimes it doesn' t work, but if you take care in the first three steps, it almost always works for me.
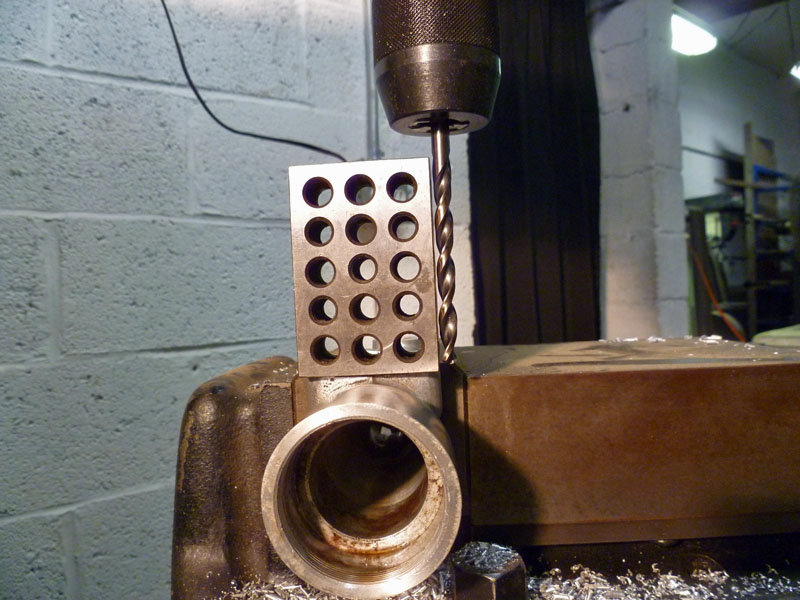
First step in installing a helical thread insert is to drill out the hole to the proper size for the thread repair tap. I put the fork leg semi-snugly in the milling machine vise and lined it up using a 1-2-3 block. Once in position, I locked down the vise. If you're doing this job with a hand drill you should still use a square or other means to ensure you drill squarely.
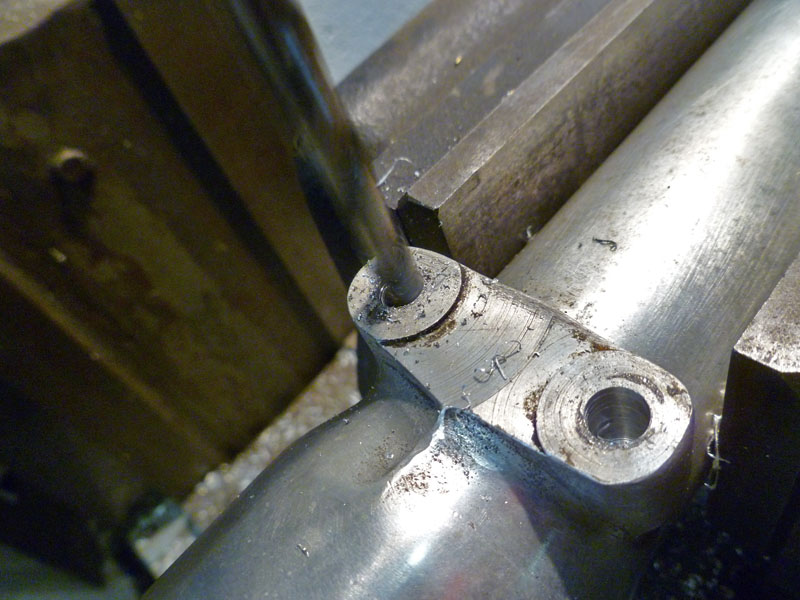
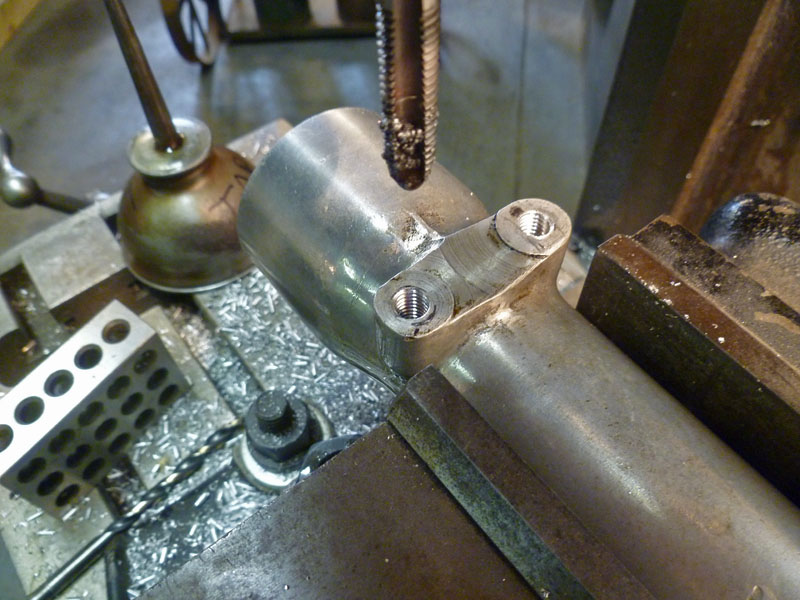
The correct drill size for a 1/4-20" helicoil is 17/64". Here I drilled both holes to proper size and depth.
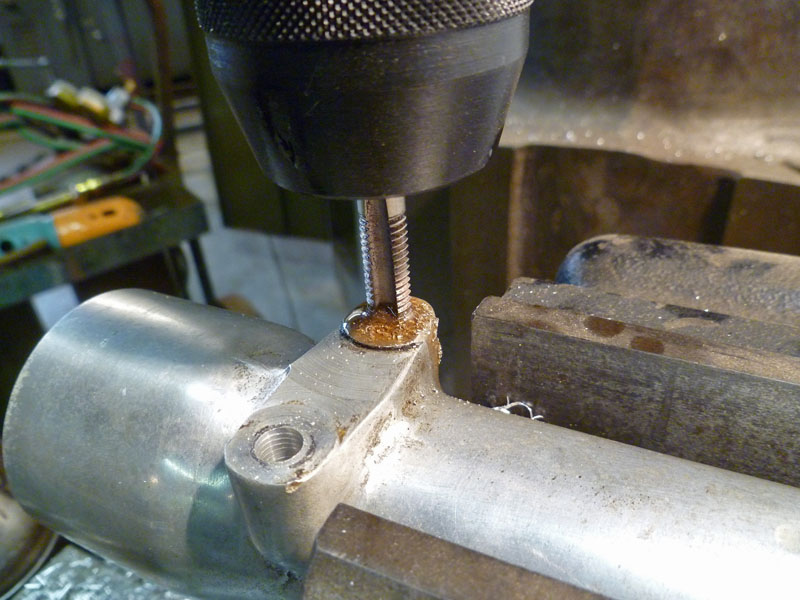
The thread inserts require a special tap called an STI tap. When drilled and tapped to the size specified for the repair, the installed thread repair will yield the stated size. Here I used the milling machine after drilling to tap the hole squarely and concentric with the drilled hole. I disengaged the quill drive and used a hand wheel to turn the mill spindle. Use plenty of cutting/tapping oil always when tapping. This help prevent gouging and ripping the material you're tapping.
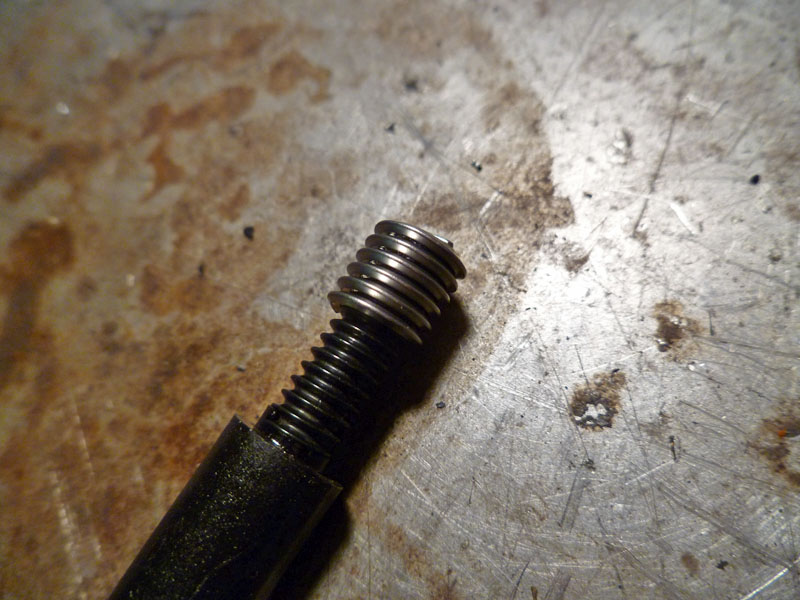
The thread repair kit comes with an installer tool. It has an edge on its face which engages a tang at the end of the coil. It didn't occur to me at the time to include this feature in the photo. This allows the tool to drive the coil into the hole you just tapped and still back it out without removing the coil.
Make sure the hole is spotless. No chips and no cutting oil. I use a little lacquer thinner but you could use any solvent that leaves no film. I put just a dab of red threadlocker on the outside of the coil before installing. If you use too much, it'll seep through to the inside and make it hard to install the screw that's intended for the hole. No good.
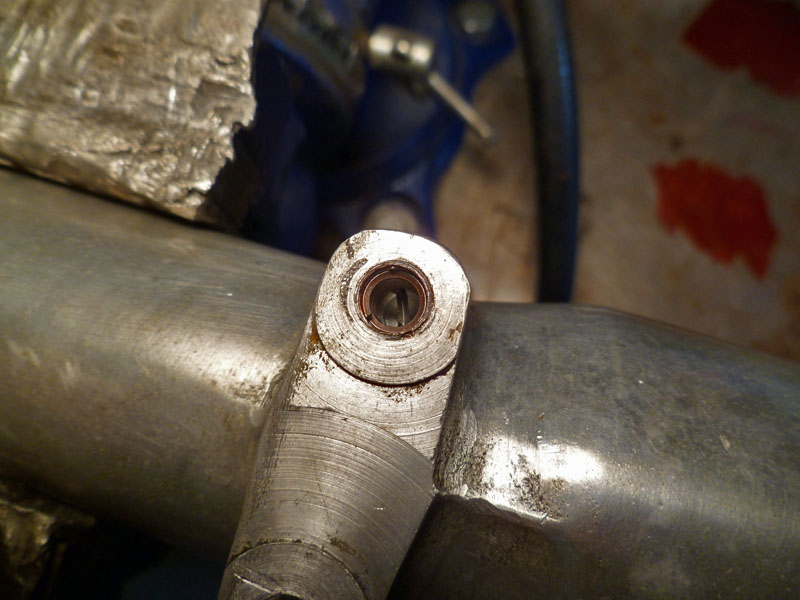
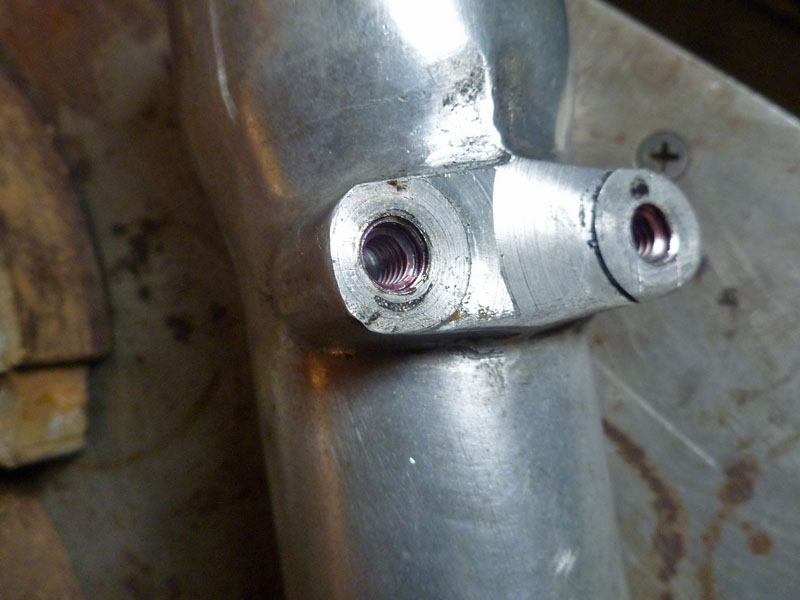
Coil insert installed to full depth. Make sure to install at least one or two threads below the deck of the surface you're installing into. Otherwise the end is prone to popping out or making it hard to start screws into the hole. I'd bet not installing deep enough is the most common cause of failure for this type of thread repair. Notice the tang at the bottom of the hole. It is partially cut already when new. A sharp rap with a punch and hammer breaks it off easily without disturbing the coil. This is the other main area people mess up. You must remove the tang. Otherwise it will damage the coil when you install the screw later and mess up your repair.

awesome. a lot nicer than trying to weld a stud to the broken bolt. you make it look easy.
Jason,that looks familiar to me.When Eddie and I owned our Triton we broke off a 1/4 20 tap in that very same hole. I’m thinking how does a hardened tap break in an aluminum hole? I was told by a machinist that many of the taps sold are of inferior quality and that 1/4 20 is a size that frequently break. Anyway we did exactly what you did and Voila! Keep the articles coming…..Skip
Skip, at risk of sounding like a dick, I think it’s generally operator error that leads to broken taps. From two problems mostly. 1) I can’t even count how many times I’ve seen people start running a tap without clearing the hole with the proper size drill bit. The O.D. of the hole is smaller than the minor diameter of the tap. Nowhere for the material to go as it compresses and then the tap snaps. 2) Starting a tap that is not concentric to the hole or improper alignment drives the tip to the edge of the hole. The threads already cut give it nowhere to go and . . . snap! Can’t say I’ve had any more trouble with one size than any other. I have fucked plenty of them up via means #1 and #2 though! BTW, I use plain old taps from Home Depot or Sear and even ones from garage sales.
Jason… need help!
I have a ZZ4 crate motor that has two stripped thread holes on the bottom end (driver side) of the timing chain cover. Have the 1/4-20 thread repair kit available, but do I need to use anti sieze on the helicoil or just the new SS screen?
Thanks, in advance for your help
Great read, as always! for general information, may I add, MATCO sells 3 kits that are hardened cutting bits for centering and shaving broken bolts that can’t be put in a press or mill. And when you have broken bolts in a cast or steel to steel piece, after you drill the hole, heat and quench with water and the broken bolt will shrink and break the rust loose. But you probably already knew that.
Fritz,
I tried looking up those cutters on the Matco to no avail. Can you send me a pic or a part num? Would like to check them out. Thanks.
When installing a helicoil in a blind hole and using the standard “plug”
tap, one has to drill deeper than necessary to allow room for the tip of the tap
that is tapered. Some times we do not have the room to drill that far, so
I called helicoil and obtained a bottoming tap to do the work. If it is not
available, I go to a shop specialized in such work and have them re-grind
the tip of the tap to a bottoming end. Thank you for the article.
You can also use the above mentioned broken taps and re-grind them square on the end to make your own bottoming taps
Thanks for the tip. I’ve had luck just grinding them off myself by hand. All taps live two or three lives in my shop. . . start tap, bottom tap, punch ;-0
yea, i’ve had to make my own bottoming taps for helicoiling the ever present shovelhead exhaust stud holes.