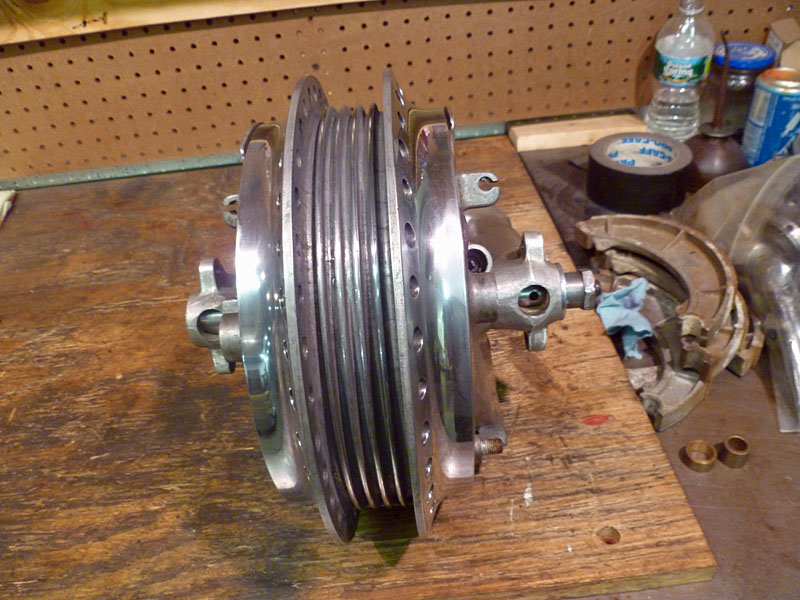
A couple weeks back I got another chance to work on this fork conversion. I just never got around to putting the pics up. Things have been hectic lately.
When we left off, we were modifying the fork to work with the original Suzuki axle for this hub. The answer to the bonus question from last round? I’d bushed one fork leg but not yet bored it to allow access to the fork damper retaining screw. Bill Becker was the first to point this out, just minutes after the article was posted. If anyone has an nit-picky eye for detail (and style), it’s him.
This time I modified the axle and related hardware to finish this job.
Here we go.
I was able to mount the fork leg to the milling machine table vertically with just enough room to get the boring head setup. However, there was no way to keep the leg secure enough with it acting as such a long lever and having limited contact where mounted. I then decided to mount an extra vice we had in the welding area to the table with a large angle plate. This allowed me to hang the leg off the side of the table so it could be clamped closer to the work area.
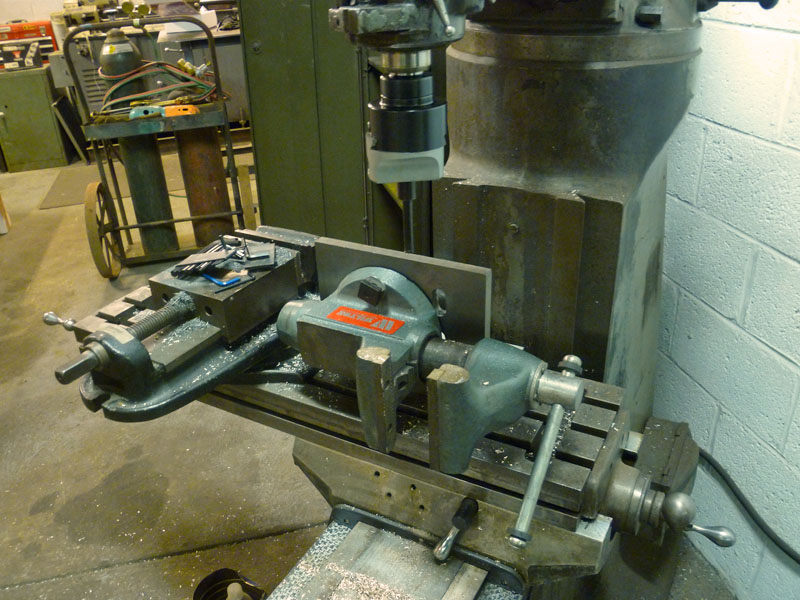
Big old vise mounted to an even bigger angle plate. This setup worked pretty well, even if I did scar up the fork leg a bit. Nothing a little sanding and polishing won't fix.
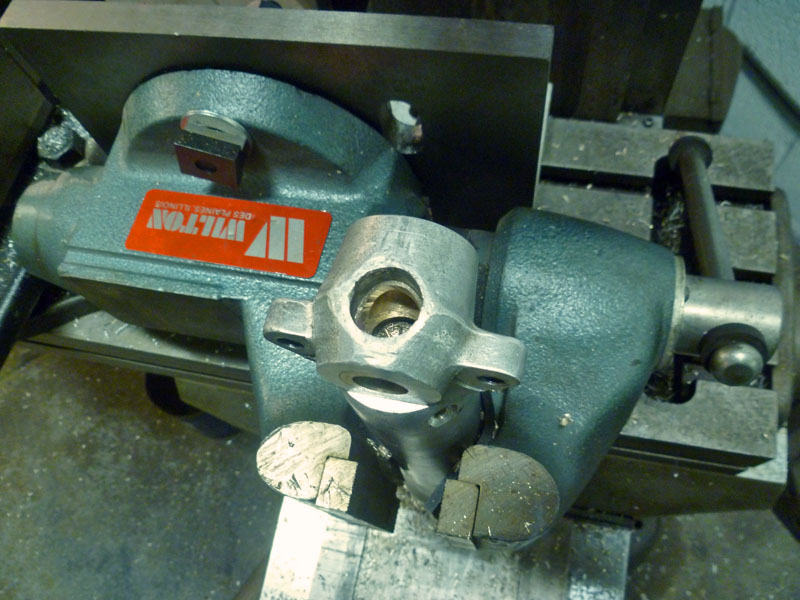
Leg after bushing has been bored to match existing bore in axle boss. Now you can get the damper retaining screw!
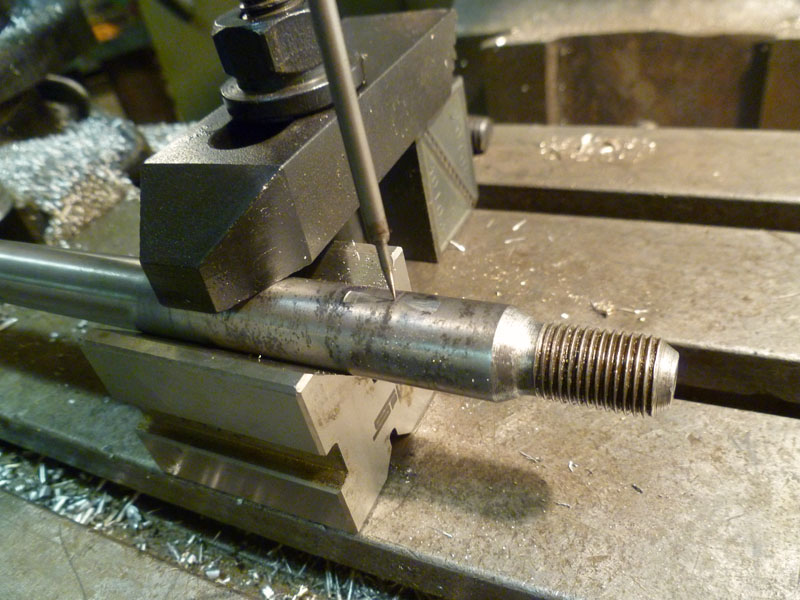
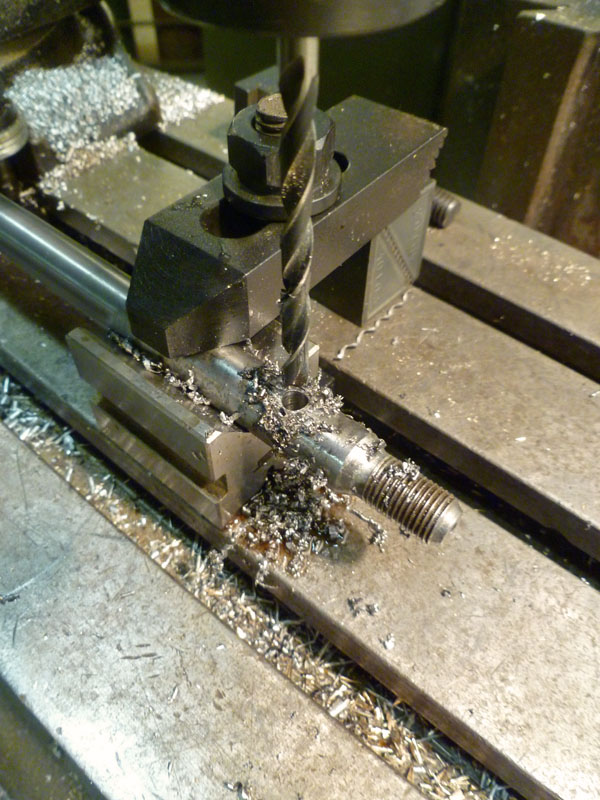
There needs to be a means to secure the axle while tightening down the axle nut. I don’t want to rely on the pinch strength of the boss on the other leg as it seems lame and likely to stress the leg. It also leads to incorrect installation as the last step of securing the wheel is to tighten the pinch (after axle nut is torqued) so that the legs are parallel and not pinched together. I decide to make a small diameter hole in the axle for insertion of a screwdriver or rod to keep it from turning. Old Harley Hydraglide forks use this setup and it works. In our case there is no axle protruding so I made the hole so that it lines up with the damper retaining screw hole under the leg. Hidden. Functional. I did realize afterward that while I intended to drill the larger end, I messed up and did the smaller end. Dammit.
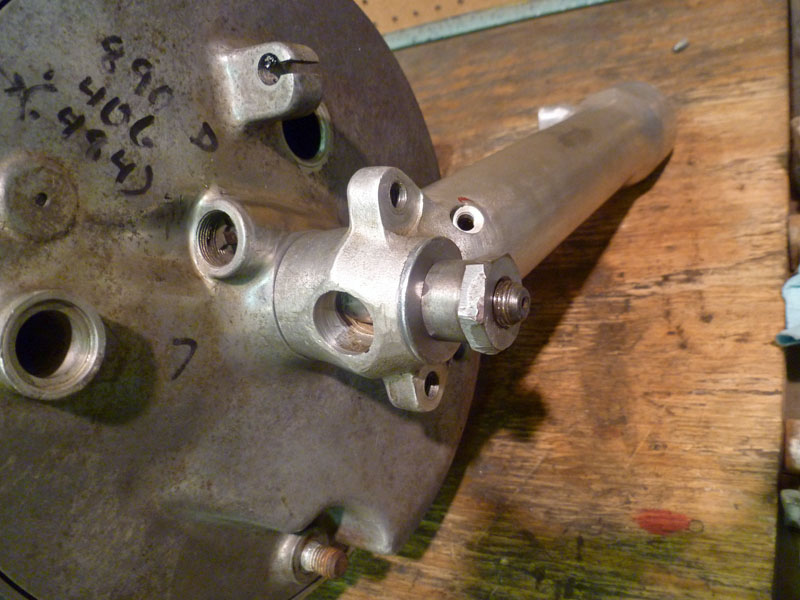
I turned down the axle nut to leave room for a lock washer and made up a thick flat washer to spread the clamping force over the original fork material and the new reducing bushing I installed. The washer has a flat ground in it to engage the lower fork casting so it doesn't rotate when tightening.
That’s it for this session. I have to drop some parts off for chrome and polish the lower legs then we can assemble this and ship it home.
Jason

