It’s shop season again. Spent the summer moving to a new house and trying to squeeze in as many rides as possible. Now that things are cooling off, my mind is turning to interesting shop projects.
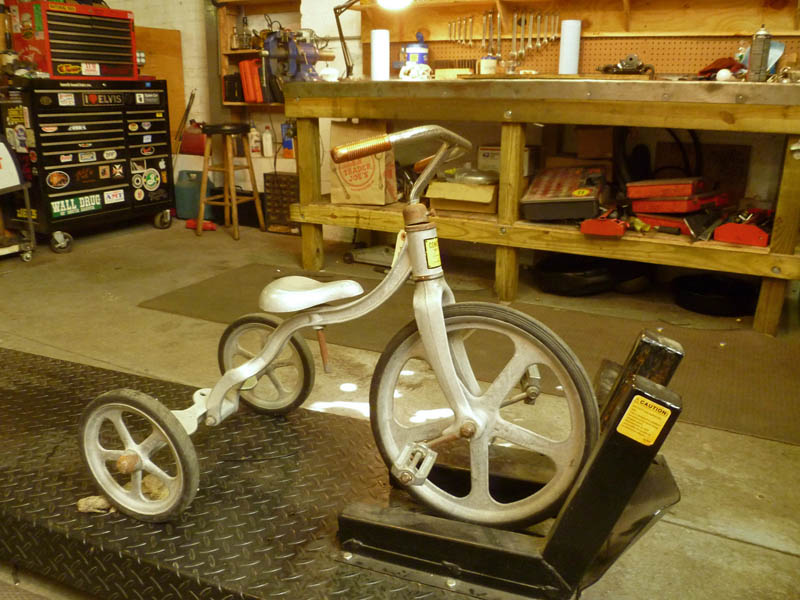
I found this tricycle for my two year old son Emmett about a month ago. He could not take his eyes off it. Once he climbed aboard, it was a real bear pulling him off. A week later I went back alone and bought it for him. I intend to rebuild it (it was pretty beat) for his upcoming second birthday in November. The shop wanted over $100 for it. I pointed out to him that almost every part of it was damaged beyond being functional. Every bearing was seized or rough, the head tube and fork had an inch of play as the bearings had long ago disappeared. The metal in metal areas was severely beat up and distorted. So I made the case that I am about the only customer that exists for this bike with both the desire and ability to fix it up and put it back into use. He could not argue with that logic and I ended up getting it for $70. After pricing bearings yesterday. . . I still overpaid. I don’t care, though.
The trike is an Anthony Brothers Convert-O-Bike. A little researched showed that they have been making them for over 50 years now. From a sticker on the underside of this one, it appears to be made in 1980, despite the ’50s design cues. If you look at the way the rear wheels attach, you’ll notice a forked connection on the main frame. This allows the rear axle to be replaced by a single wheel, converting the bike to a two-wheeler. Cool! The frame, wheels and most other parts are cast aluminum. Only the handlebars and seat post are steel. The grips are the only plastic on the whole bike. When I’m done with it, this bike will last for a hundred years and maybe my great grandkids will ride it.
I got down to the shop yesterday afternoon after going for a nice Fall motorcycle ride. It was a little tougher to get apart than I expected and damaged far more than I originally realized. It’s entirely disassembled, cleaned and inspected now. I have the various bearings on order. I still need to figure out how to bush/bearing the steering tube as the dimensions do not support the use of conventional ball bearings and I am unaware of how it was originally constructed. I think I’m going to make up some bronze bushings with thrust washers. We’ll see.
Pics of the break-down follow.
I can’t wait to see Emmett’s face when I give it to him.
Happy Fall,
Jason

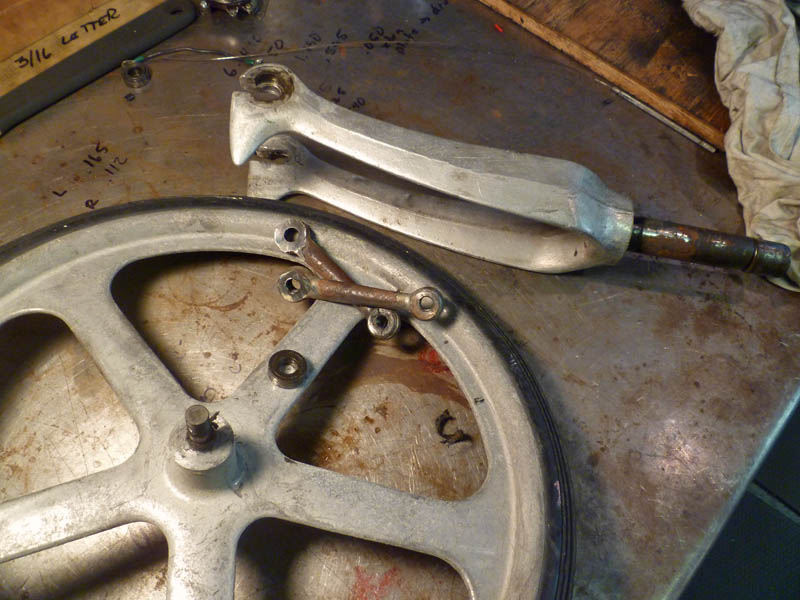
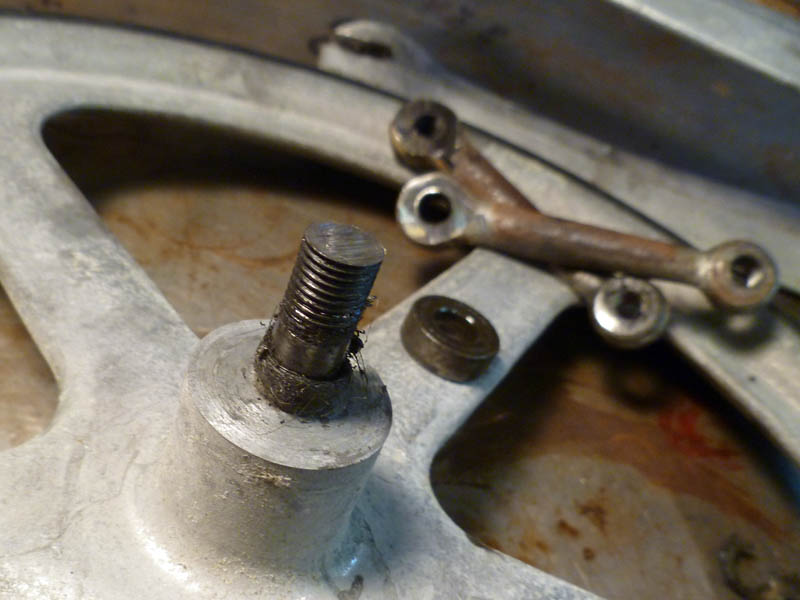
Front end parts. The cranks were screwed on and welded. They needed to be cut to be removed. I was careful to leave enough metal on the spindle and cranks for reuse.


