Time keeps moving and I found myself a day away from Emmett’s birthday, needing to get down the shop to finish up. Still had the rear fork/axle to figure out, all the wheel bearings, the crank assembly, and finally, some cleaning up and polishing to do.
Got down there around 3p on Saturday, put some good music on and grabbed a big mug of coffee. I had a great time, which is what this is supposed to be all about. I was done by seven. Megan thought for certain that I’d be my usual maniacally obsessed self and get home at three in the morning. Sorry to disappoint.
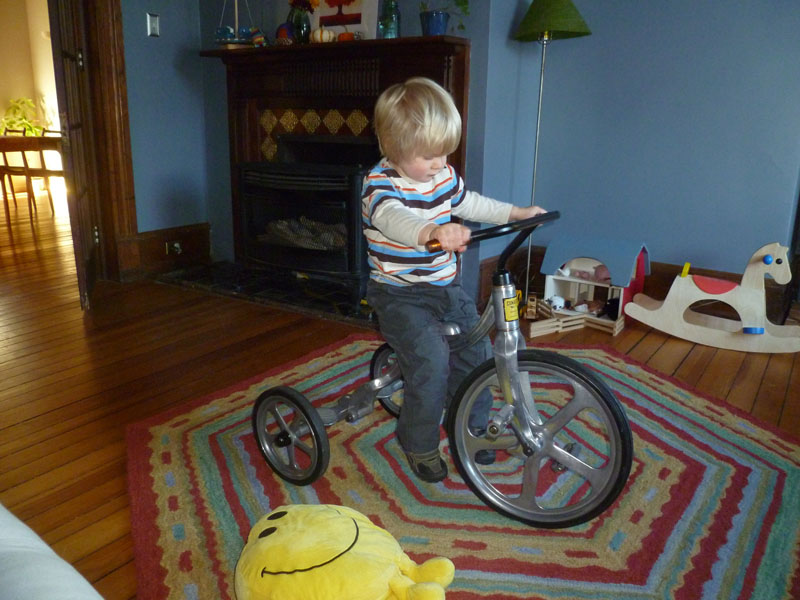
Emmett loves it! I may have created a monster. He said nothing other than “Bike! Bike! BIke!” all morning after we gave it to him. His legs are about two inches too short to fully engage the pedals, but it’ll be no time at all until it fist him perfectly. He demanded that I push him all around the house while he steered, which I was happy to do.
Details of the build are in the pics as always. This was a fun one. Thanks for joining me.
Jason
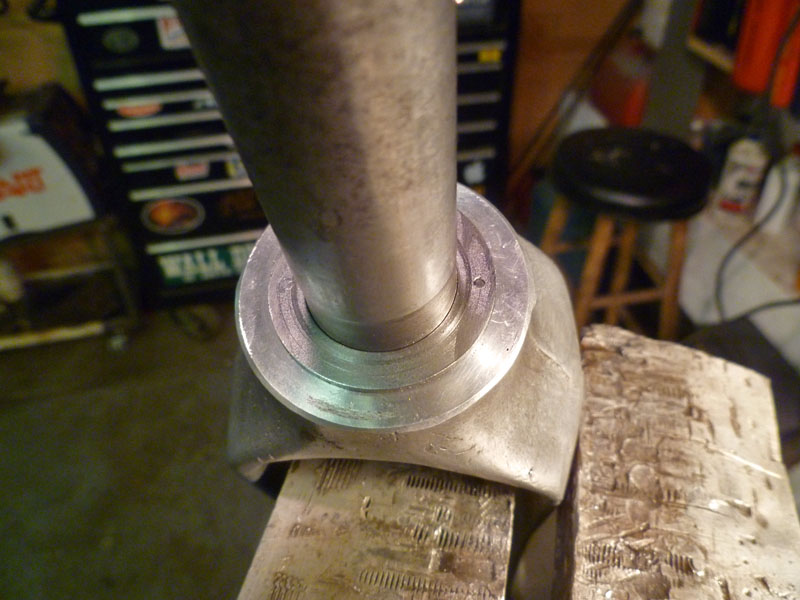
I embedded a hardened steel thrust bearing into a counter-bore in the bronze bearing between the fork and head tube so the original material would not get worn away. Here you can see it pinned in place so it doesn’t rotate against the aluminum shoulder.
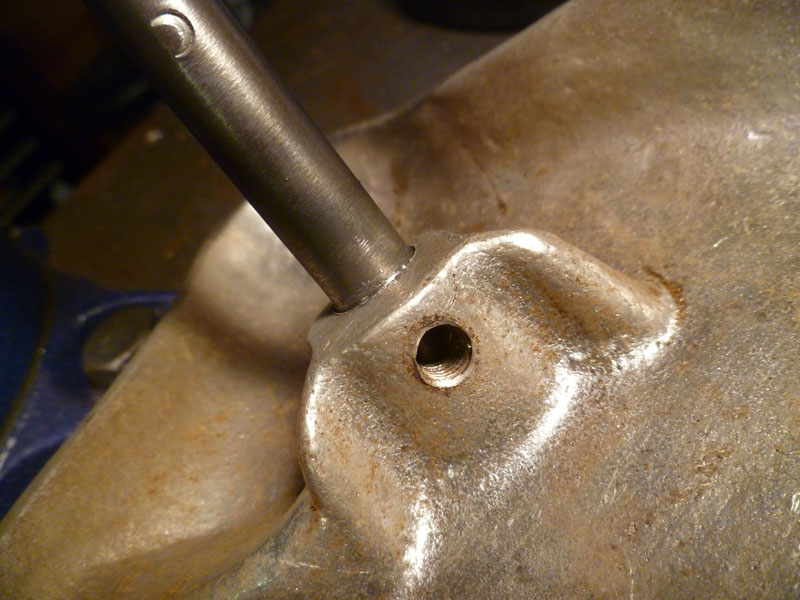
The seat post fit in the seat was hammered, leaving the seat wobbly and about to fall off. I built up the post with welding rod and turned it back down to a large enough diameter to press fit into the seat. The set screw remains although is now basically only for decoration.
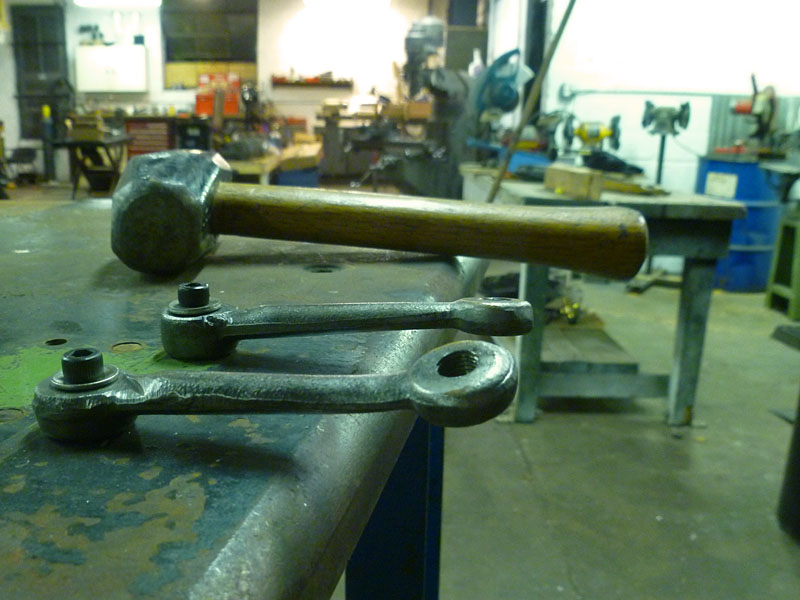
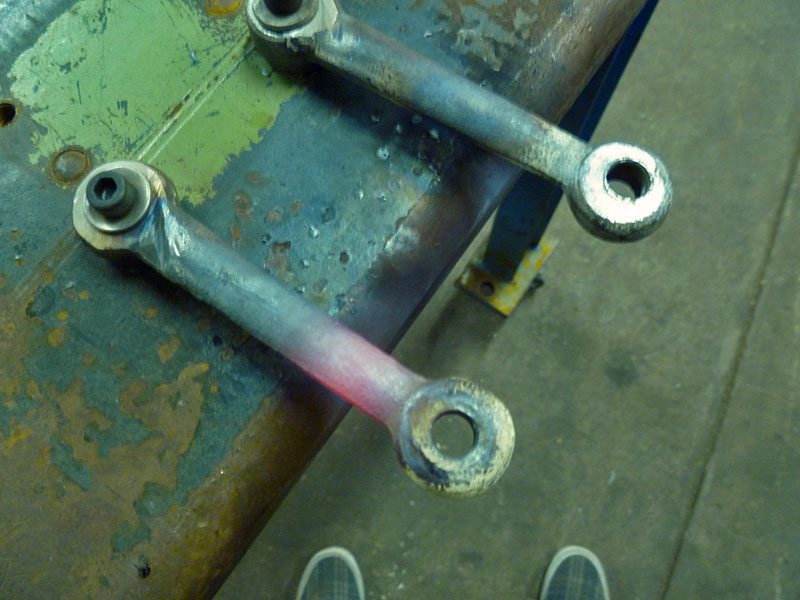
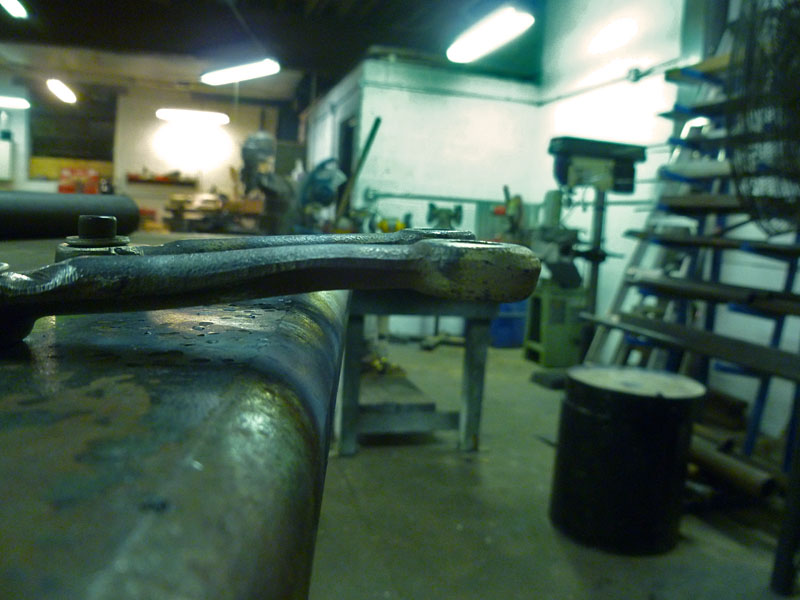
By this point, I was pretty certain this tricycle had been backed over by a car in someone’s garage. The cranks were twisted and bent pretty severely. Luckily we have a heavy duty jig/welding table in the shop. Bolted the cranks to the table next to each other so I could straighten them out with heat and a large pipe.
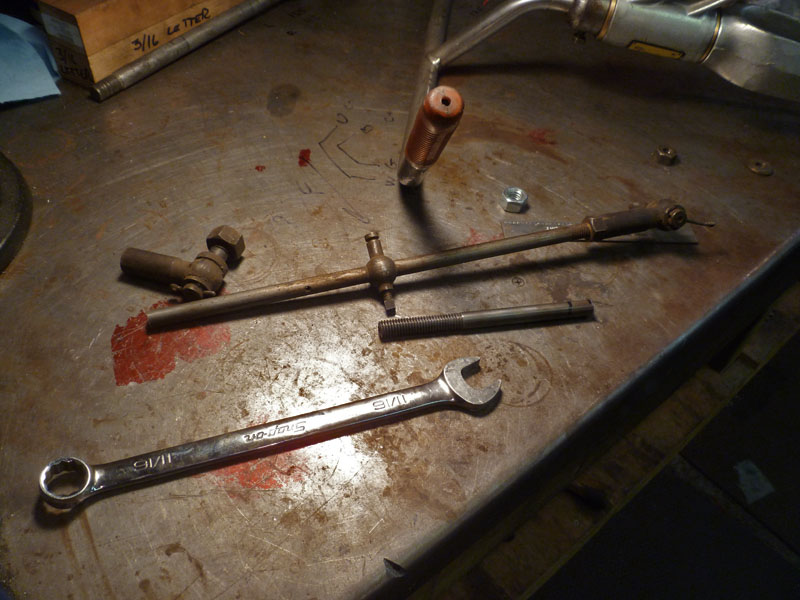
I wanted to keep the original diameter hinge bolt where the frame joins the rear beam axle so the convertible function of this bike would not be lost. Didn’t have any 7/16″ bolts of the right length laying around but I did find this suitable old tie-rod looking thing in our steel scrap bucket. Reverse thread on one side and a sliding spring or switch stop. Anyone know what this was originally from?
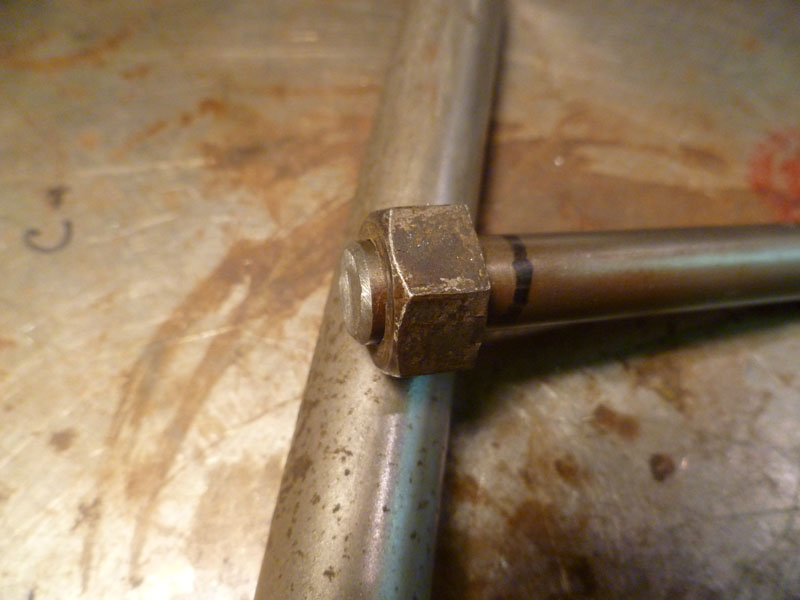
I cut the RH thread portion of the tie-rod off and set it up for welding a nut to one end of it to use as the frame hinge bolt.
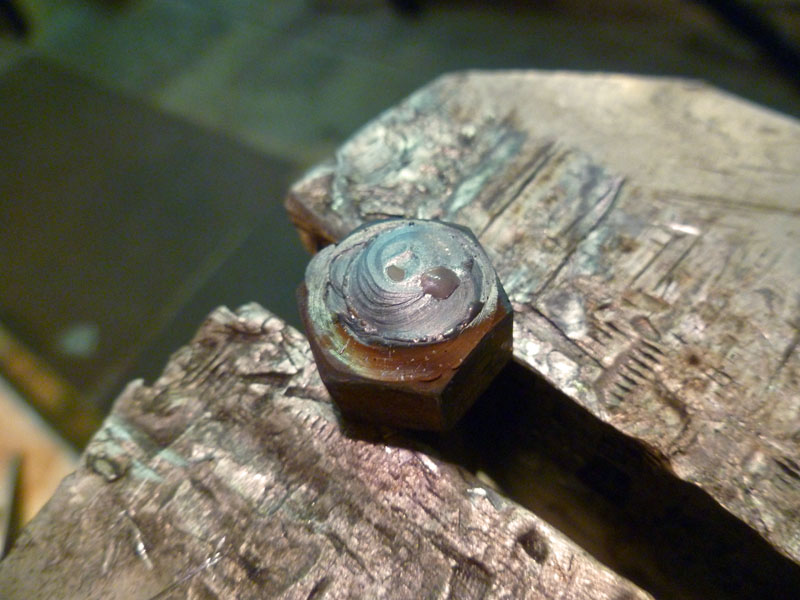
Welded up and ready for duty. Real shops or people that don’t have significant amounts of time to waste would have just ordered the correct fastener. Luckily I’m not trying to make money at this and can do things any way I like.
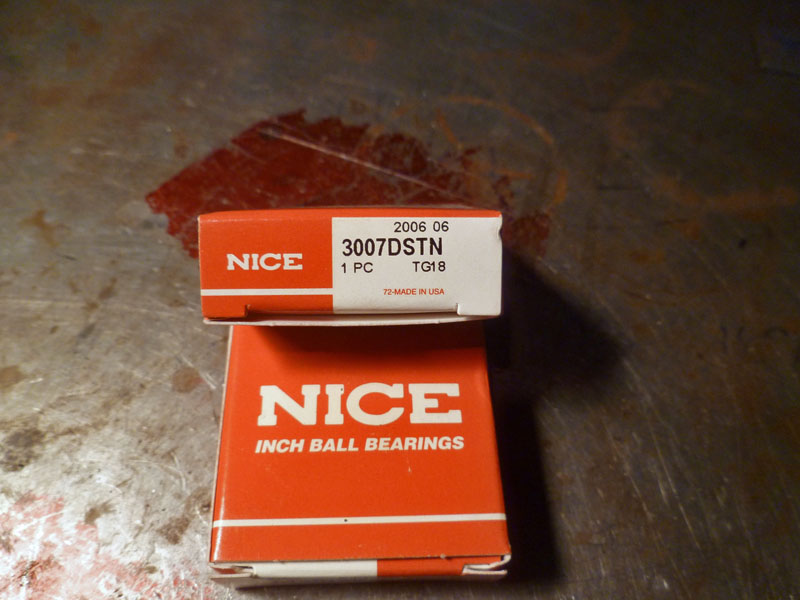
Nice bearings! This bike takes six bearings. At $12 each, I spent as much on them as I did the bike itself.
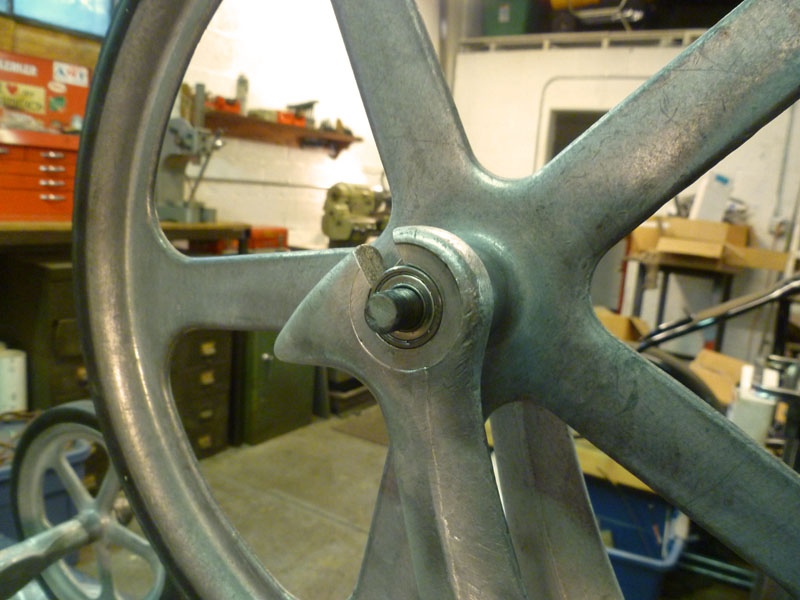
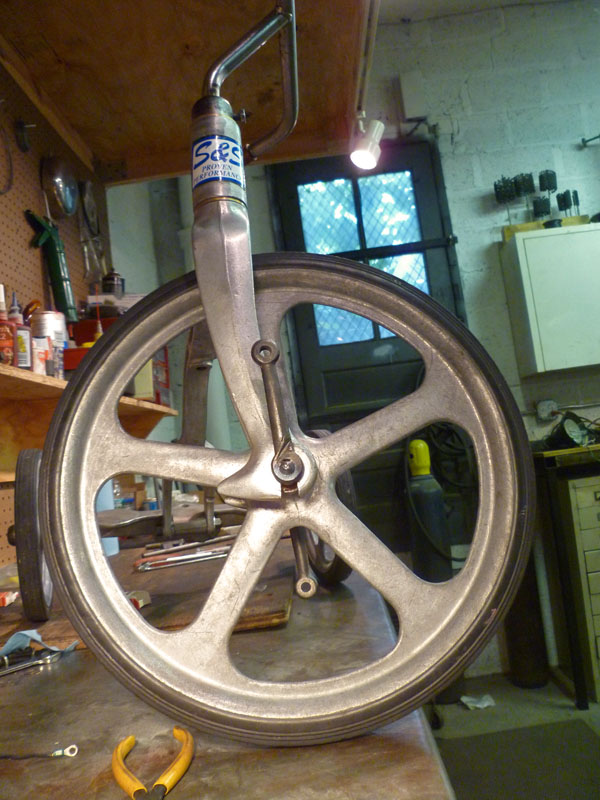
The fork has an interesting setup with the captured bearing holding the wheel in the slotted boss at the end of the fork. New bearings installed.
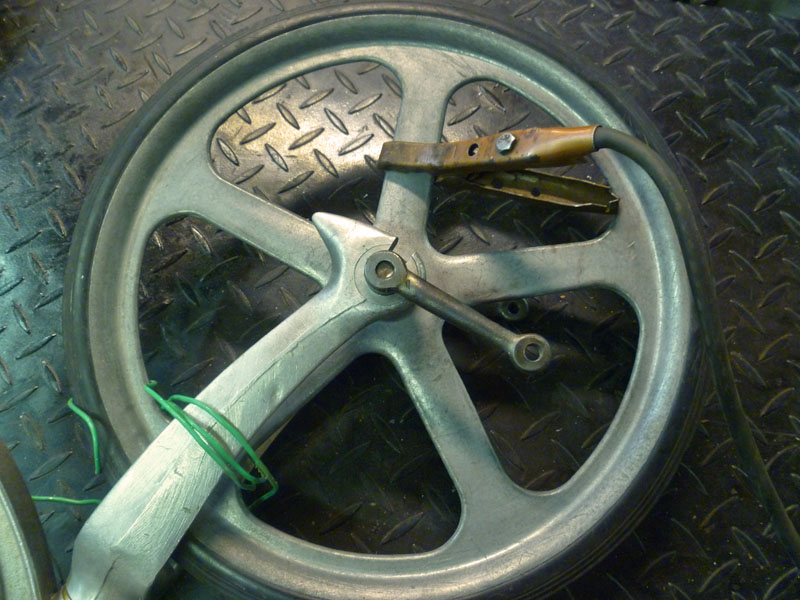
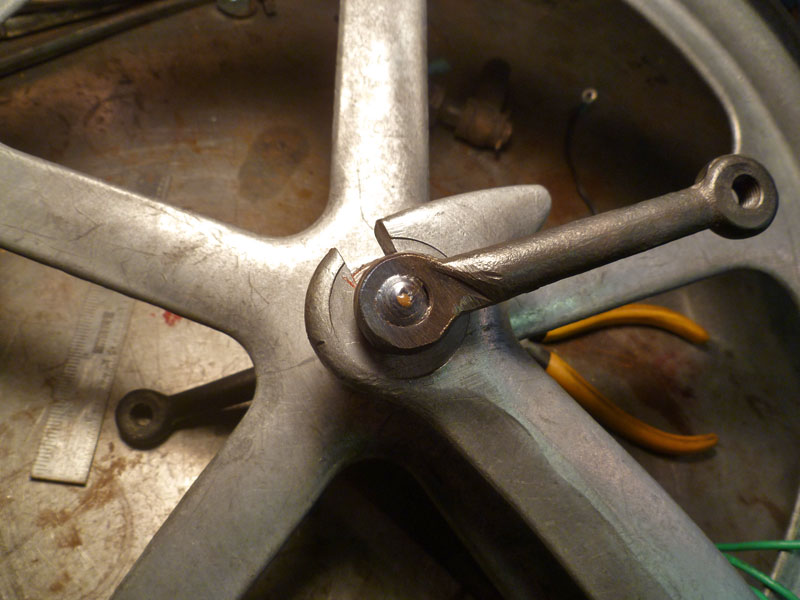
The cranks thread onto the wheel axle and are then welded in place once the correct play is achieved. First crank ready to be welded in place. The second will need be indexed carefully to this one or the pedal action will be off.
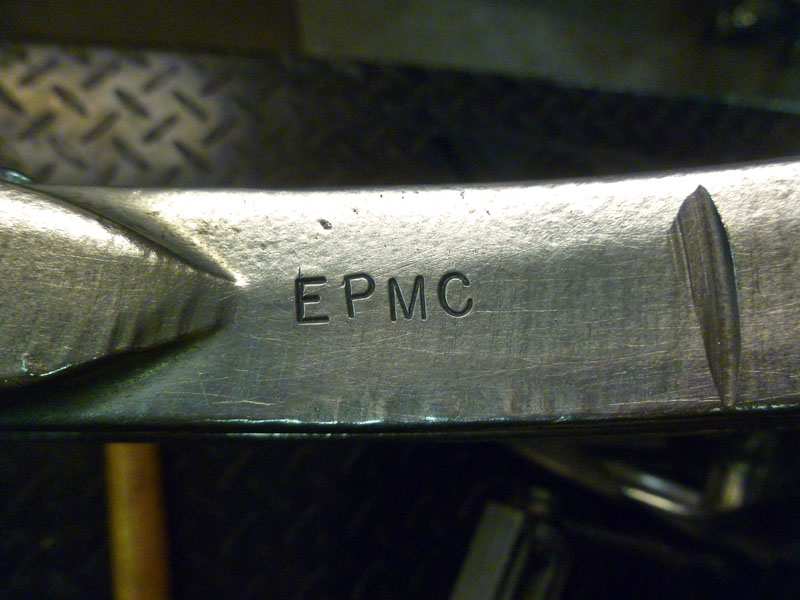
Every problem looks like a nail to a man with a hammer? Well I don’t have these stamps on my bench for nothing. VIN stamp for Emmett. (Erick & Parrish Makin’ . . .)
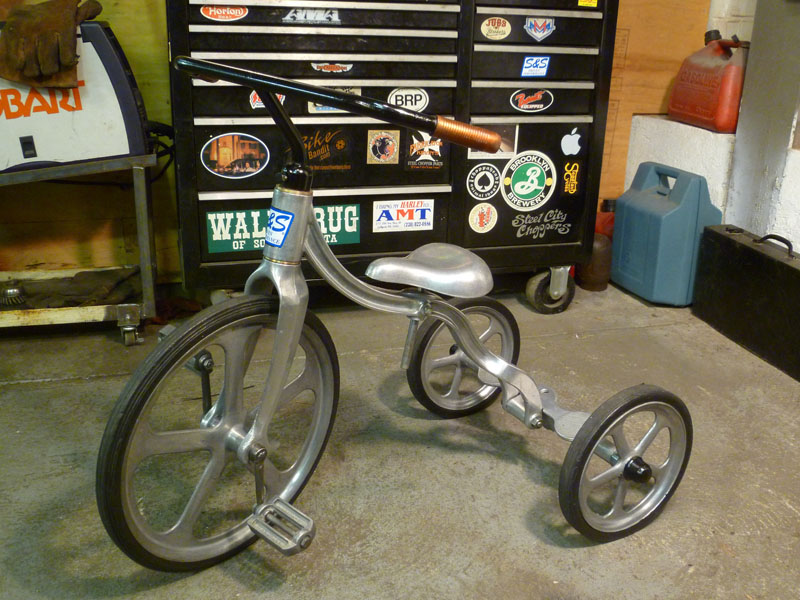
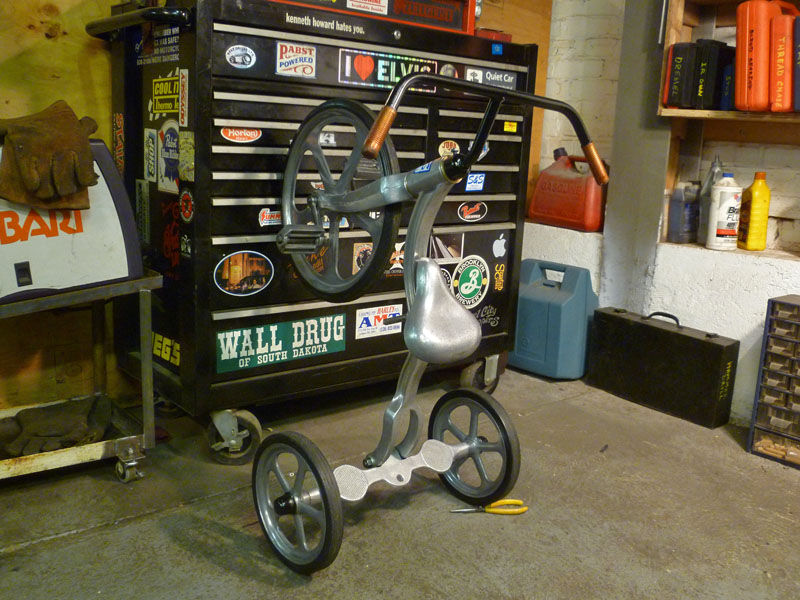
I cleaned up all the aluminum surfaces with a stiff wire brush then hit ’em with Mother’s and steel wool. My elbows are still sore. The chrome handlebars were flaky and rusted so I painted them black after sanding. Also painted the rear wheel caps and head collar, also being bare steel parts. I love the lustre and combination of colors and textures.

Pingback: Convert-O-Bike Project (step 2) | GreasyGringo
That’s an awesome build, Jason. So much better than some made in China plastic junk that most kids have. I’m sure Emmett will be tearing it up like Evel soon!
Thanks, Chris. He currently has a plastic one. I can’t complain as it was a thoughtful gift from a neighbor down the block, but I sure prefer the new one.
My niece has a plastic one too – and while I was helping my parents assemble it, I kept thinking about Emmett’s and how much cooler that is! Trikes and big-wheels were some of the best toys before learning to pedal a 2-wheeled bike!
He’s a lucky kid to have such a handy dad!
I’m guessing in a few years you’ll be rebuilding vintage mini dirtbikes!
Hmmmmm. You might be right, Sergei.
Will have to lean on Vinny’s vast knowledge of them if it gets to that point.
Woudn’t be the worst thing we could get involved in.
Beautiful job for a lucky lad. He’ll be the coolest kid on the block and at the park. Next time give us an action shot when he first sees it. Those are priceless photos when you take them. When he has kids of his own one day he’ll think (or look ) back at what you did and realize how much you loved him.
Tim
Thanks for the kind words, Tim.
Great job on a unique project !
Your Son will have a durable , usable trike and you have possibly just created his first family heirloom : )
Thanks for taking the time to document this project Jason, I found it interesting and fun.
I’ll see you one of these days and until then i’ll be lurking……. LOL
Glad you liked it. The only family heirlooms we have currently are release papers from mental and correctional institutions and some empty beer cans ;-0
Hope to see you again in person before too long. Have been enjoying all your riding pics.
You have a PILE of bikes, huh? Didn’t realize it before. Nice!
Better get a gate built @ the end of your driveway now….i can see him ripping down the asphalt now. I knew when you told me he was putting up a fuss about going to sleep after his party……it was probably do to his new ride.
Great Job Making his second birthday,one that he will never forget.
Til The Next Time
Thanks, Dan.
I think Douglas would dig a fence too. He’s tired of being tied up to a tree where the squirrels are always just out of reach.
Awesome! Gotta appreciate the fact that not all people buy new plastic stuff, but refurbish an old piece, thus breathing a new life into something that someone had already once abandoned. Great work, thanks for sharing and thanks for the detailed pics.
I’d love to do something similar for my 3-year old son. If I only have the space. And the machines. …and the skills.
I wanted to know if I an talk to you about your build, i have one that I want to restore for my son who will be turning 2 in little over 1 month.
When were these first made? My husband & I found 2 in good shape? How do we find out the year of the two we found?
I just my neighbor just give me his tricycle Anthony brothers just like yours
It was seating on his back yard under a bush for years , I saw it and ask for it
Is complete it need some tlc , I can watch take it a part and restore it , so far I put DW-40 all over so I can take the steering apart bu no luck and I don’t want to damage it do you have any suggestions?