I’ve been fighting COVID-19 lock down boredom by keeping busy with a constant diet of projecs in my garage and around the house. It’s been six years since I created an article here, but boredom is the enemy so here goes . . .
A lot has changed since my last transmission:
- I moved away from Philadelphia with my family to take a job in California.
- I moth-balled my workshop (the one you see in all previous articles here) and took what could be shipped with me when I moved. The heavy machinery still lives in Philadelphia.
- As my sons grow and learn (they are 6 and 9 currently) I try to teach them the project mindset with everything we do. Guess this is NOT a change since last time ;-0
- All projects are now down in my small-by-comparison two car garage. I’ve gotten back to basics and am enjoying it. I’m also employing some of my old methods of getting things done without all the fancy machining tools although I do still have a lathe.
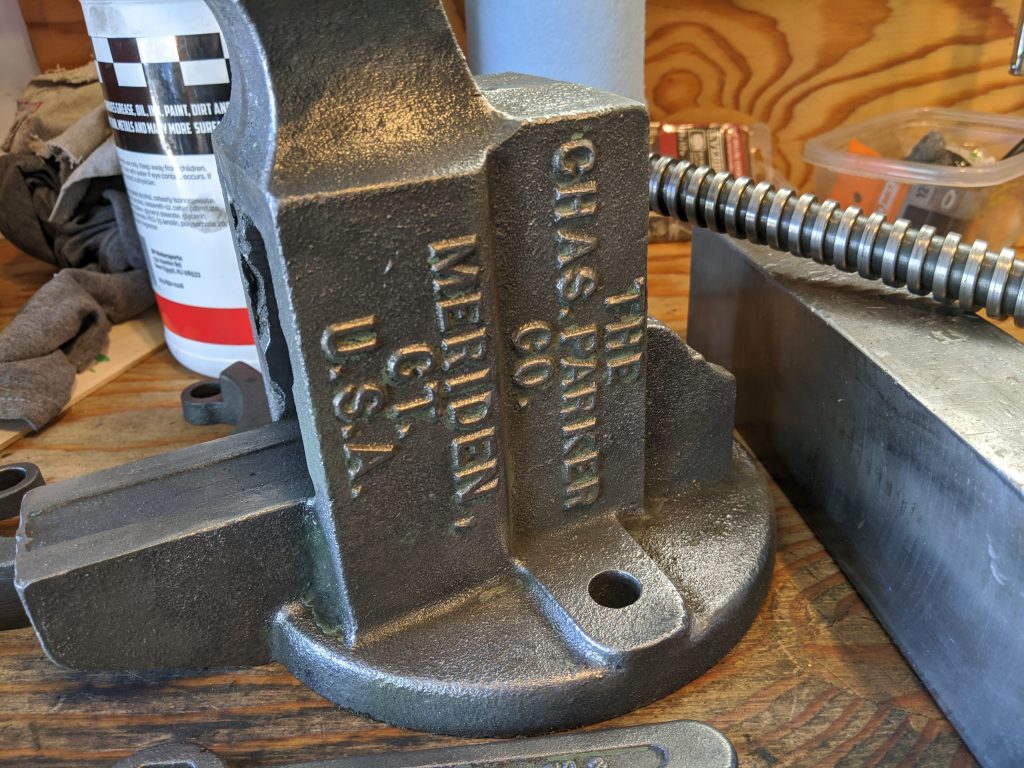
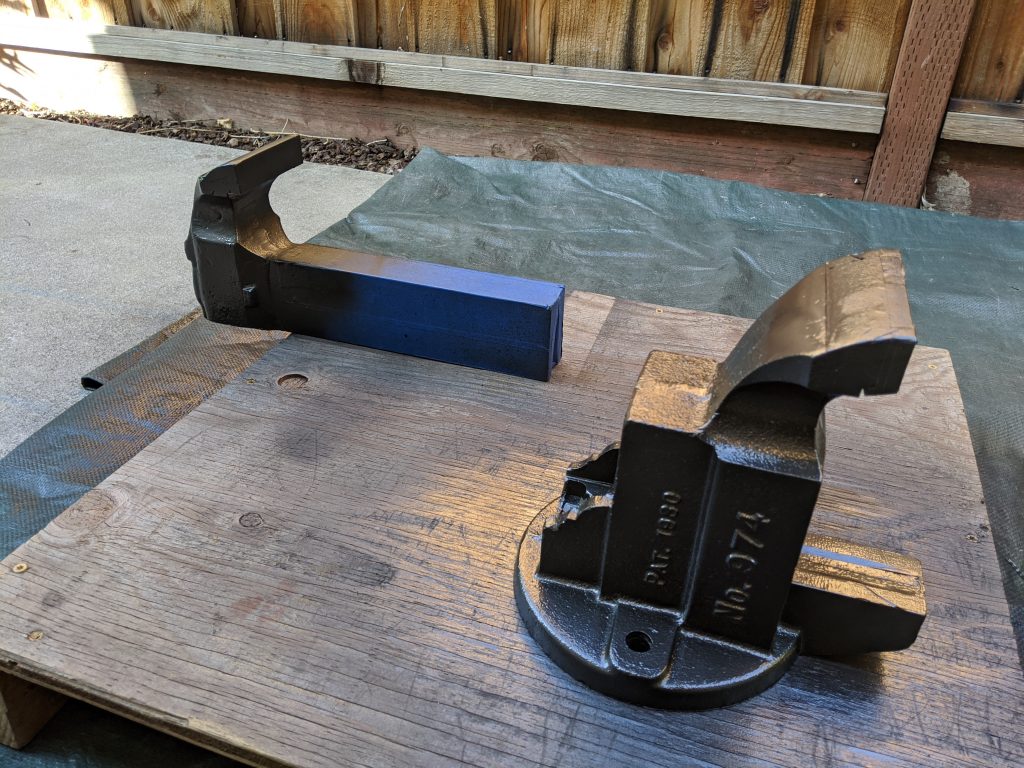
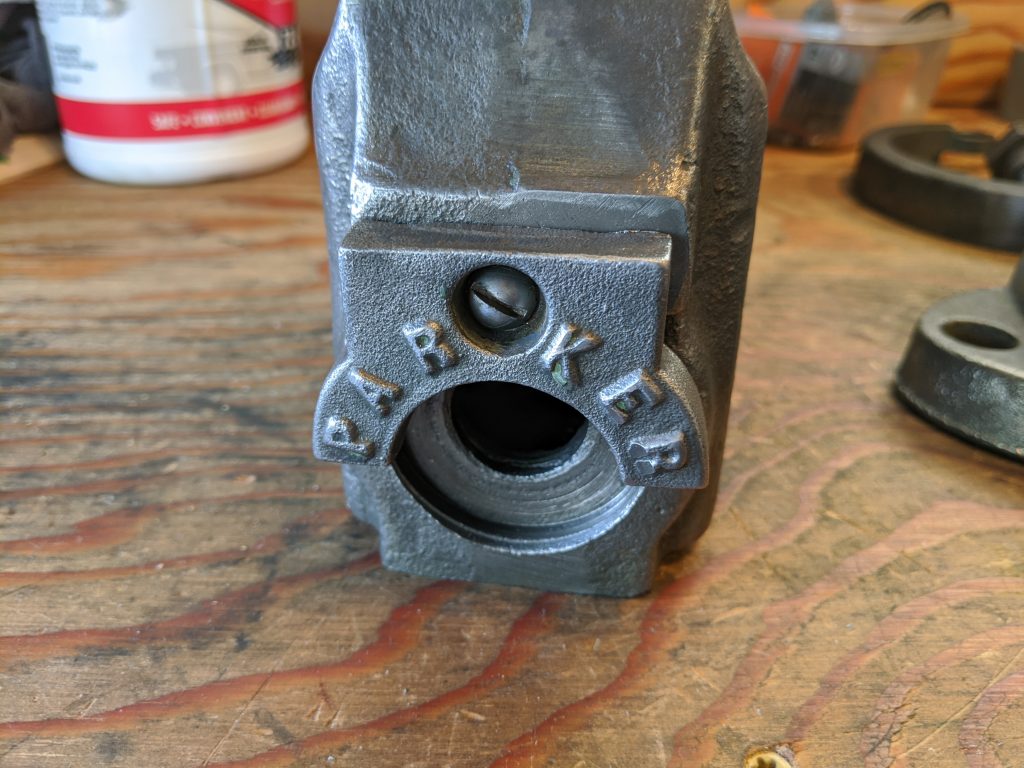
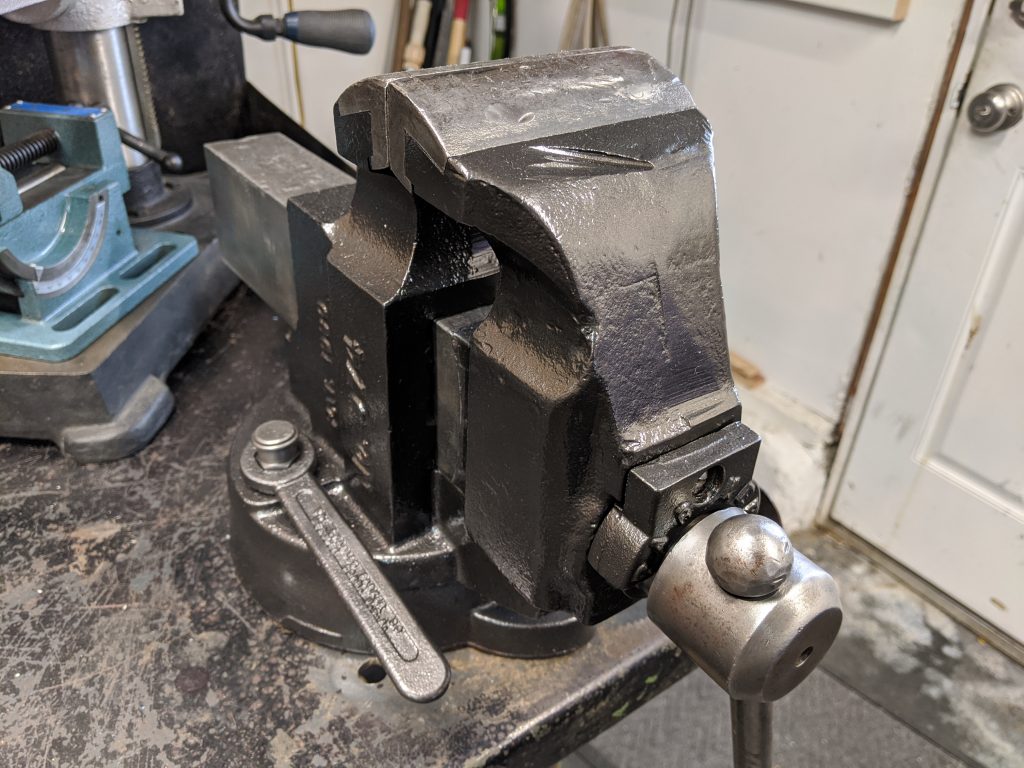
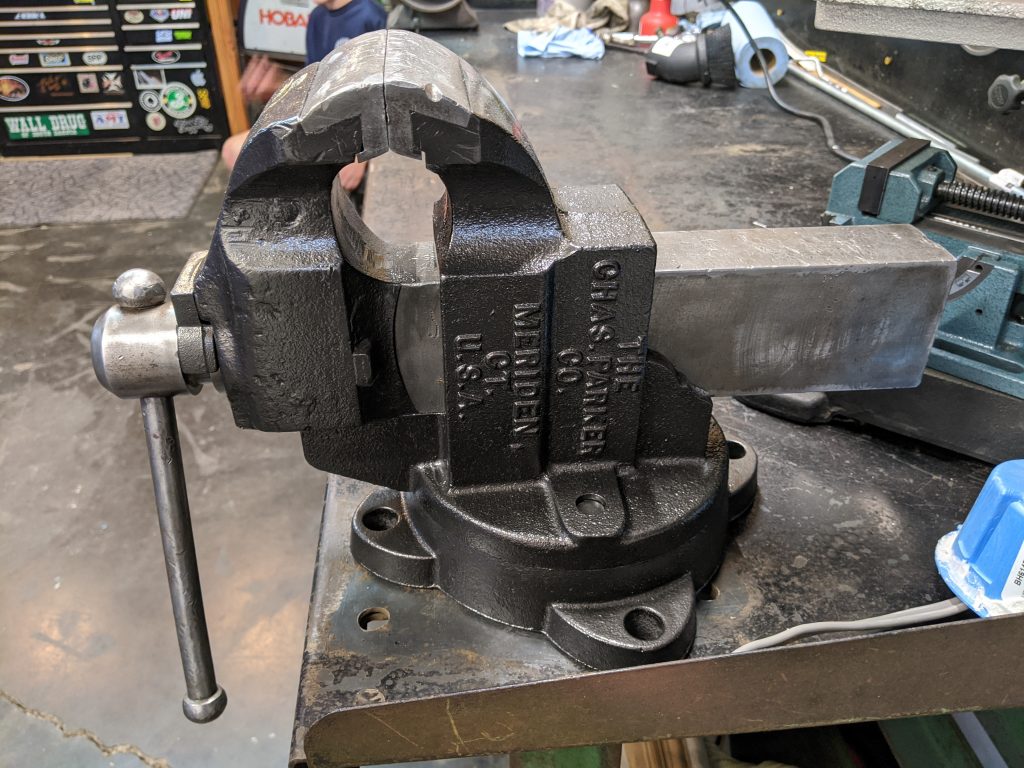
The house I was renting when we first moved here had an old garage with a hand-built workbench and a nice old vise. I used it for three years and became attached to using it. I asked the landlord if they’d sell it when we moved (after buying a house two doors away) but they told me it was their grandfather’s and had sentimental value. I can certainly appreciate that. So I have been looking out for listings off and on for the last few years for a Parker 974 just like that one.
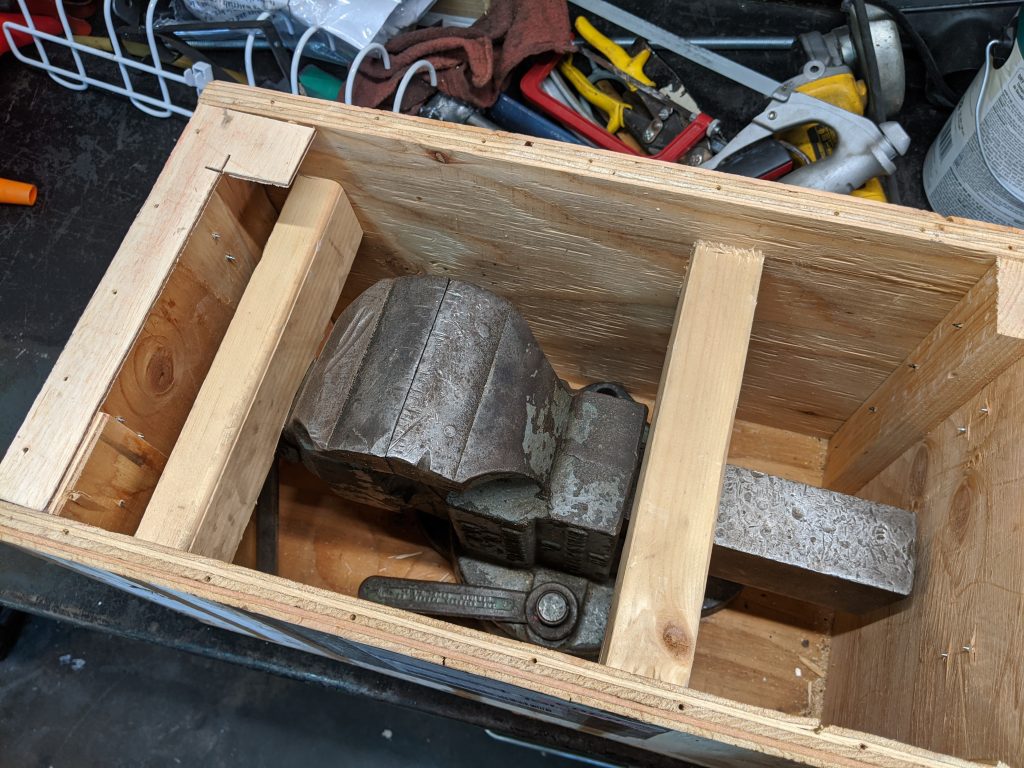
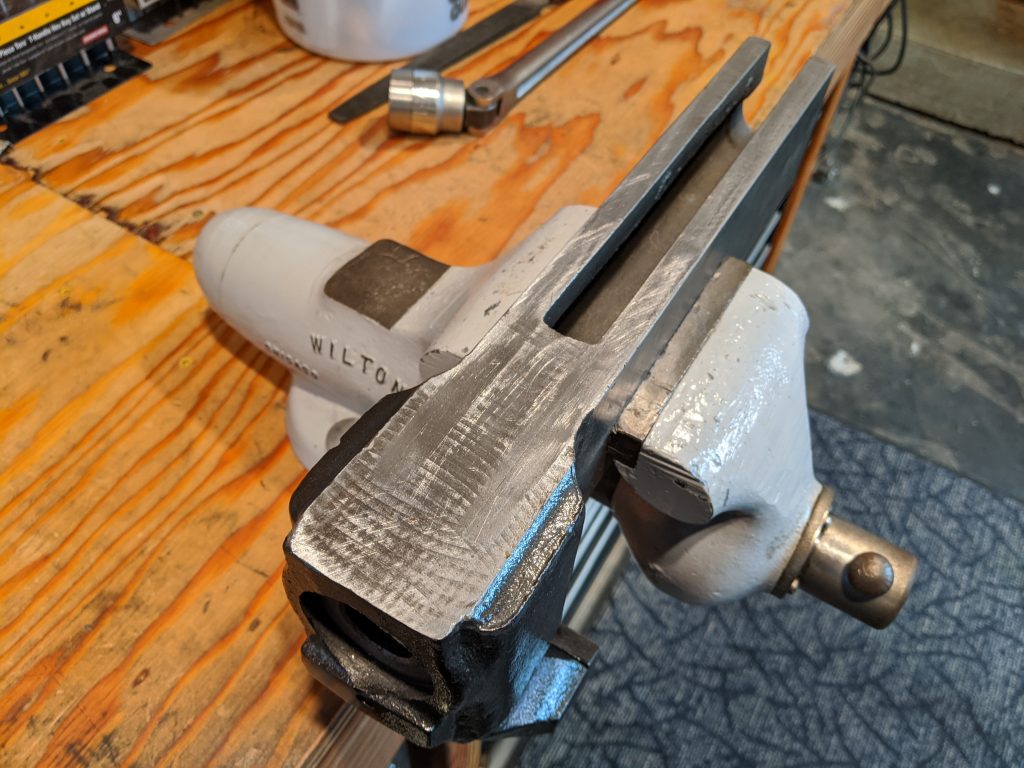
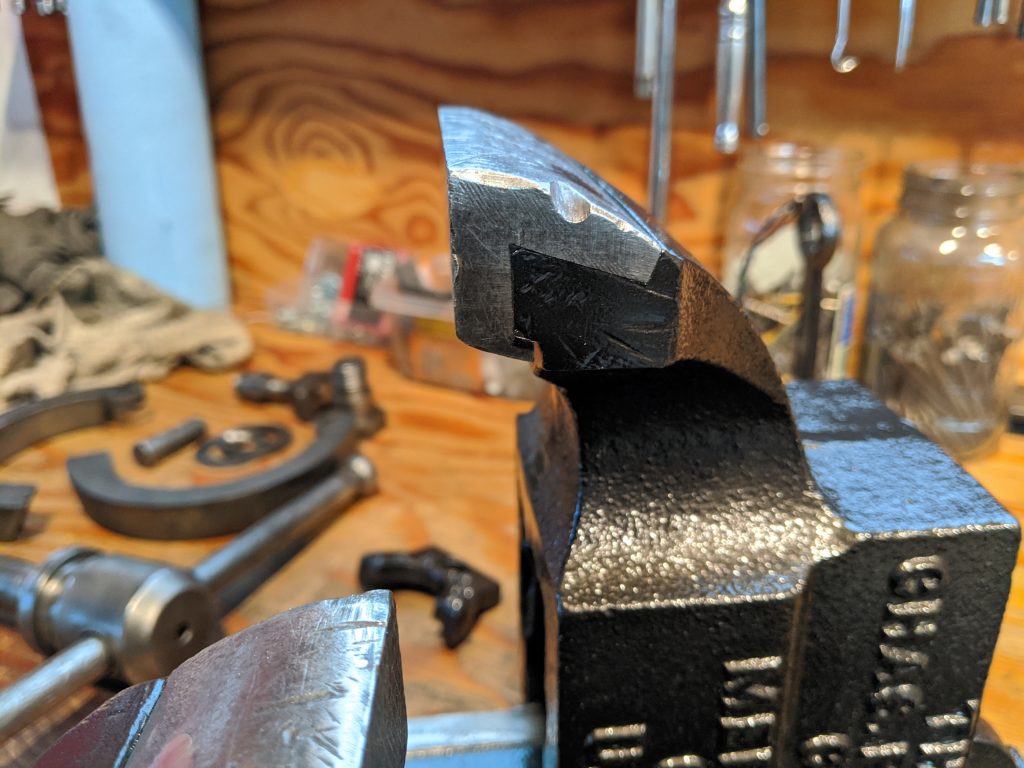
Two weeks ago I found one at a decent price with reasonable shipping charges, free in this case. Weighing around 80lbs, shipping cost is a big consideration. This one comes from Connecticut and has definitely seen some hard use but nothing is broken. My intent is to actually use it (more hard use!) so this suits me fine.
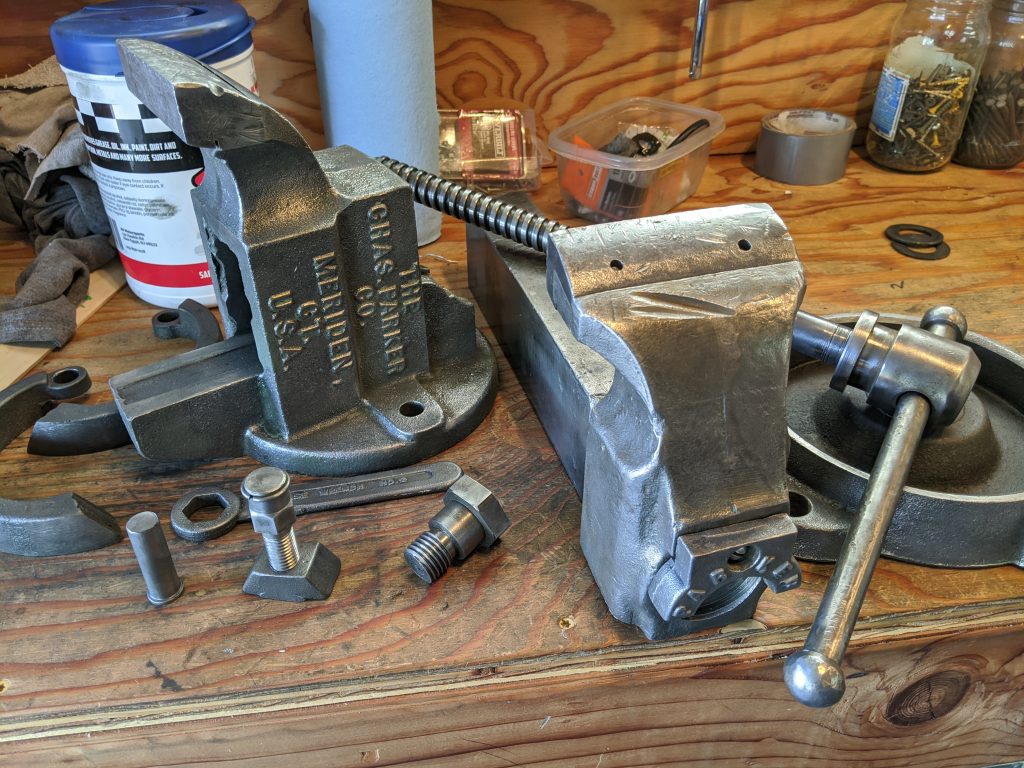
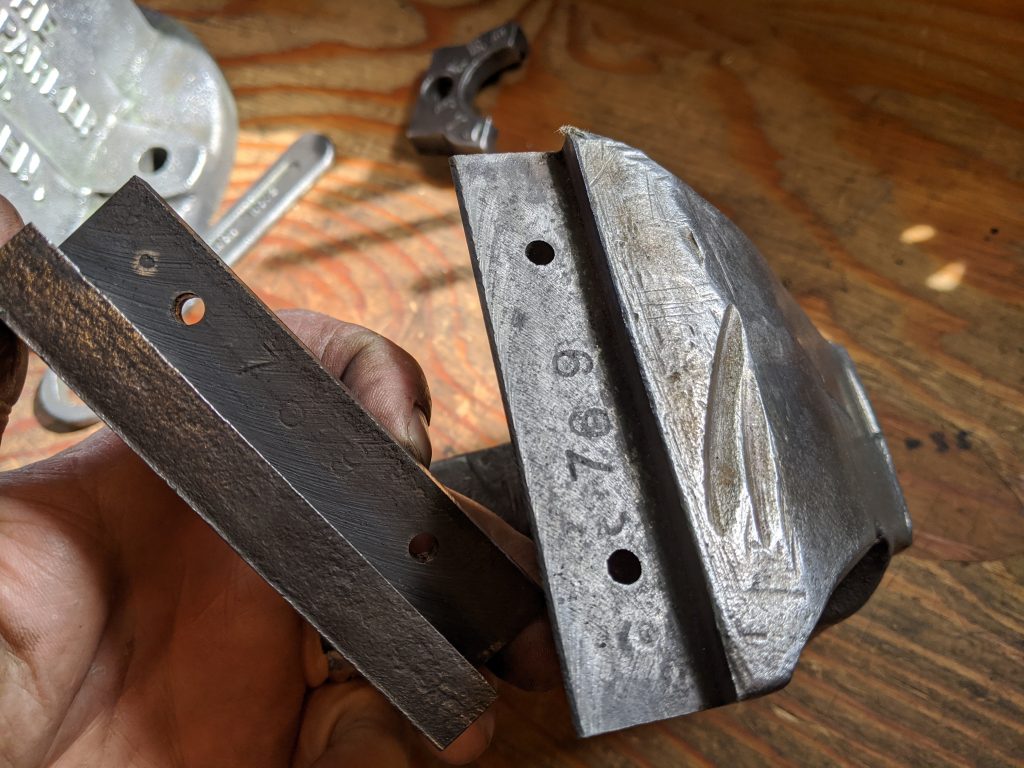
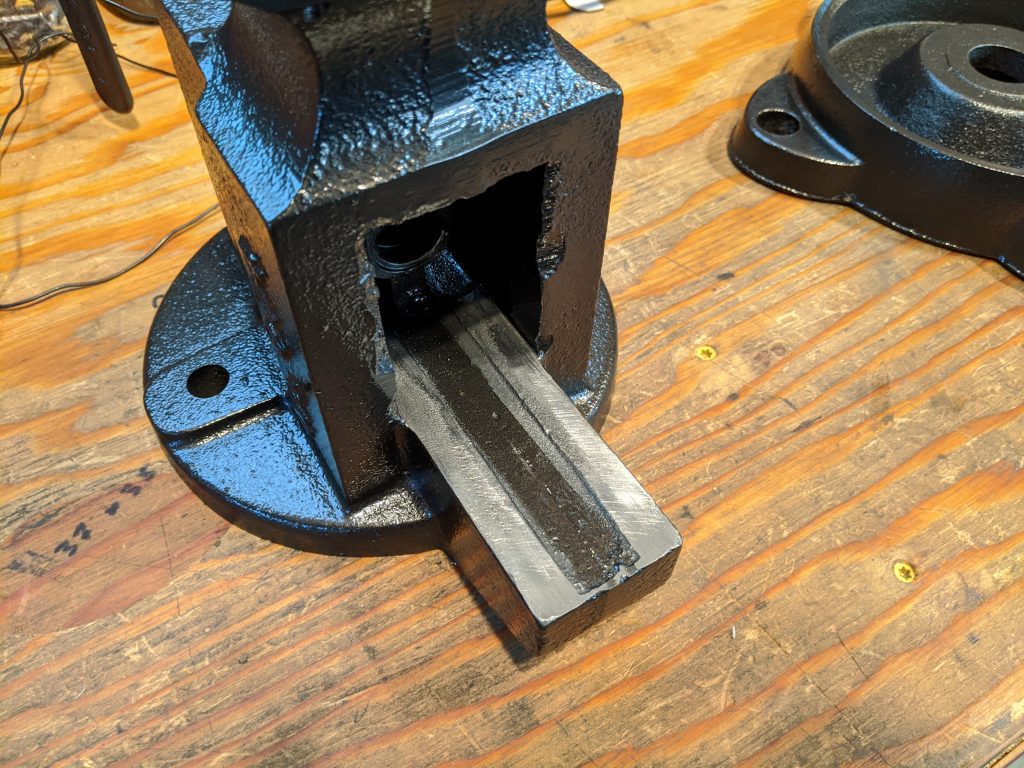
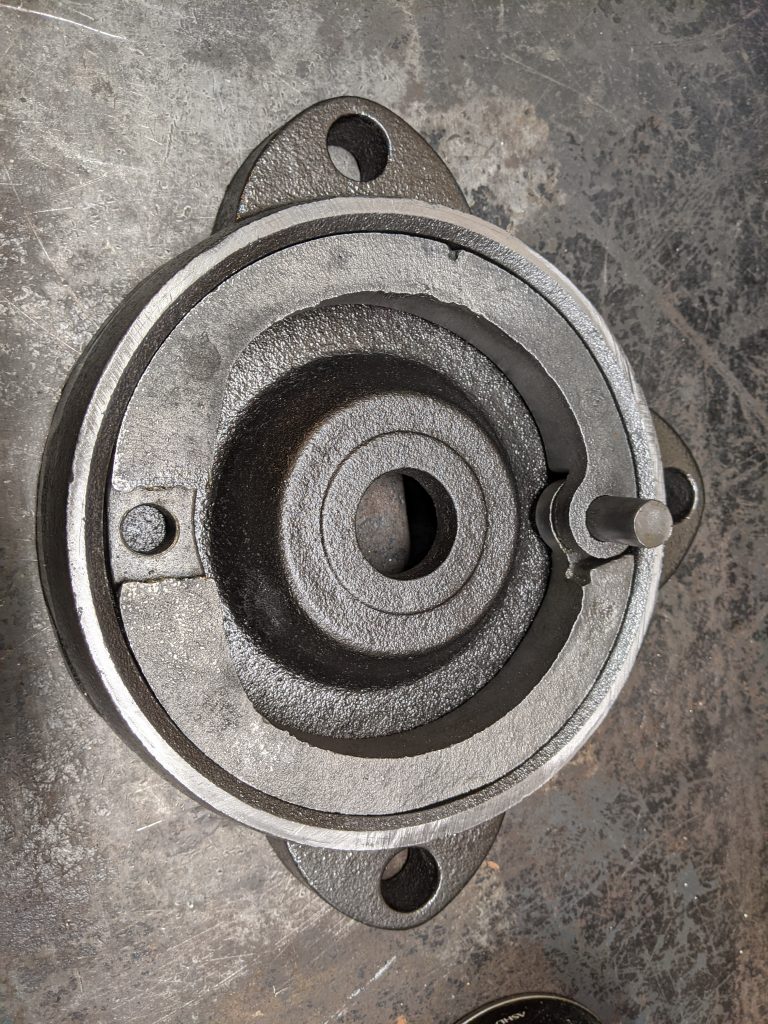
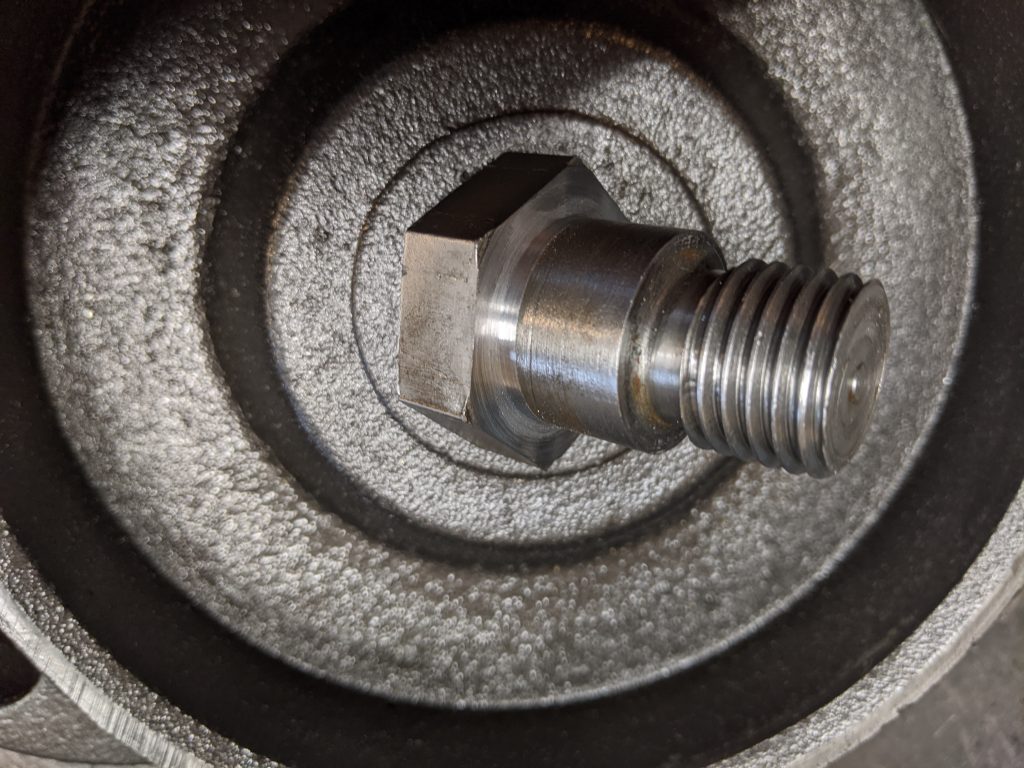
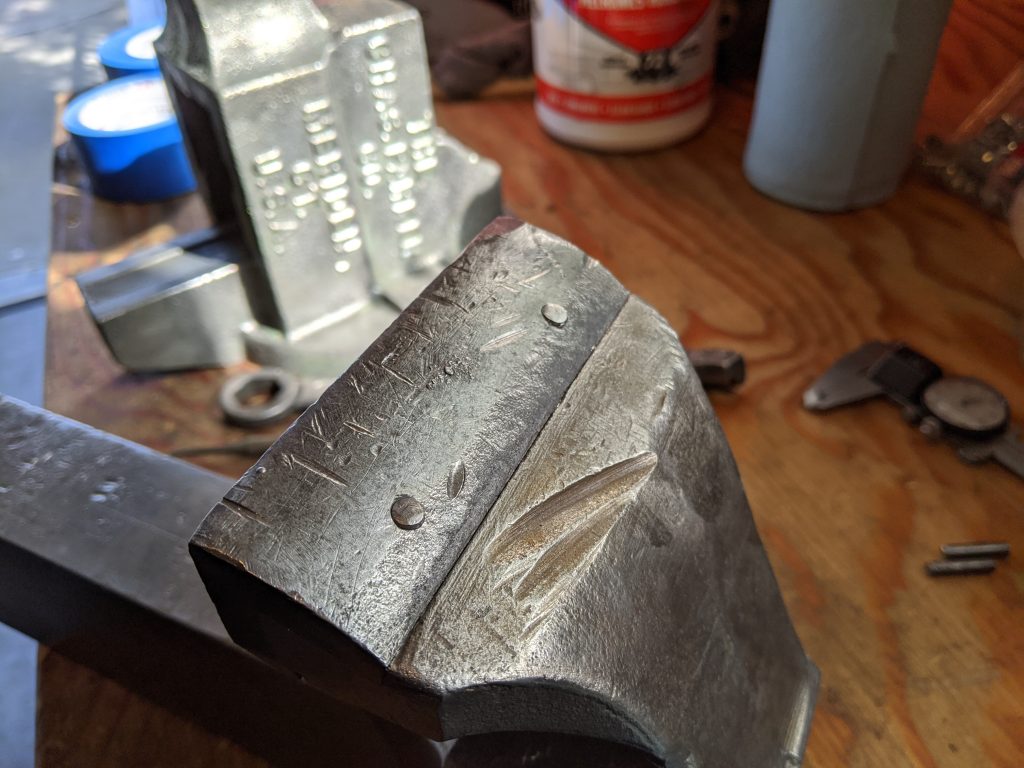
When it got here I was impressed by the care the shipper took in crating it. That’s always a good sign. I was going to just bolt it down and use it but then spontaneously disassembled it and starting cleaning it up and looking for any needed repairs. The rest of this article tells the tale.
Nice to be back.
Jason (May 2020)
(click on pics to see full size)
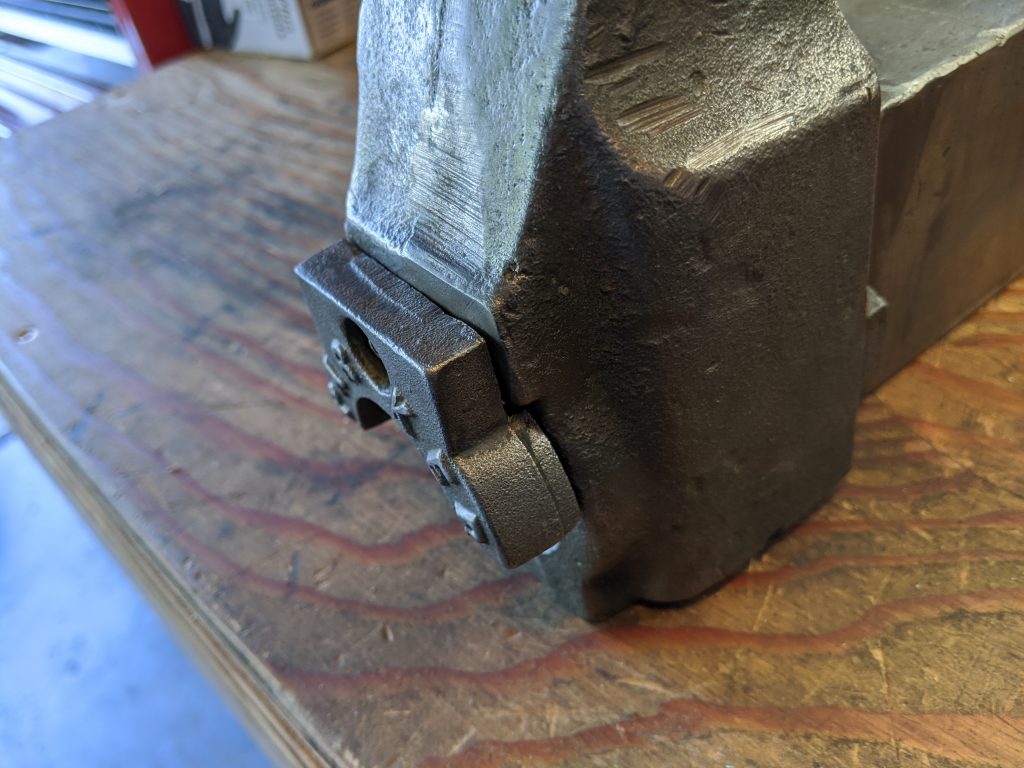

WOW! Looks great. I just refurbished a PARKER 104. Cleaned off layers of paint and grime and left the brazed retainer as is. I imagine that it was a field improvisation.
Can’t get the pix to copy and paste.
However, I’ve used that paint before and what helped was to occasionally wipe the nozzle with a thinner moistened rag.
Thanks, Charlie. If the fix works . . . leave it!
Hey Jason, I was cleaning out a closet today and found my “ultra rare collectible” Greasy Gringo sweatshirt, so decided to check the site and was pleasantly surprised to see you had posted something. Double surprise, I also recently bought a 974 that needs some TLC. I haven’t mounted it to the bench as i wanted to clean to clean it up first. Now seeing yours, I know exactly what I’ll need to do.
Hi Rich! I just dropped in here for the first time in over a year. How did your vise come out?
Does anyone know if the nut from a 974 will fit a 804
Don’t know. This is the only Parker vise I’ve worked on.
Hey! Nice work!
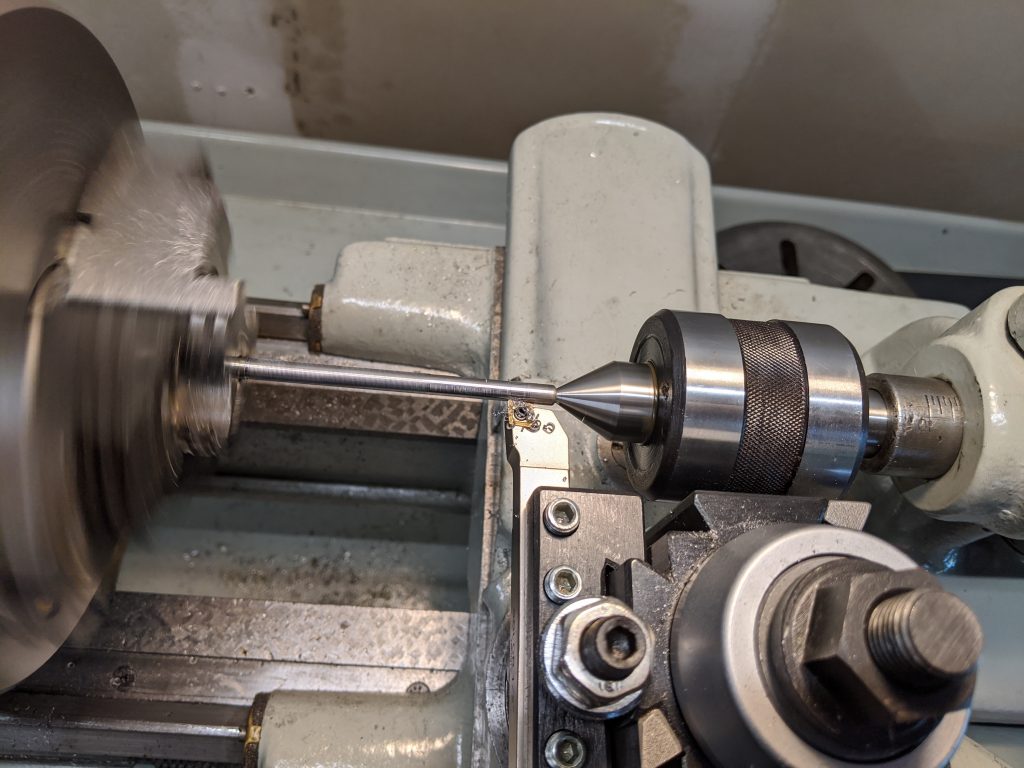
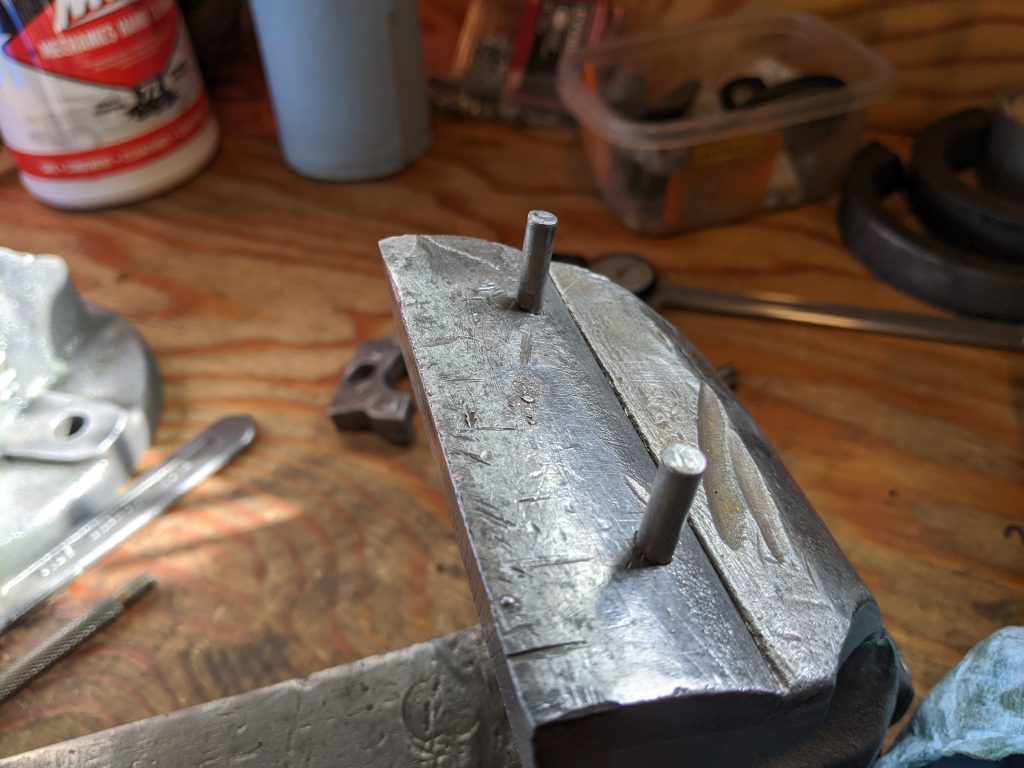
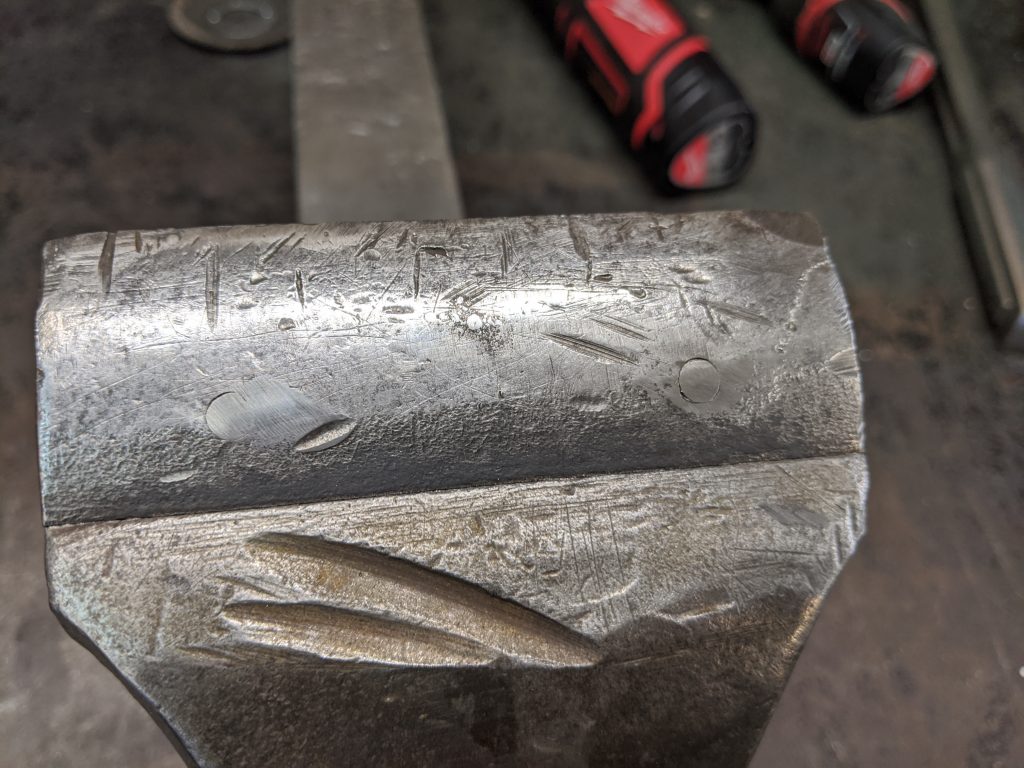
I have the same vise that I’m currently refurbing. What did you use for the jaw pins? I have the old ones but they were really hard to remove and could definitely be longer. Were the pins tapered or the holes? Thanks!
I keep stainless rod in a few different sizes laying around . . . always seem to come in handy. As for taper, I didn’t check. I figured this to be a coarse job so I didn’t spend too much time on precision. I ground an entry taper/bevel on the pins at the end just so I could get them started easily. Rest of the pin length was all the same diameter. Installed with reasonable force on the swing press.
What a great story and outstanding example and beautiful restoration. Thank you for sharing!
Will you consider documenting the dimensions of the center bolt? (Lack the head height, shoulder length and overall length. )