Managed to squeeze in one more session last night before heading out for vacation in DR Friday in the wee hours. You know I’ll be thinking about this project next to the pool with a drink in my hand. Can’t turn it off. Ever.
I walked into the shop last night at 8:30p after a 15hr day traveling and working. I was on the lathe making chips by 8:33p.
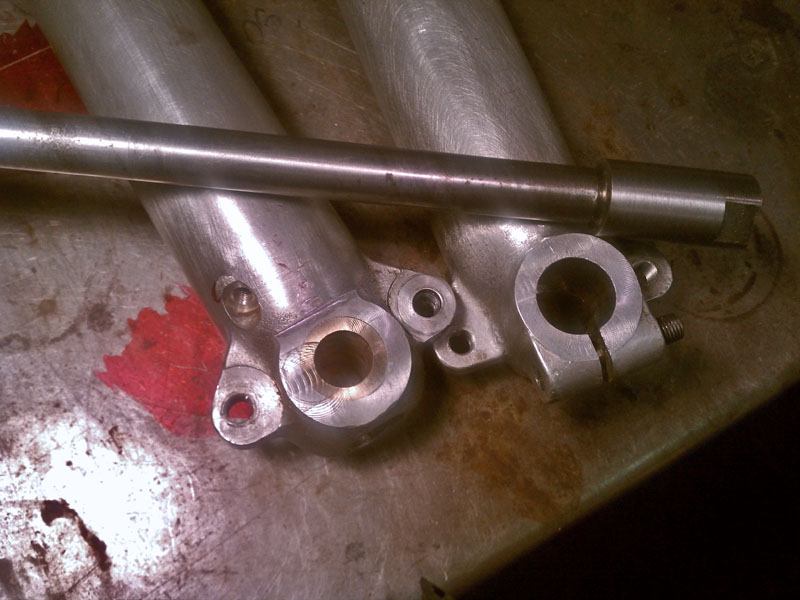
This is the original Suzuki axle that belongs to the hub/brake. Research showed that most folks used the Norton axle for this modification. Well, I don’t have one. Plus, the Suzuki axle already has the correct dimensions for the bearings, which is an important fit. At the end of last session, with Young Dan and Mika’s input, we came up with a plan to turn down the pinched section of the axle to match the right right fork leg. We also decided to bore and bush the left leg to match the smaller axle diameter and face it off so the brake plate and heavy washer and main nut will have a large uniform engagement area to better handle the increased braking loads and resist deformation.
I didn’t have a suitable piece of steel to make the bushing so I used a piece of bronze bushing stock I found in my scrap bin. I never throw metal away. I’m the type of weirdo that will pick nuts and washers up off the street and pocket them for later deposit in the junk barrel. Don’t laugh. I almost always come up with a suitable piece of material.
Step by step below in pics, as usual. Only had a cell phone last night, so pics are crappy.
Bonus question for the observant: One of the fork legs requires one more machining operation. Be the first to name it and we’ll send you sweatshirt next time we make a batch.
Adios, mi amigos.
Jason
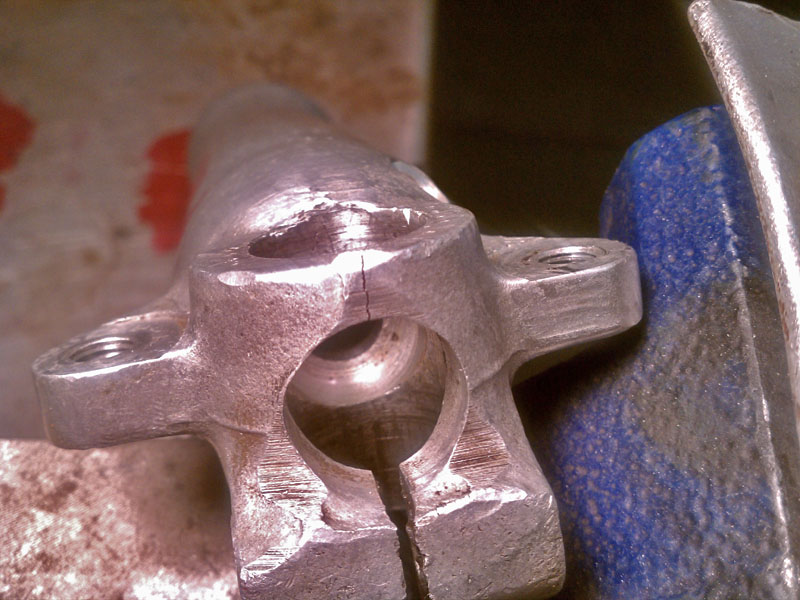
Pinch-side fork leg before modification. Note the crack. I don't think it's in a critical area considering most of the load is borne nearer the pinch boss.
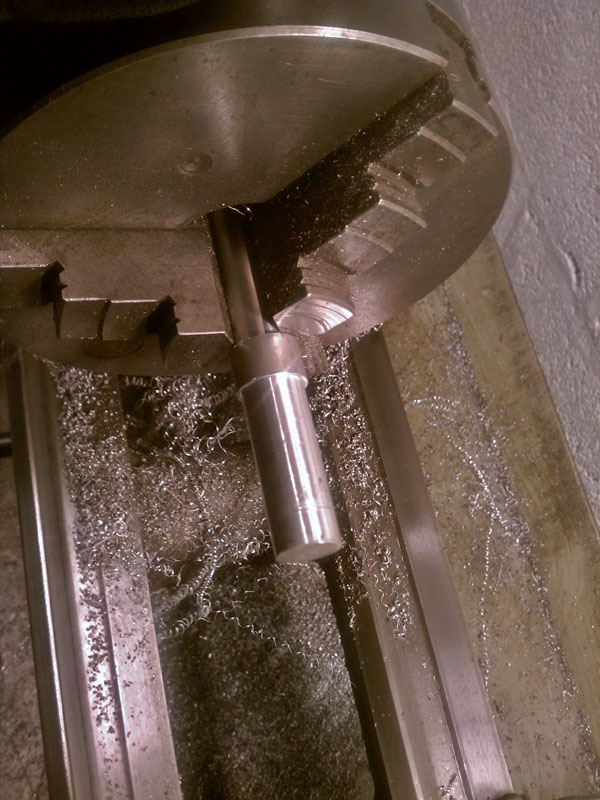
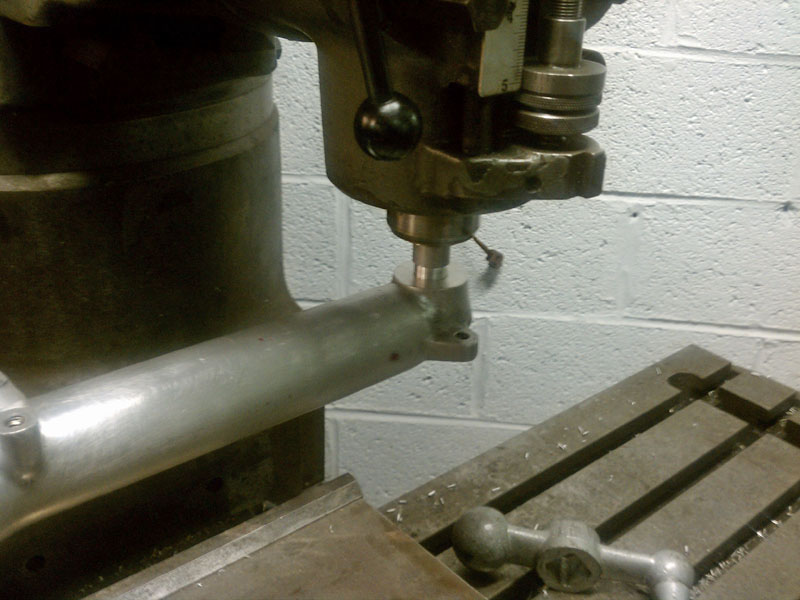
Locating the fork leg in the milling table vise is a hassle and takes time to get right. I decided to try a new approach. I made an arbor/fixture out of aluminum such that one side fit the collet and the other a slip-fit in the fork axle boss. Chuck the arbor, install the fork leg and locate the table and vise to the suspended leg. Tighten down and check that the arbor travels freely when you raise and lower the quill. Worked like a charm! Had to set the leg three times last night for various steps and this took a minute each time.
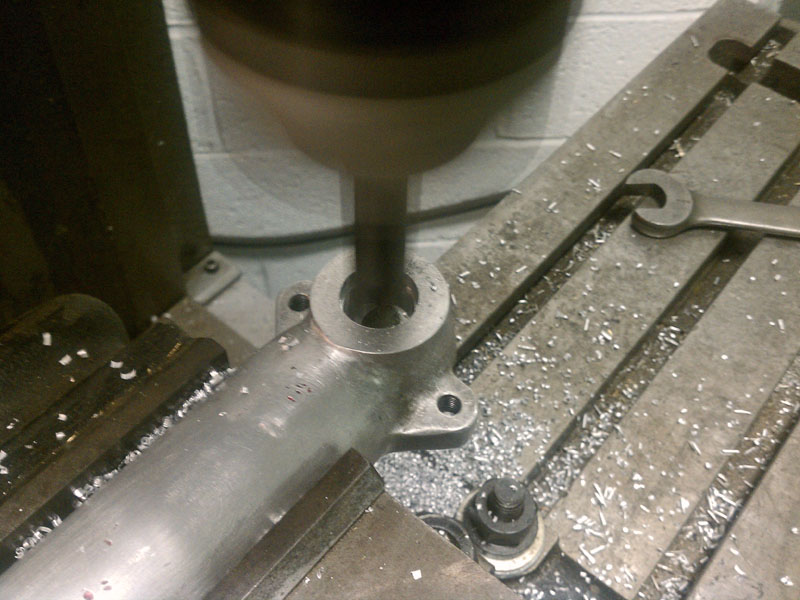
Boring the axle boss on the mill. This old girl is in such great shape the automatic down-feed and shut-off still work flawlessly. These features are usually broken on old manual mills. I wanted the bushing to have sufficient wall thickness to that it would not deform when pressed in. I also wanted a uniform hole for the press-fit. Otherwise I would not have modified the fork leg.
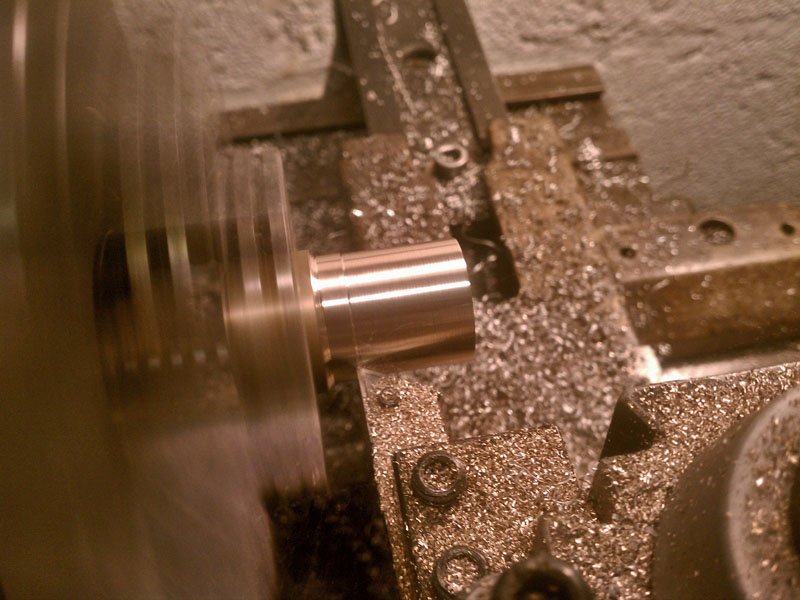
Making the bronze bushing on the lathe. The piece I had was just long enough for use, so I had to chuck it twice to get the O.D. uniform across its length.
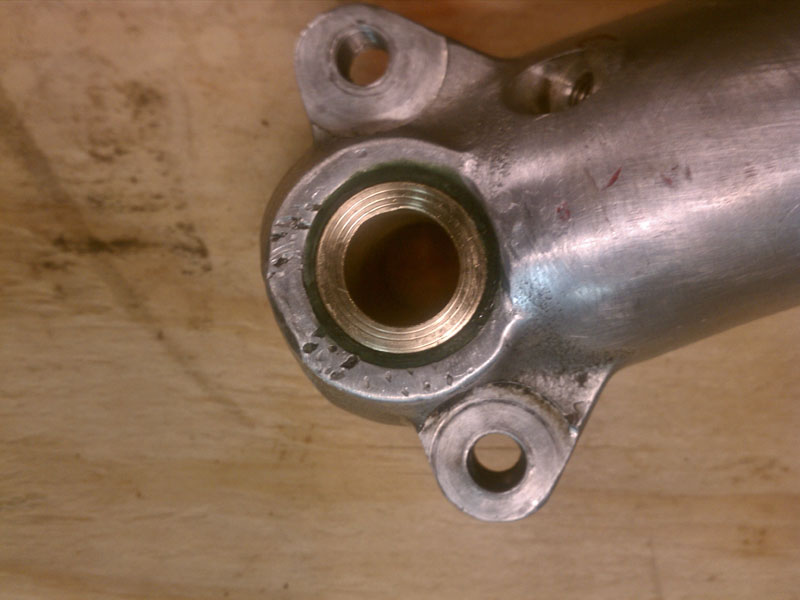
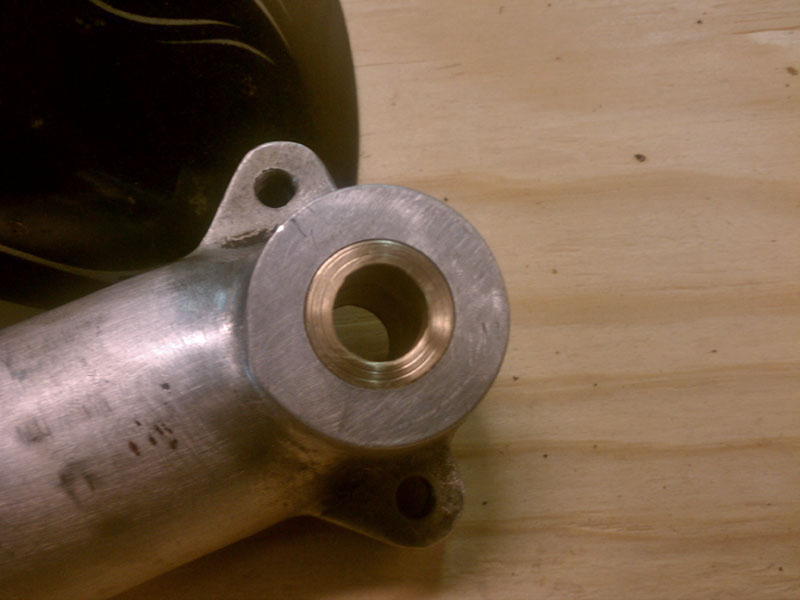
Bushing pressed in place. The green is excess bearing/bushing retainer that hadn't been wiped off yet.

