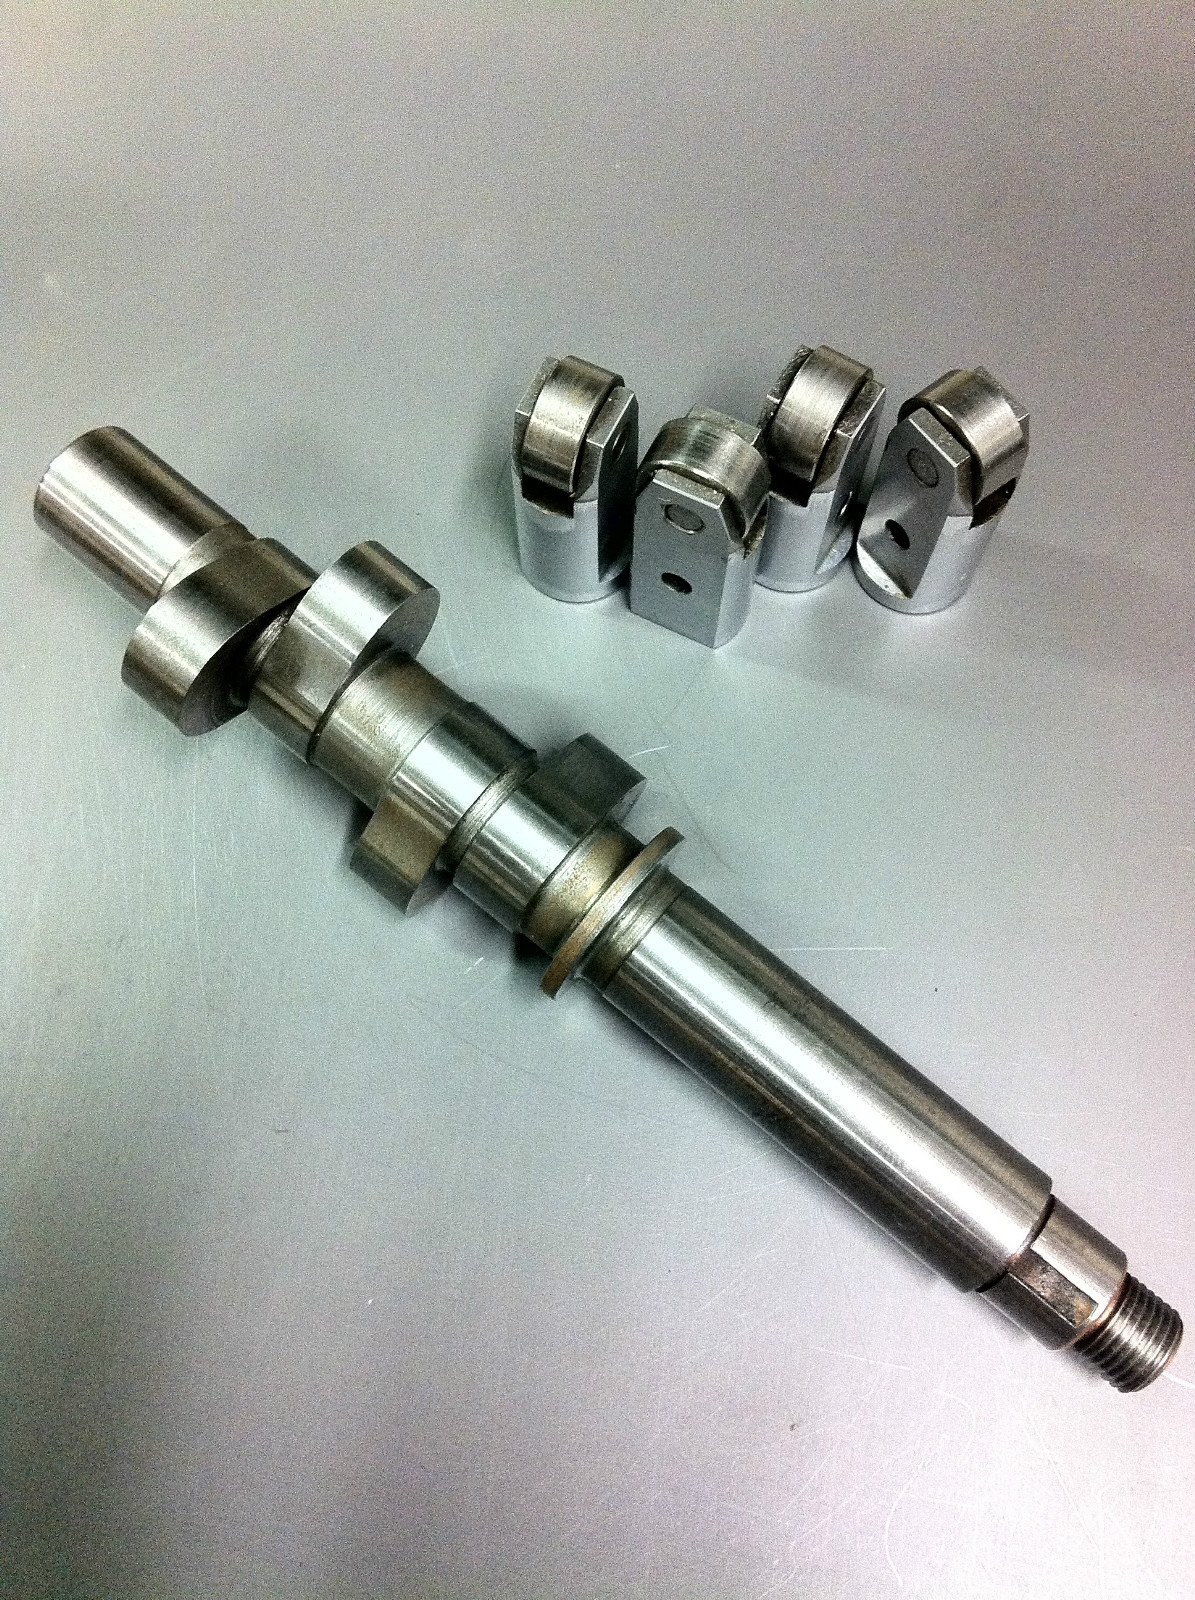
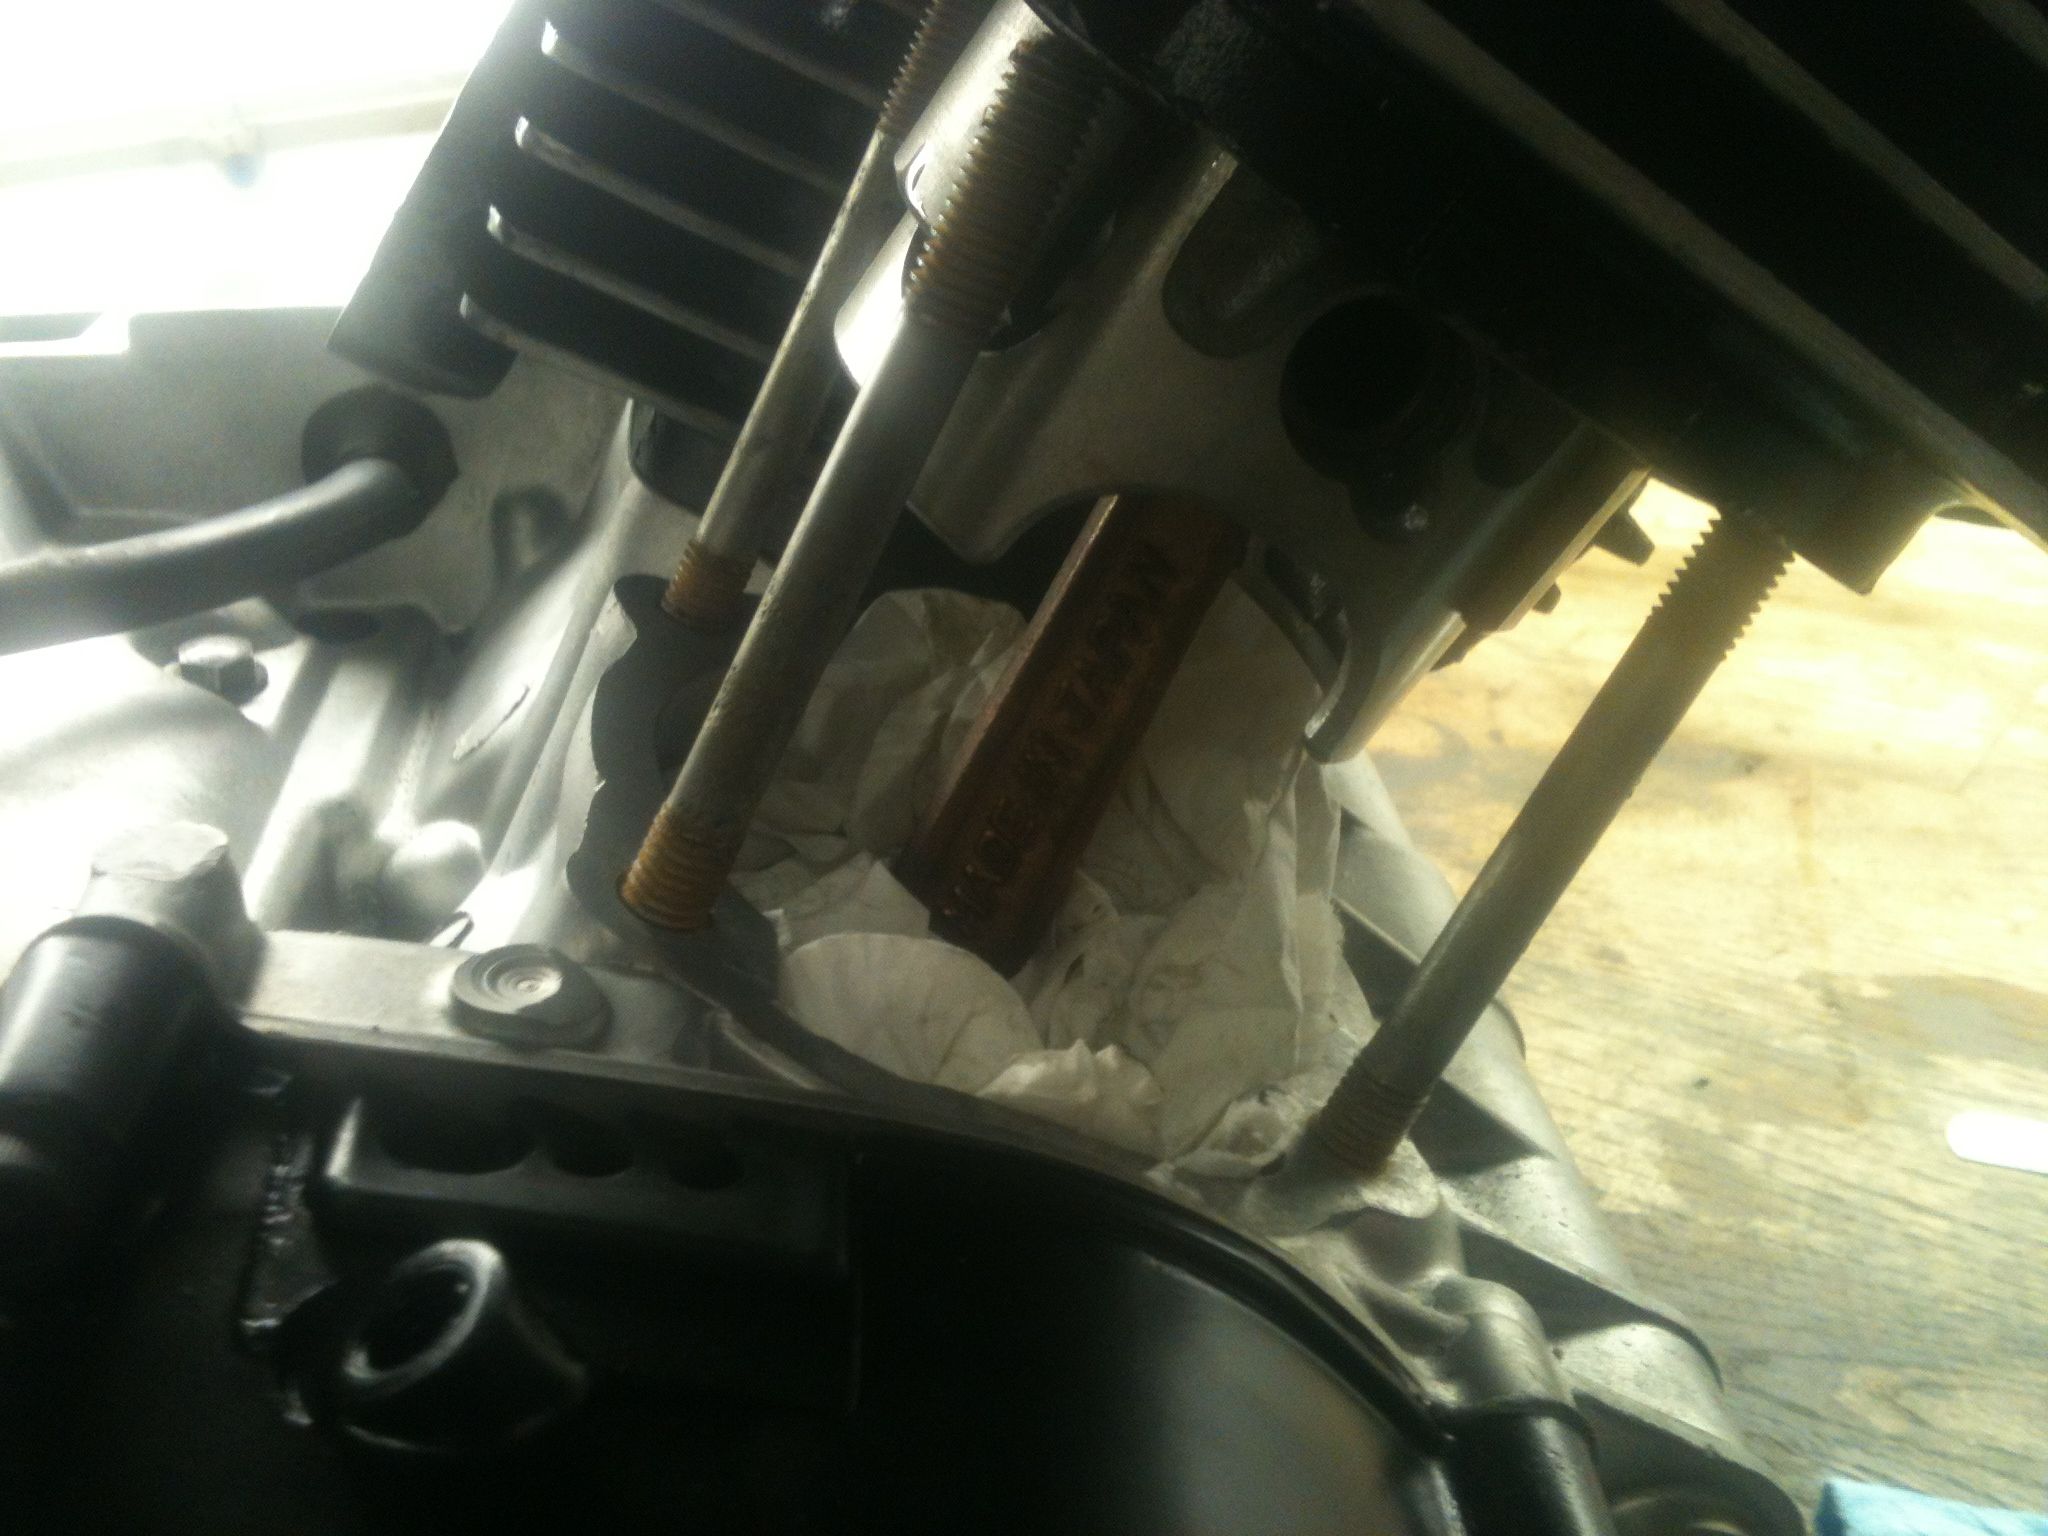
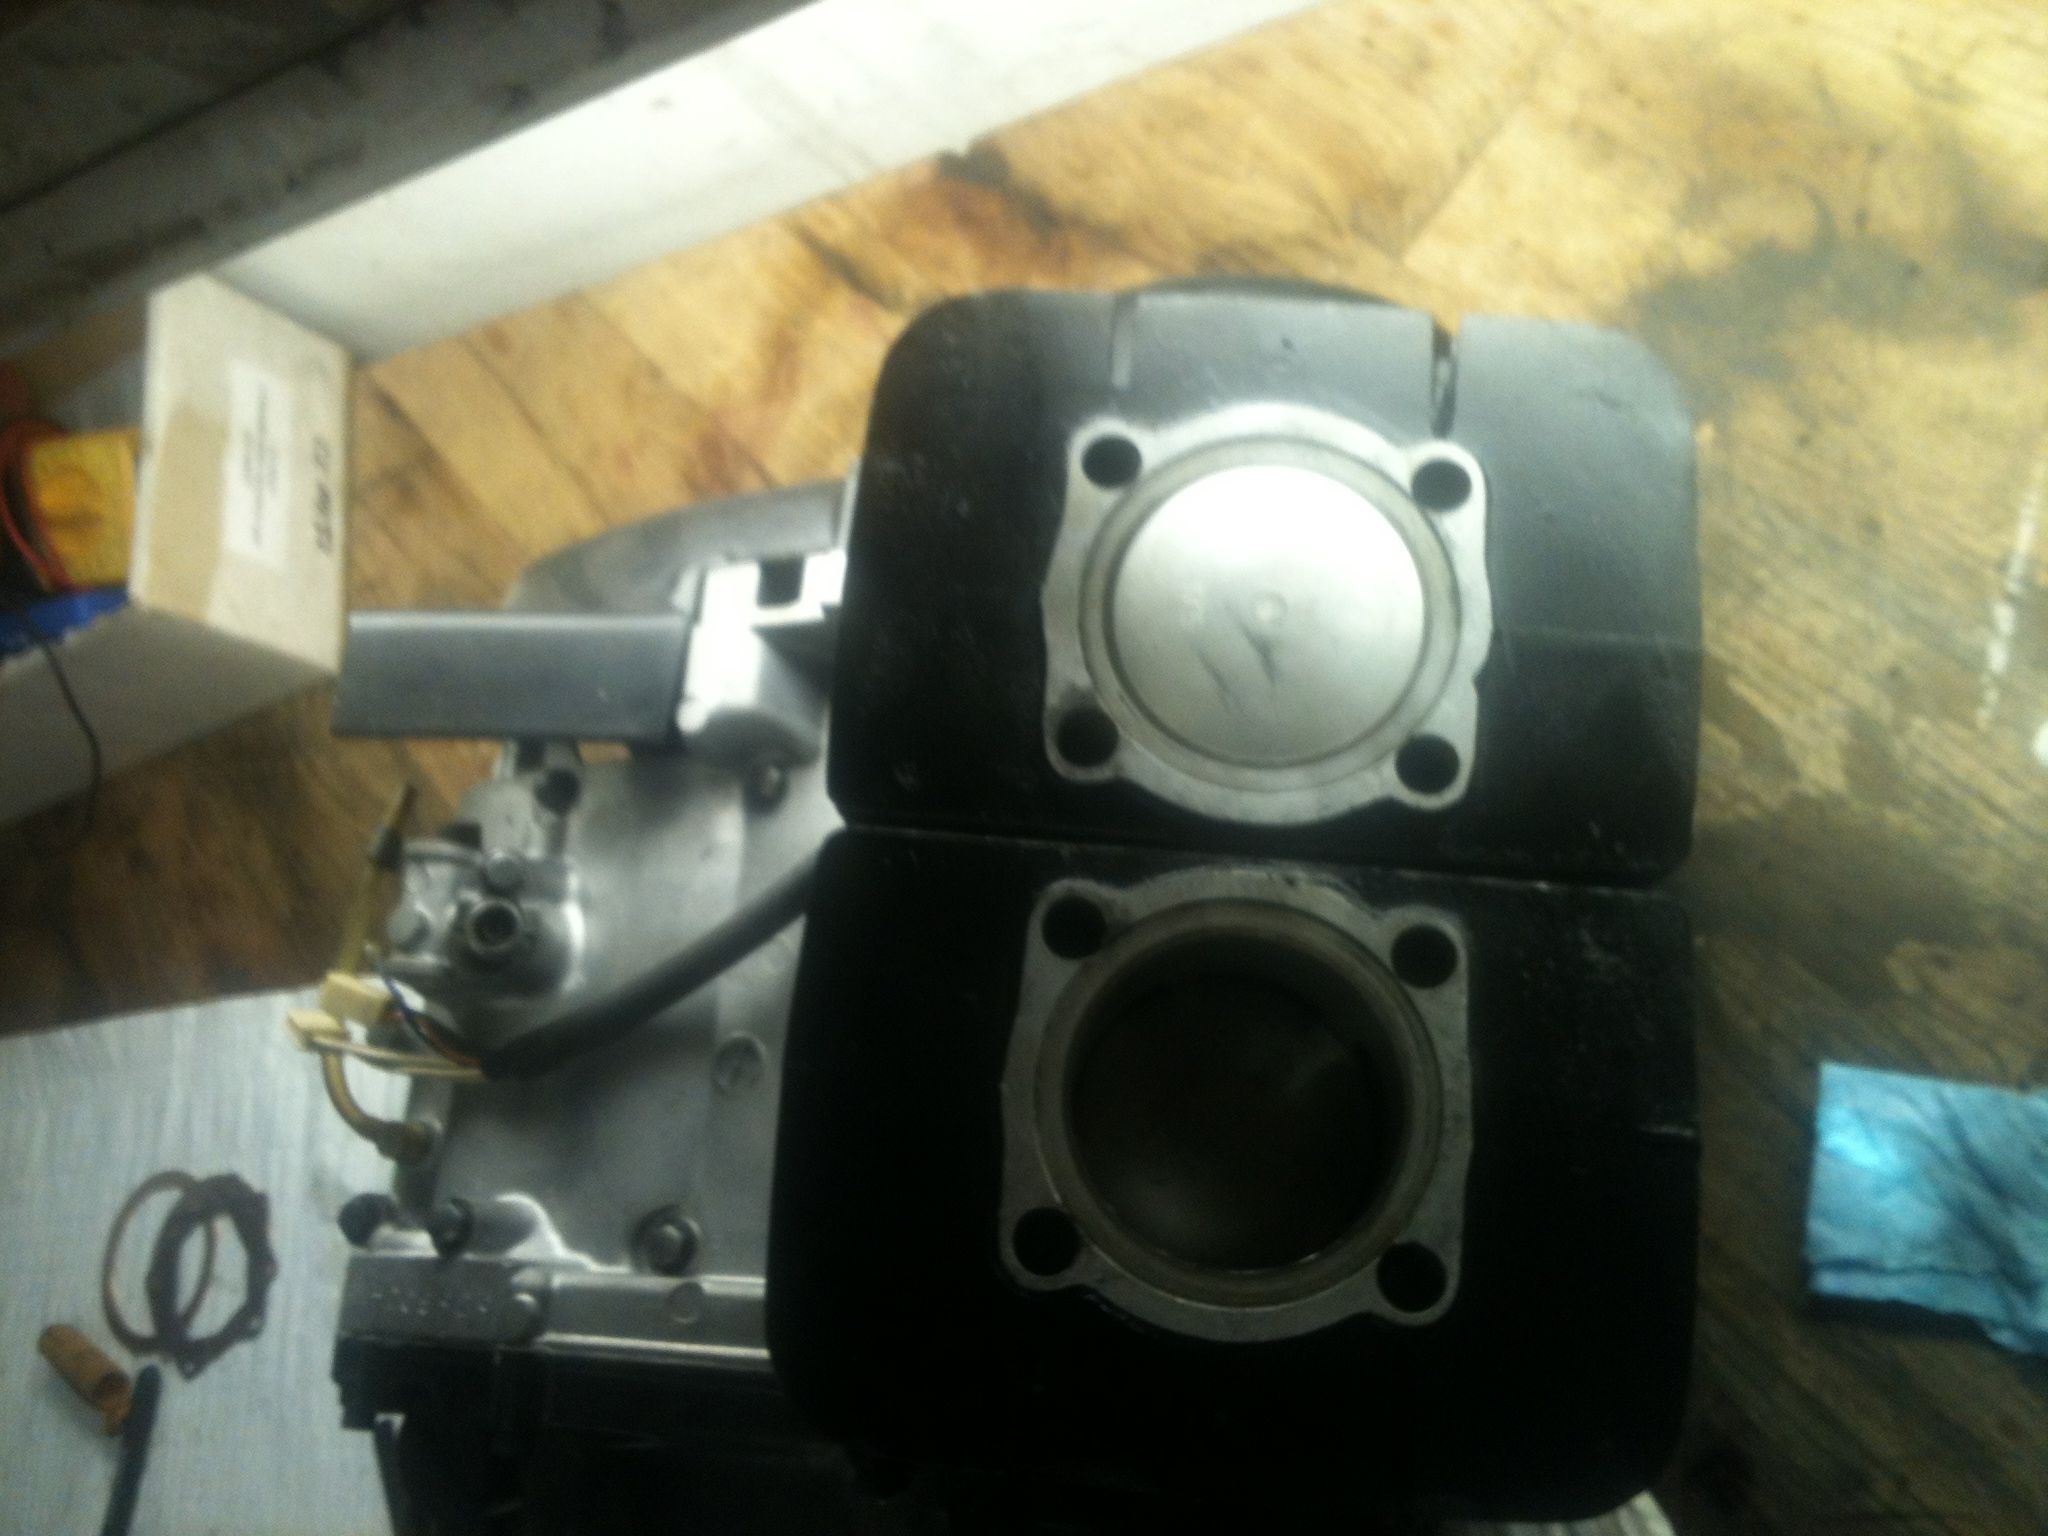
A friend of mine put me on with someone who was selling this super rare Harmon and Collins roller cam set up for an A7/10 BSA, and just coming back from the salt has me thinking of finishing up the LSR bike for next year. I have never seen one of these in person and only heard of them for triumph pre-unit nitro burning motors. Cant wait to put this thing together. Enjoy
-DAN
Author Archives: Young Dan
A few photos from the digital landscape…..
Fitting glide risers to an early springer
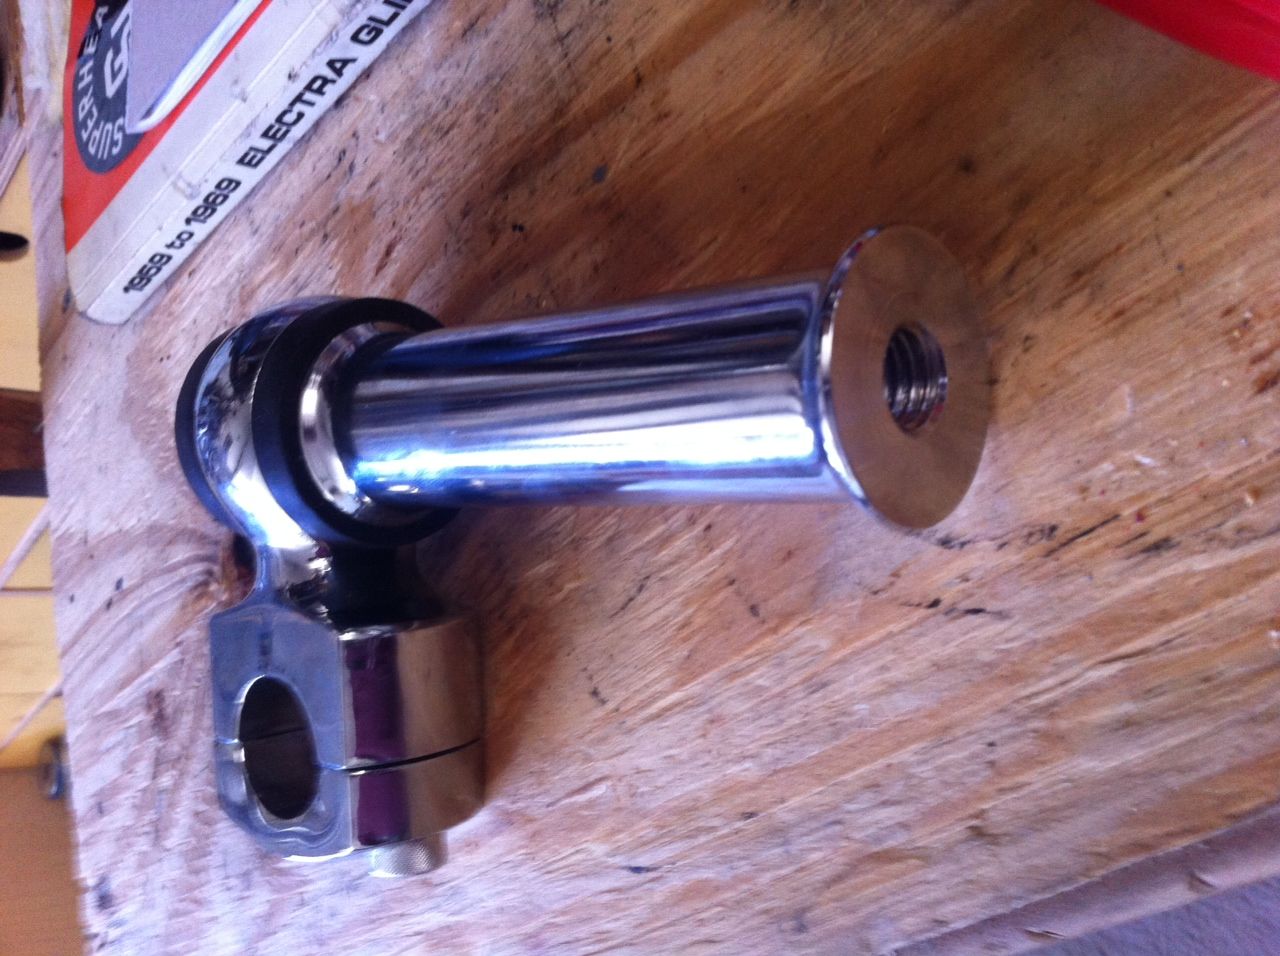
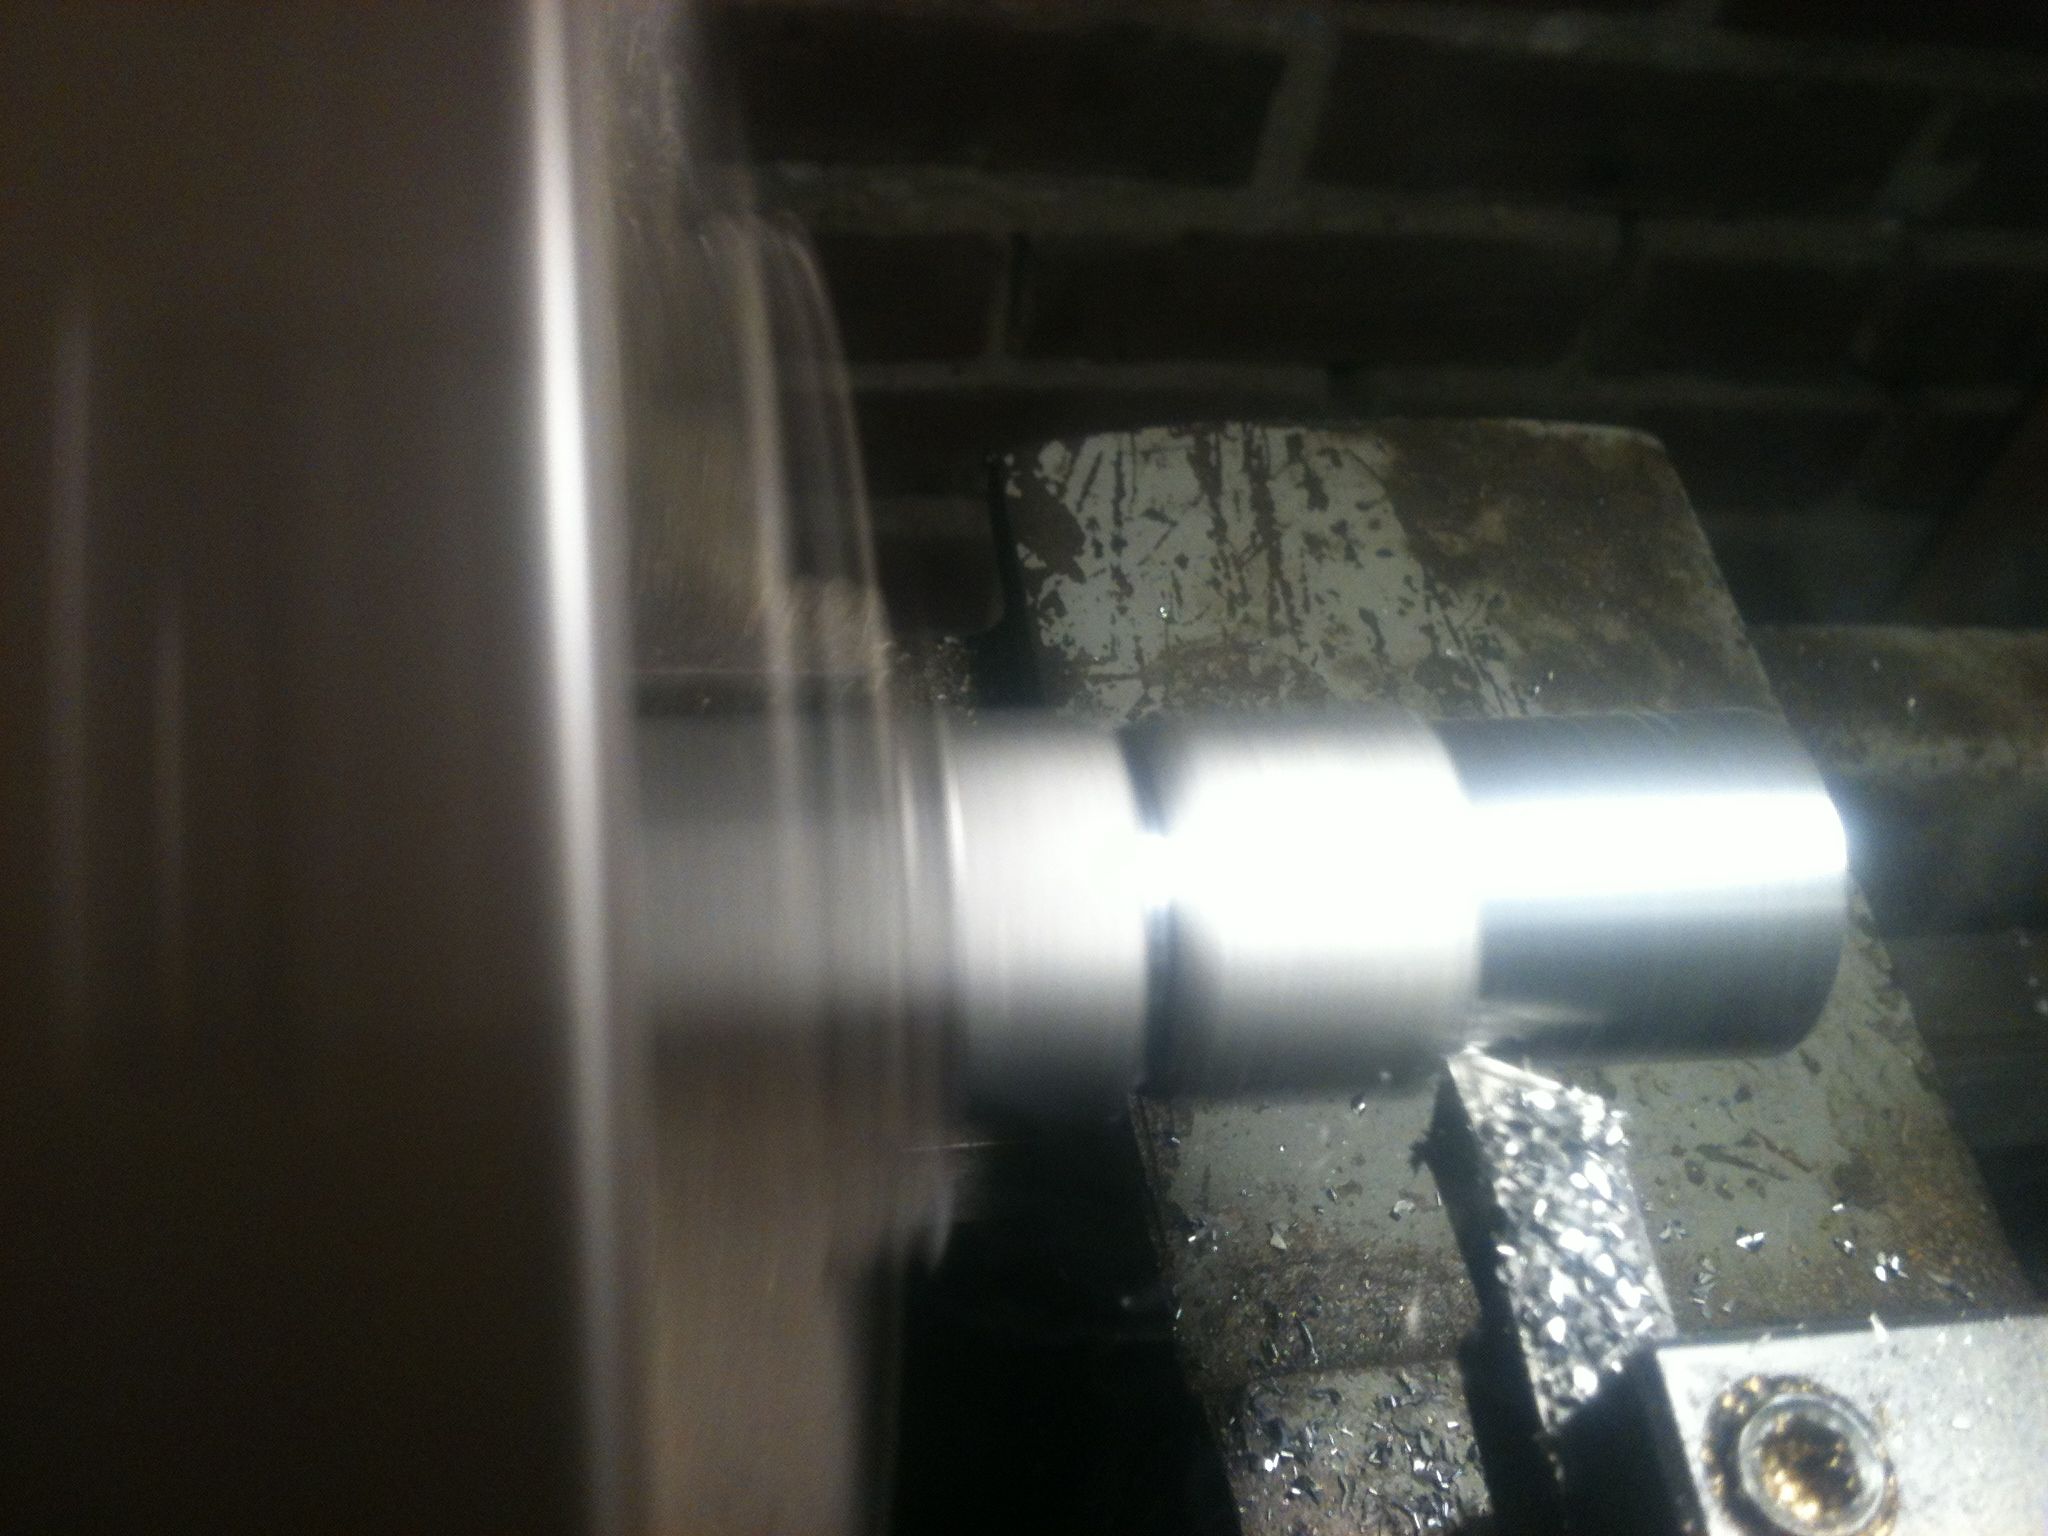
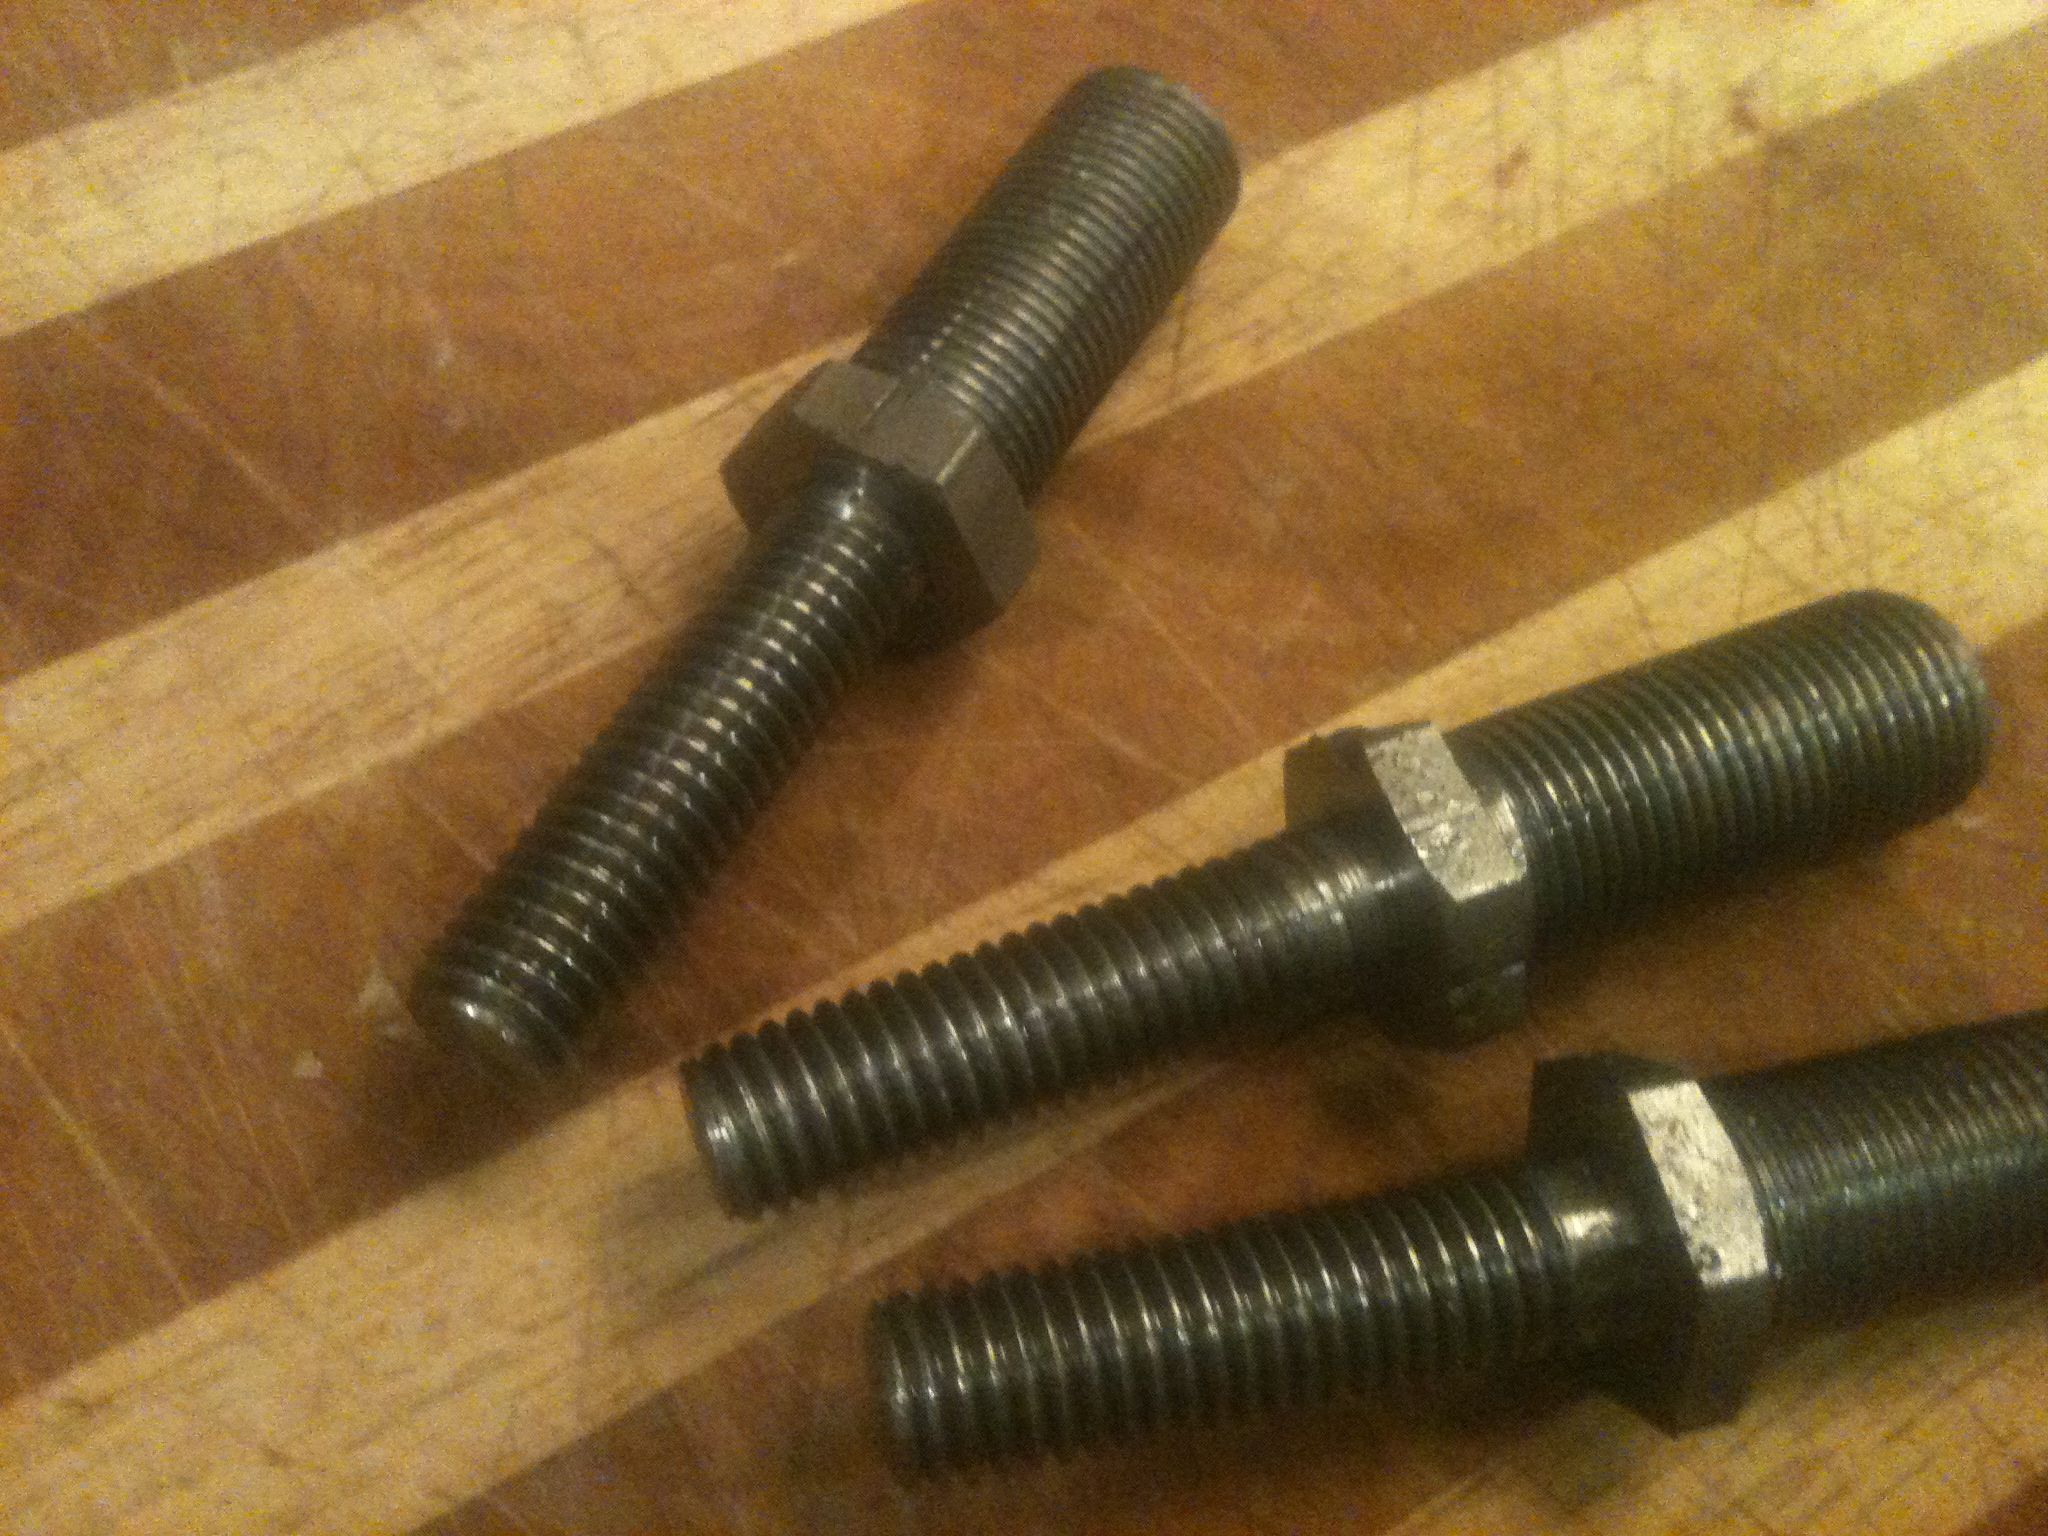
A few days ago Denny from california called me to bounce ideas about his current pan project. He has these flanders risers that he wants to fit to an early springer. Normally the springer top clamp has two ears that you would put dog bone risers on. He told me V-Twin used to make sell this but has called around and no one has had this for years. After 20 questions and some pictures I decided to turn these up for him.
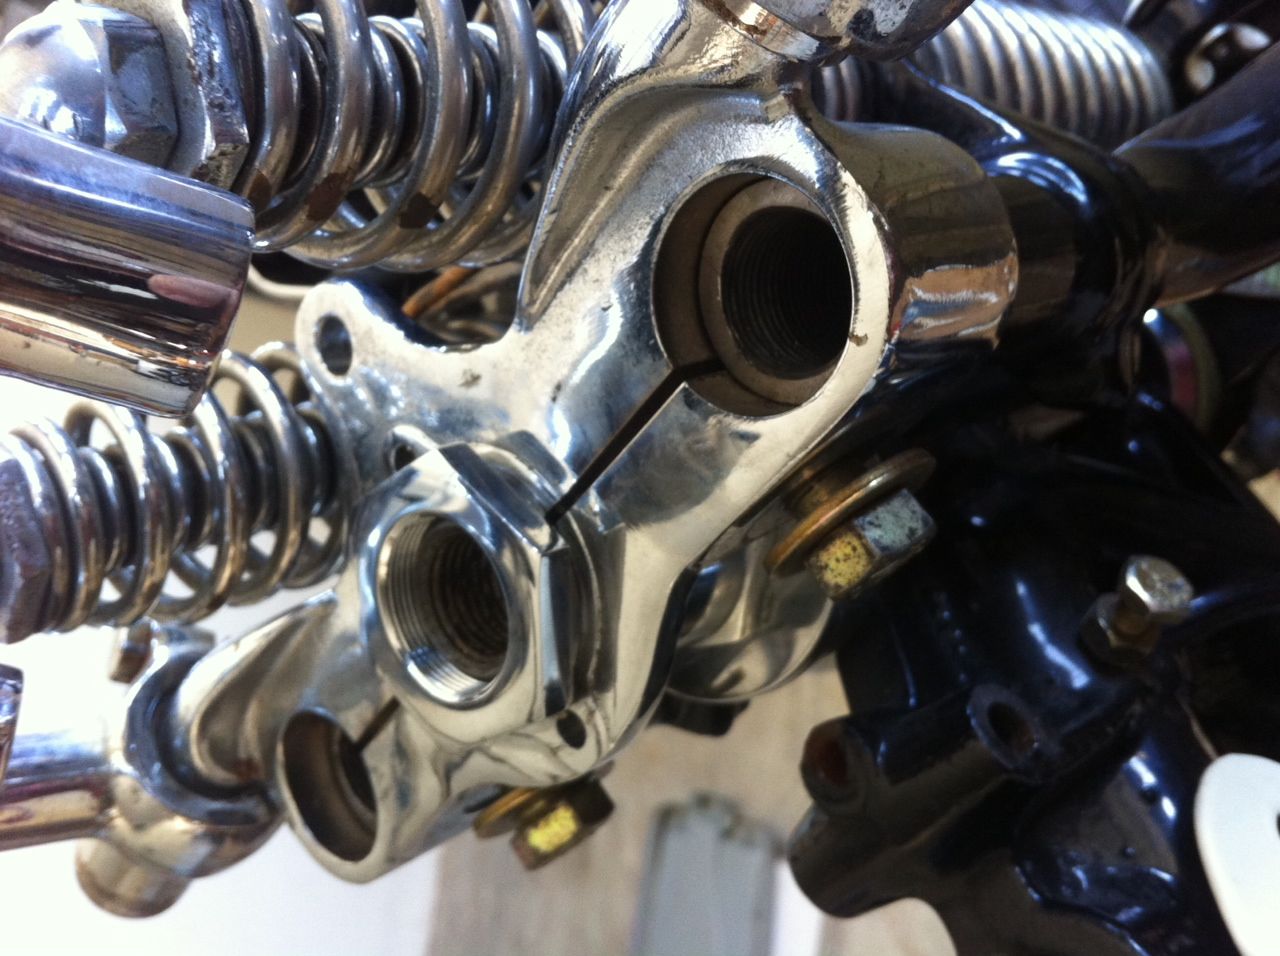
Its hard to see in there but the rear legs are threaded internal 3/4 x 16. The ID of the hole in the top tree 1" and the risers sit on top of the tree not in it. Also notice the ears with the dog bones mounted currently.
Although Ive tried plenty of times I am never happy with the the threads when using the lathe in single point threading. Most of the time I start the threads with the lathe and get them almost to finished size, then run a die over them to finish. I did the same on these and it worked well.
I bought plenty of extra stock so if any of you are looking for the same thing contact me dan@greasygringo.com And yes these are MAIDEN AMERICA
Go to this
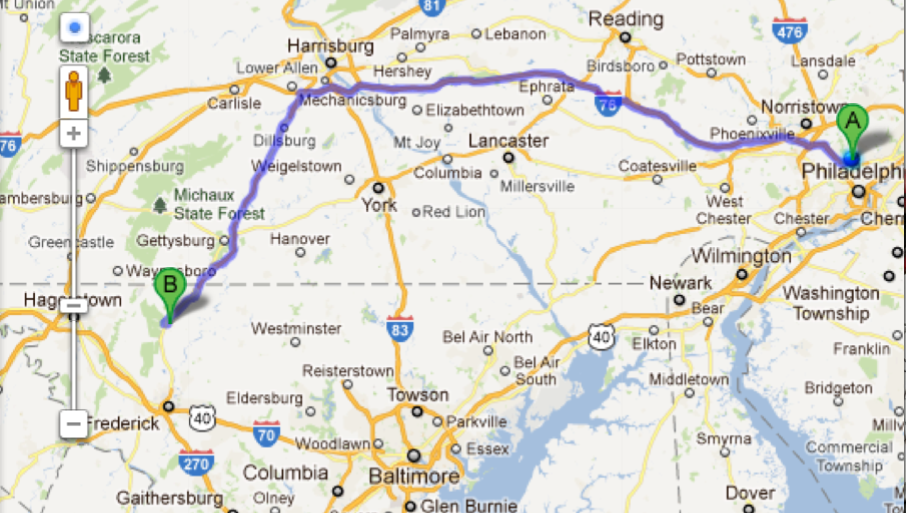
Big Trip Tomorrow
Follow up to Jason’s picture post
Perfect
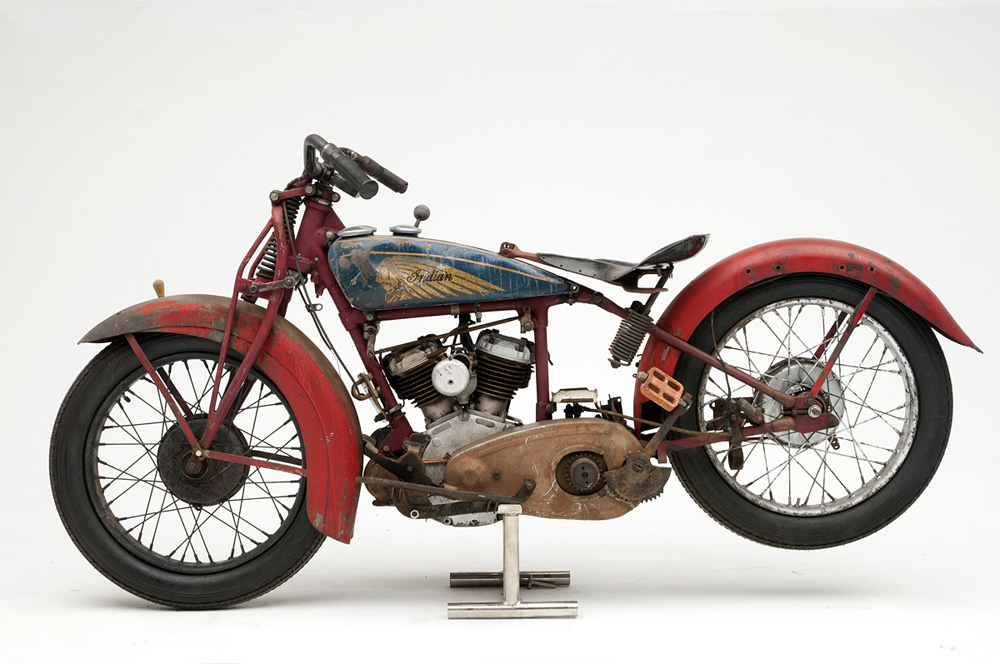
This 37 Indian Junior Scout has been up on ebay several times already. Hope someone doesn’t buy it to restore and ruin its patina.
Fixing dented pipes
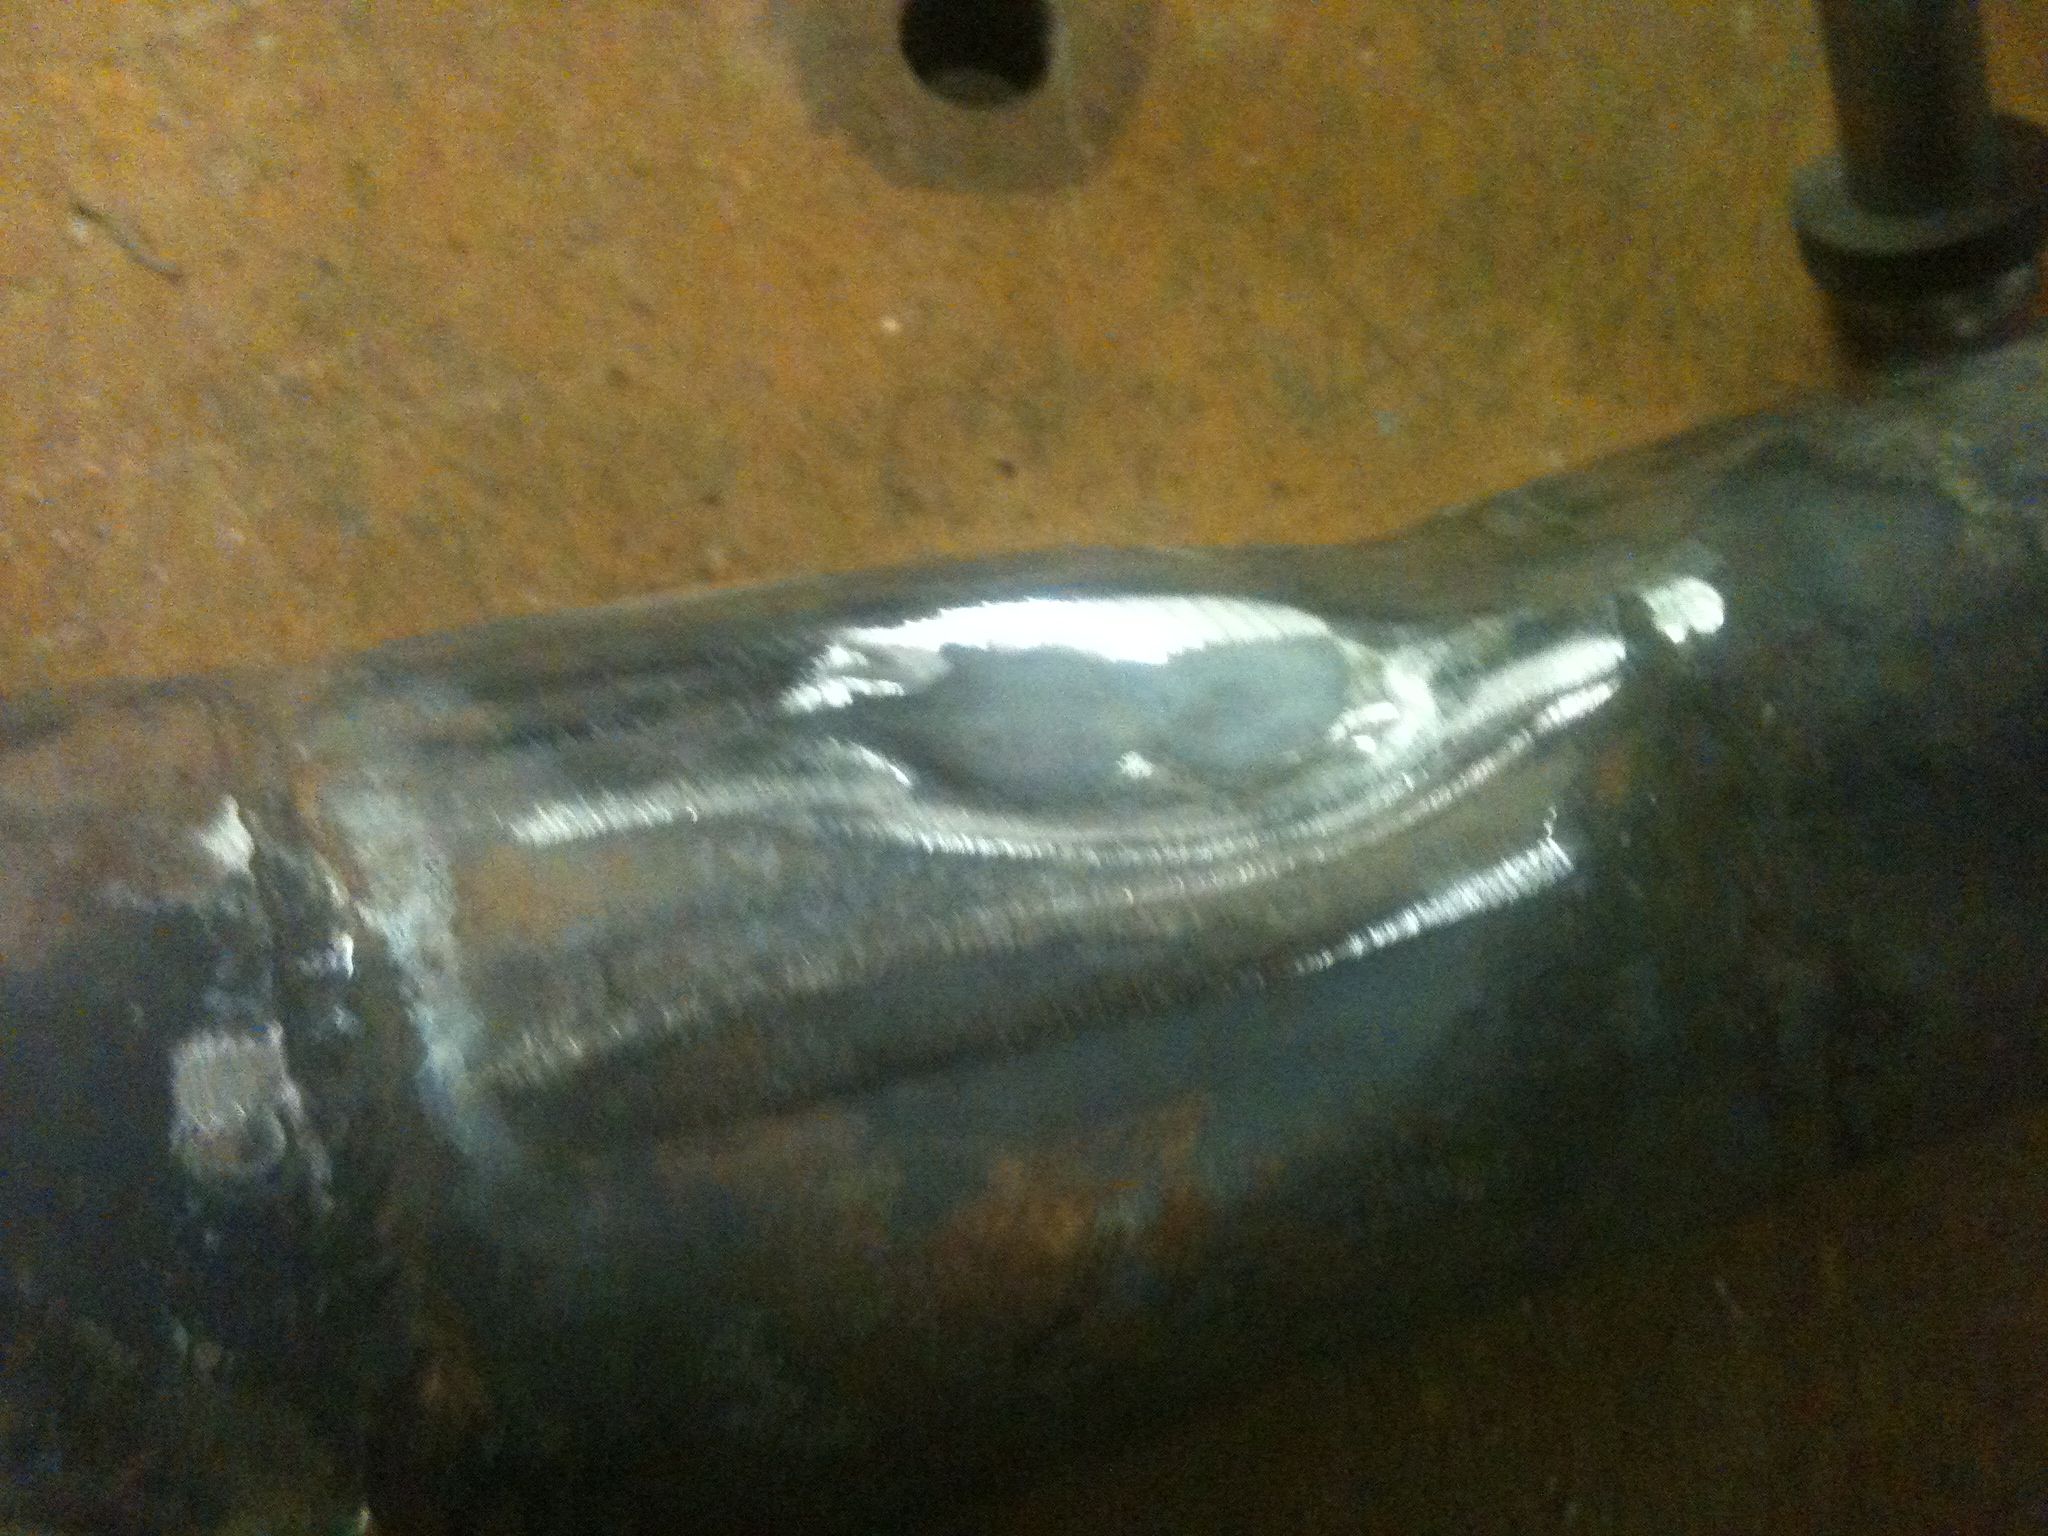
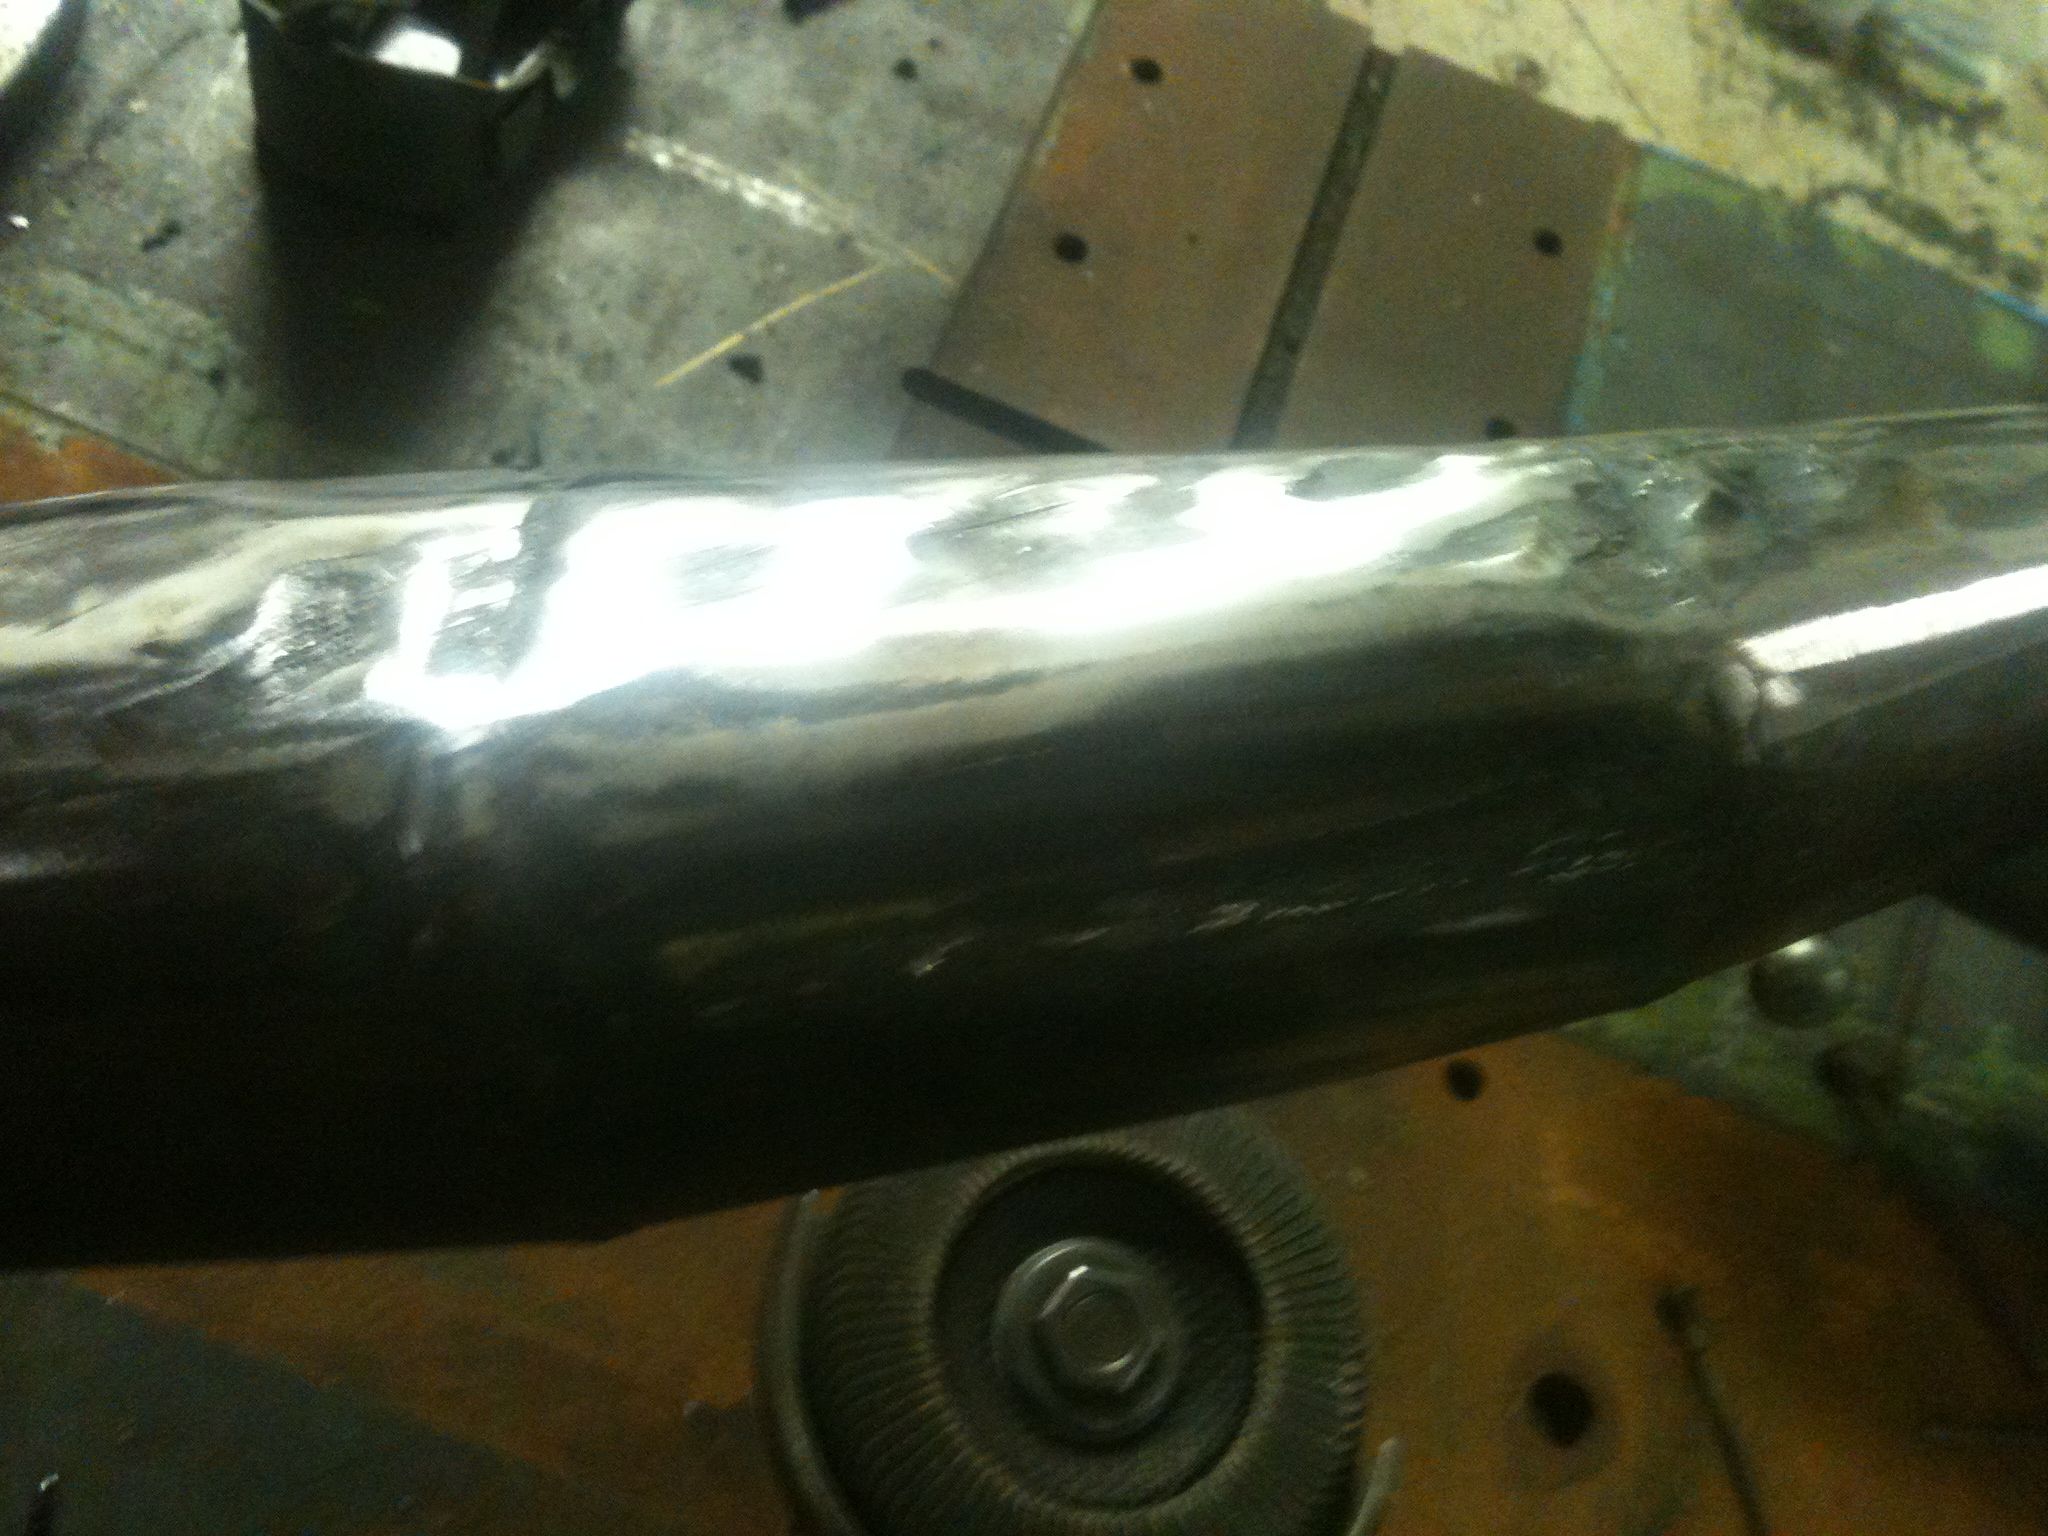
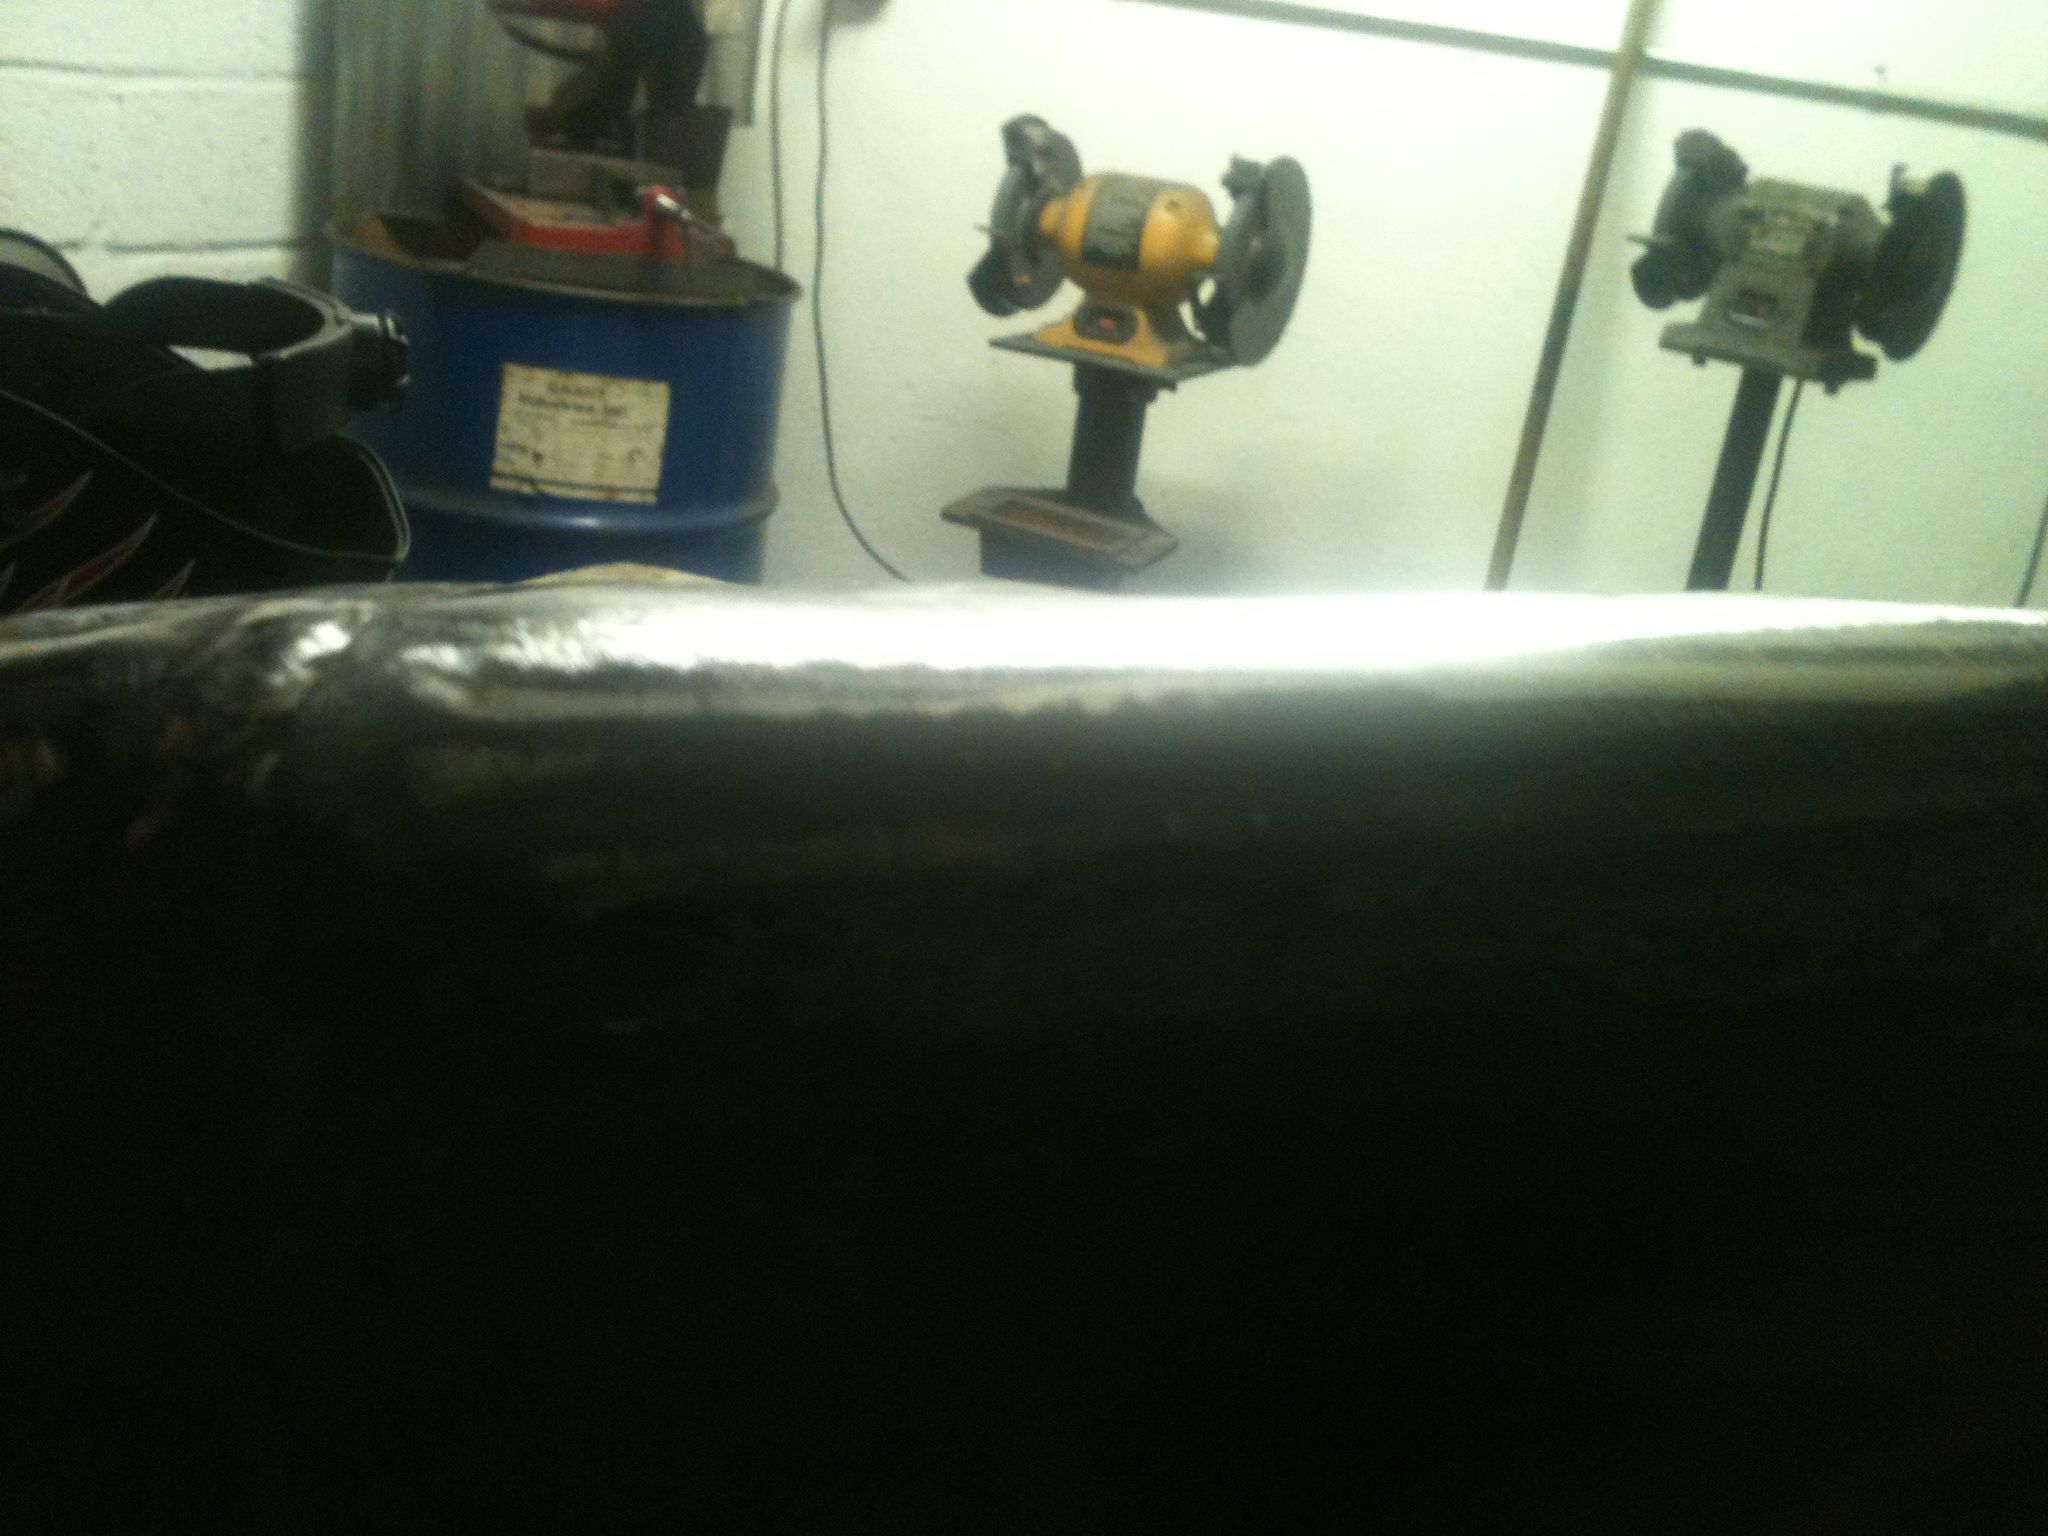
I picked up this set of beat-up pipes for my current project. They were typical of a 30 year old part and were rife with dents and creases. Ive heard a lot of talk of guys putting water in pipes and freezing them to push dents out. I promise you this will bulge your pipe in ways you don’t want. I decided to pull the dents out using a trick I learned working at an auto body shop years ago.
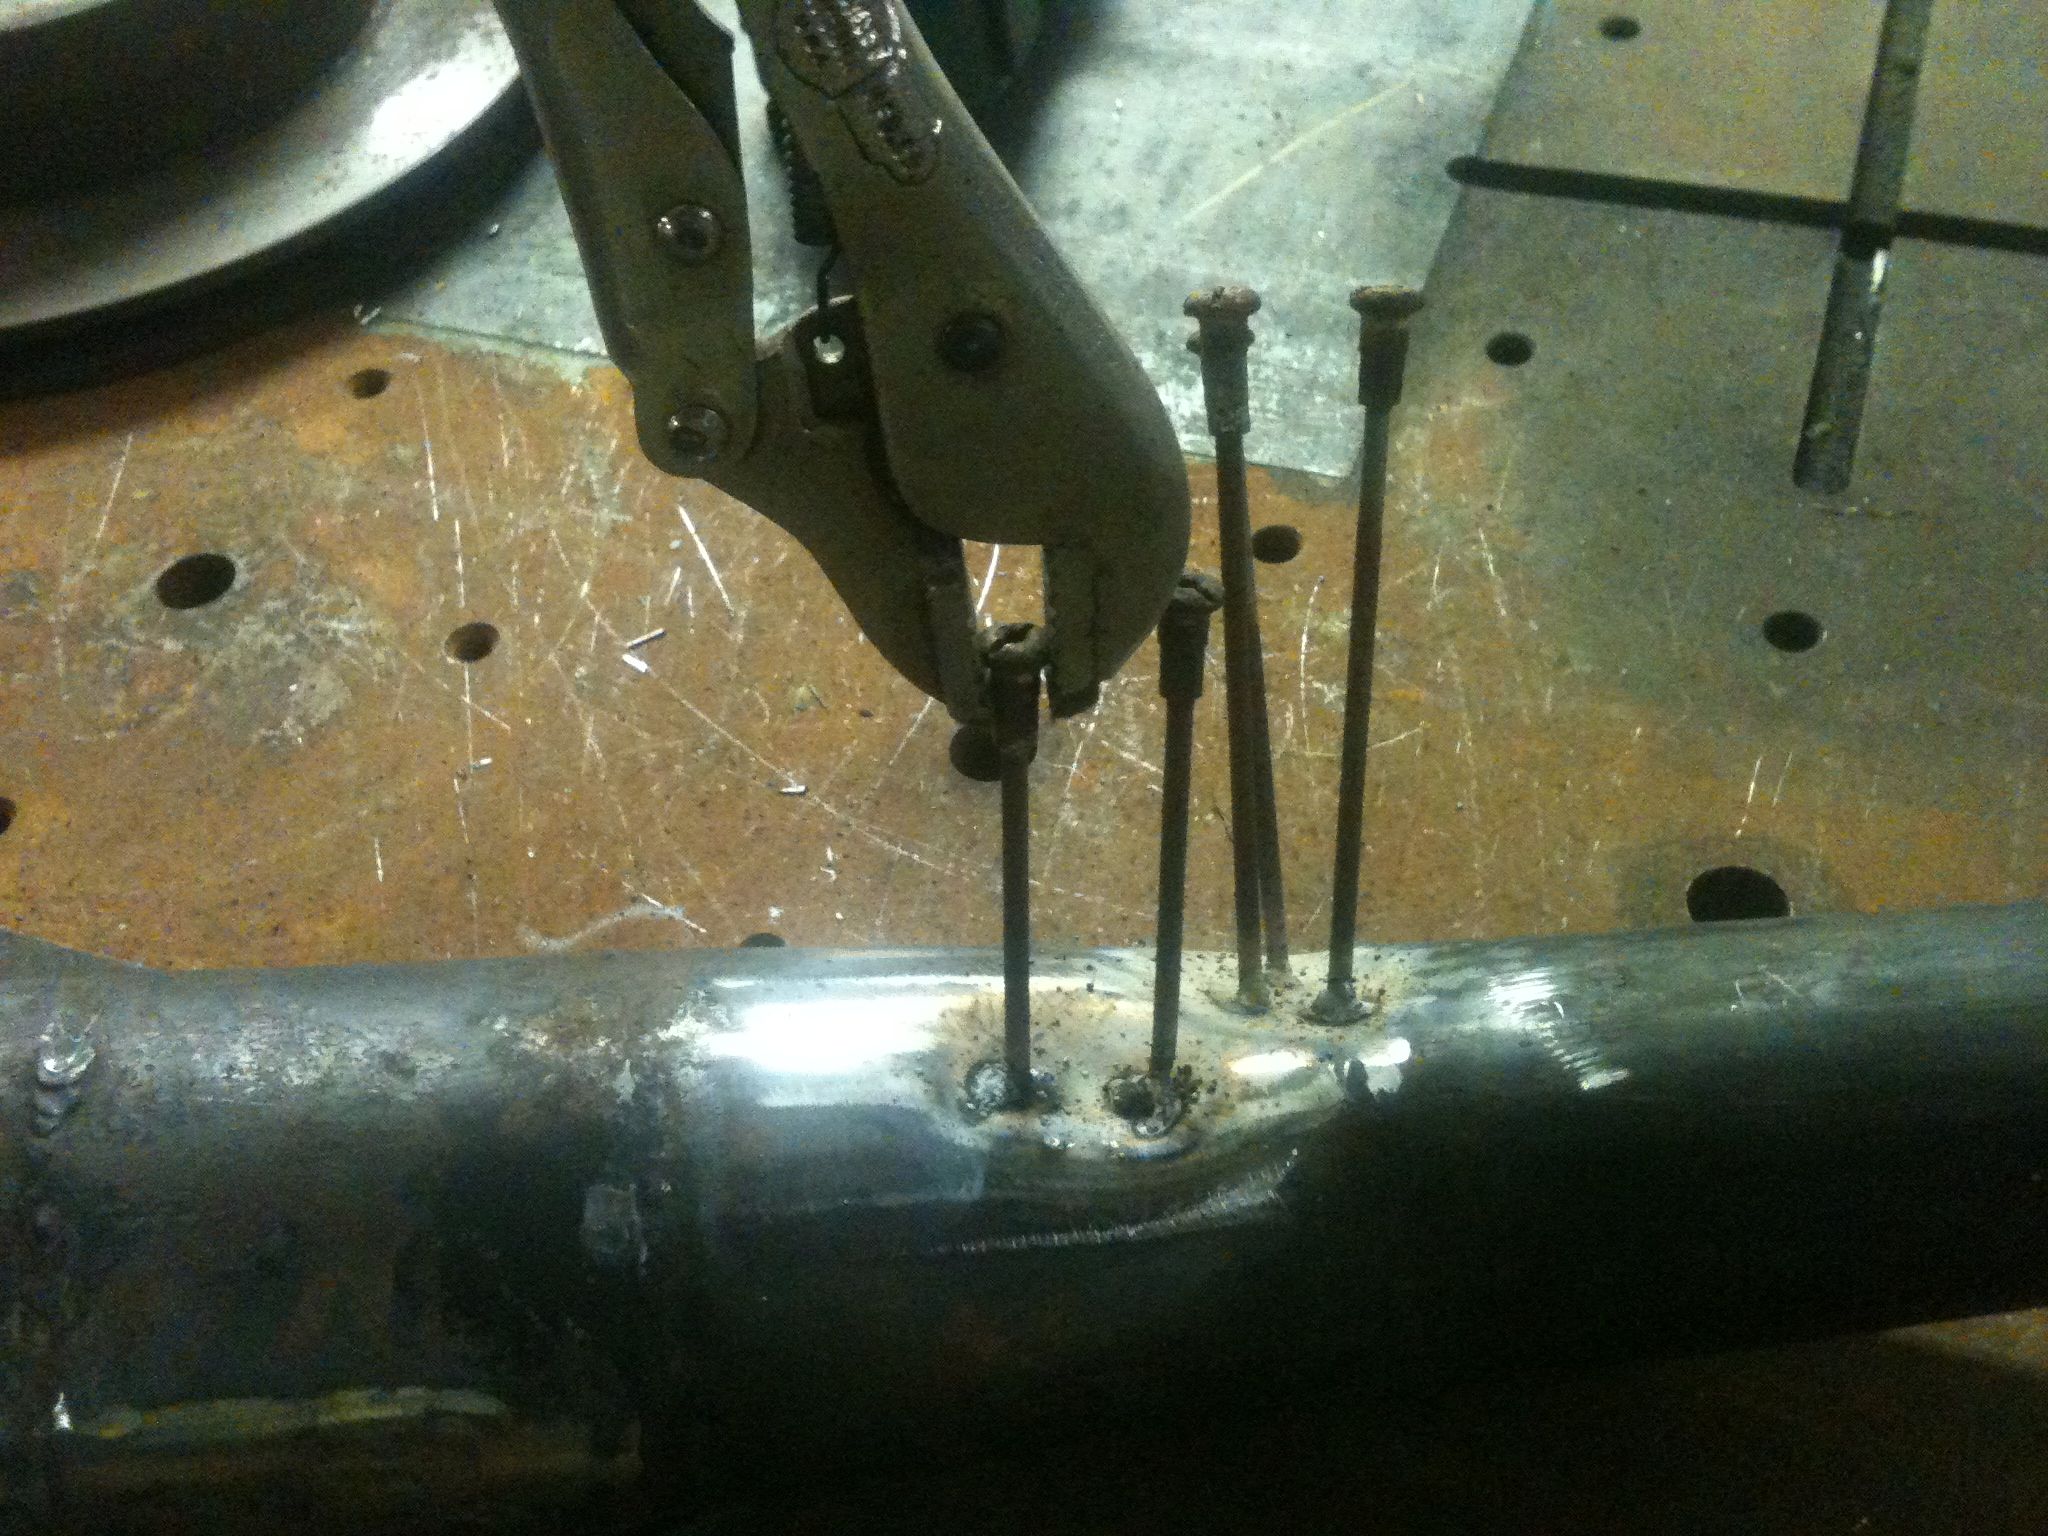
At the body shop we had this slick little spot welding gun that would weld studs to the sheet metal and you would pull the dents out with a slide hammer. I have neither of those, But I did have some old spokes, a torch and welder to work with.
After welding the spokes on I heated the area cherry red and slowly pulled to working as I went. Sometimes I had to go back and reposition the studs after I pulled it all out to get the last bit. I finally ground off all the stud mount welds to finish the job. These pipes woulnt be perfect after this but much better than before and they are getting painted soon.
-Dan
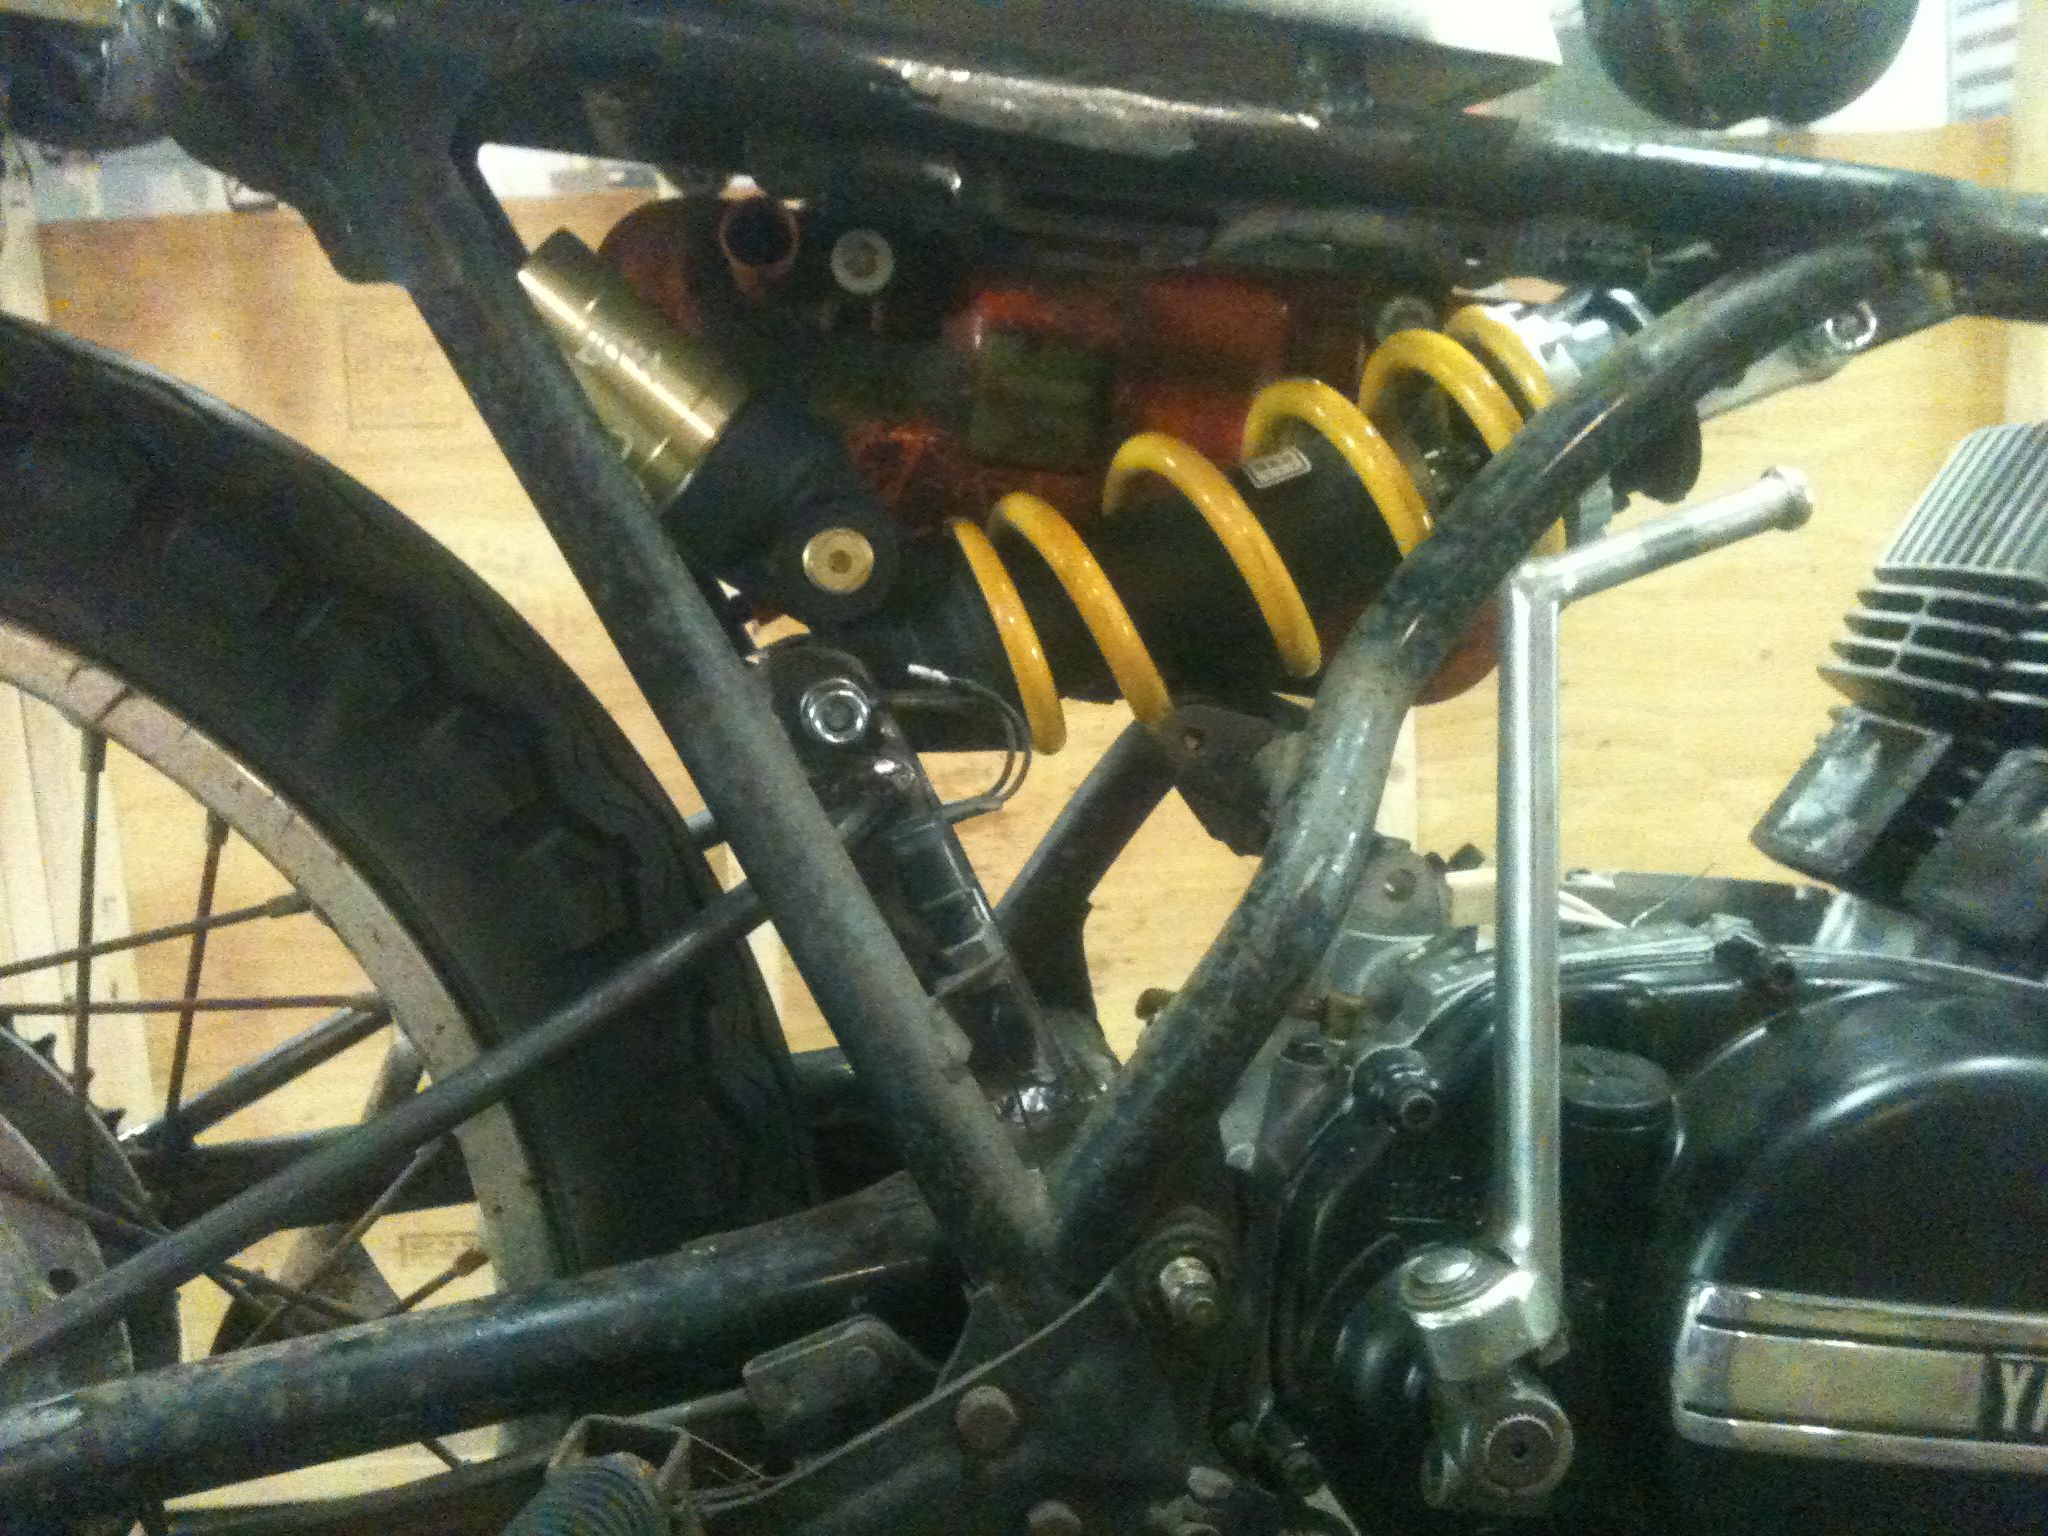
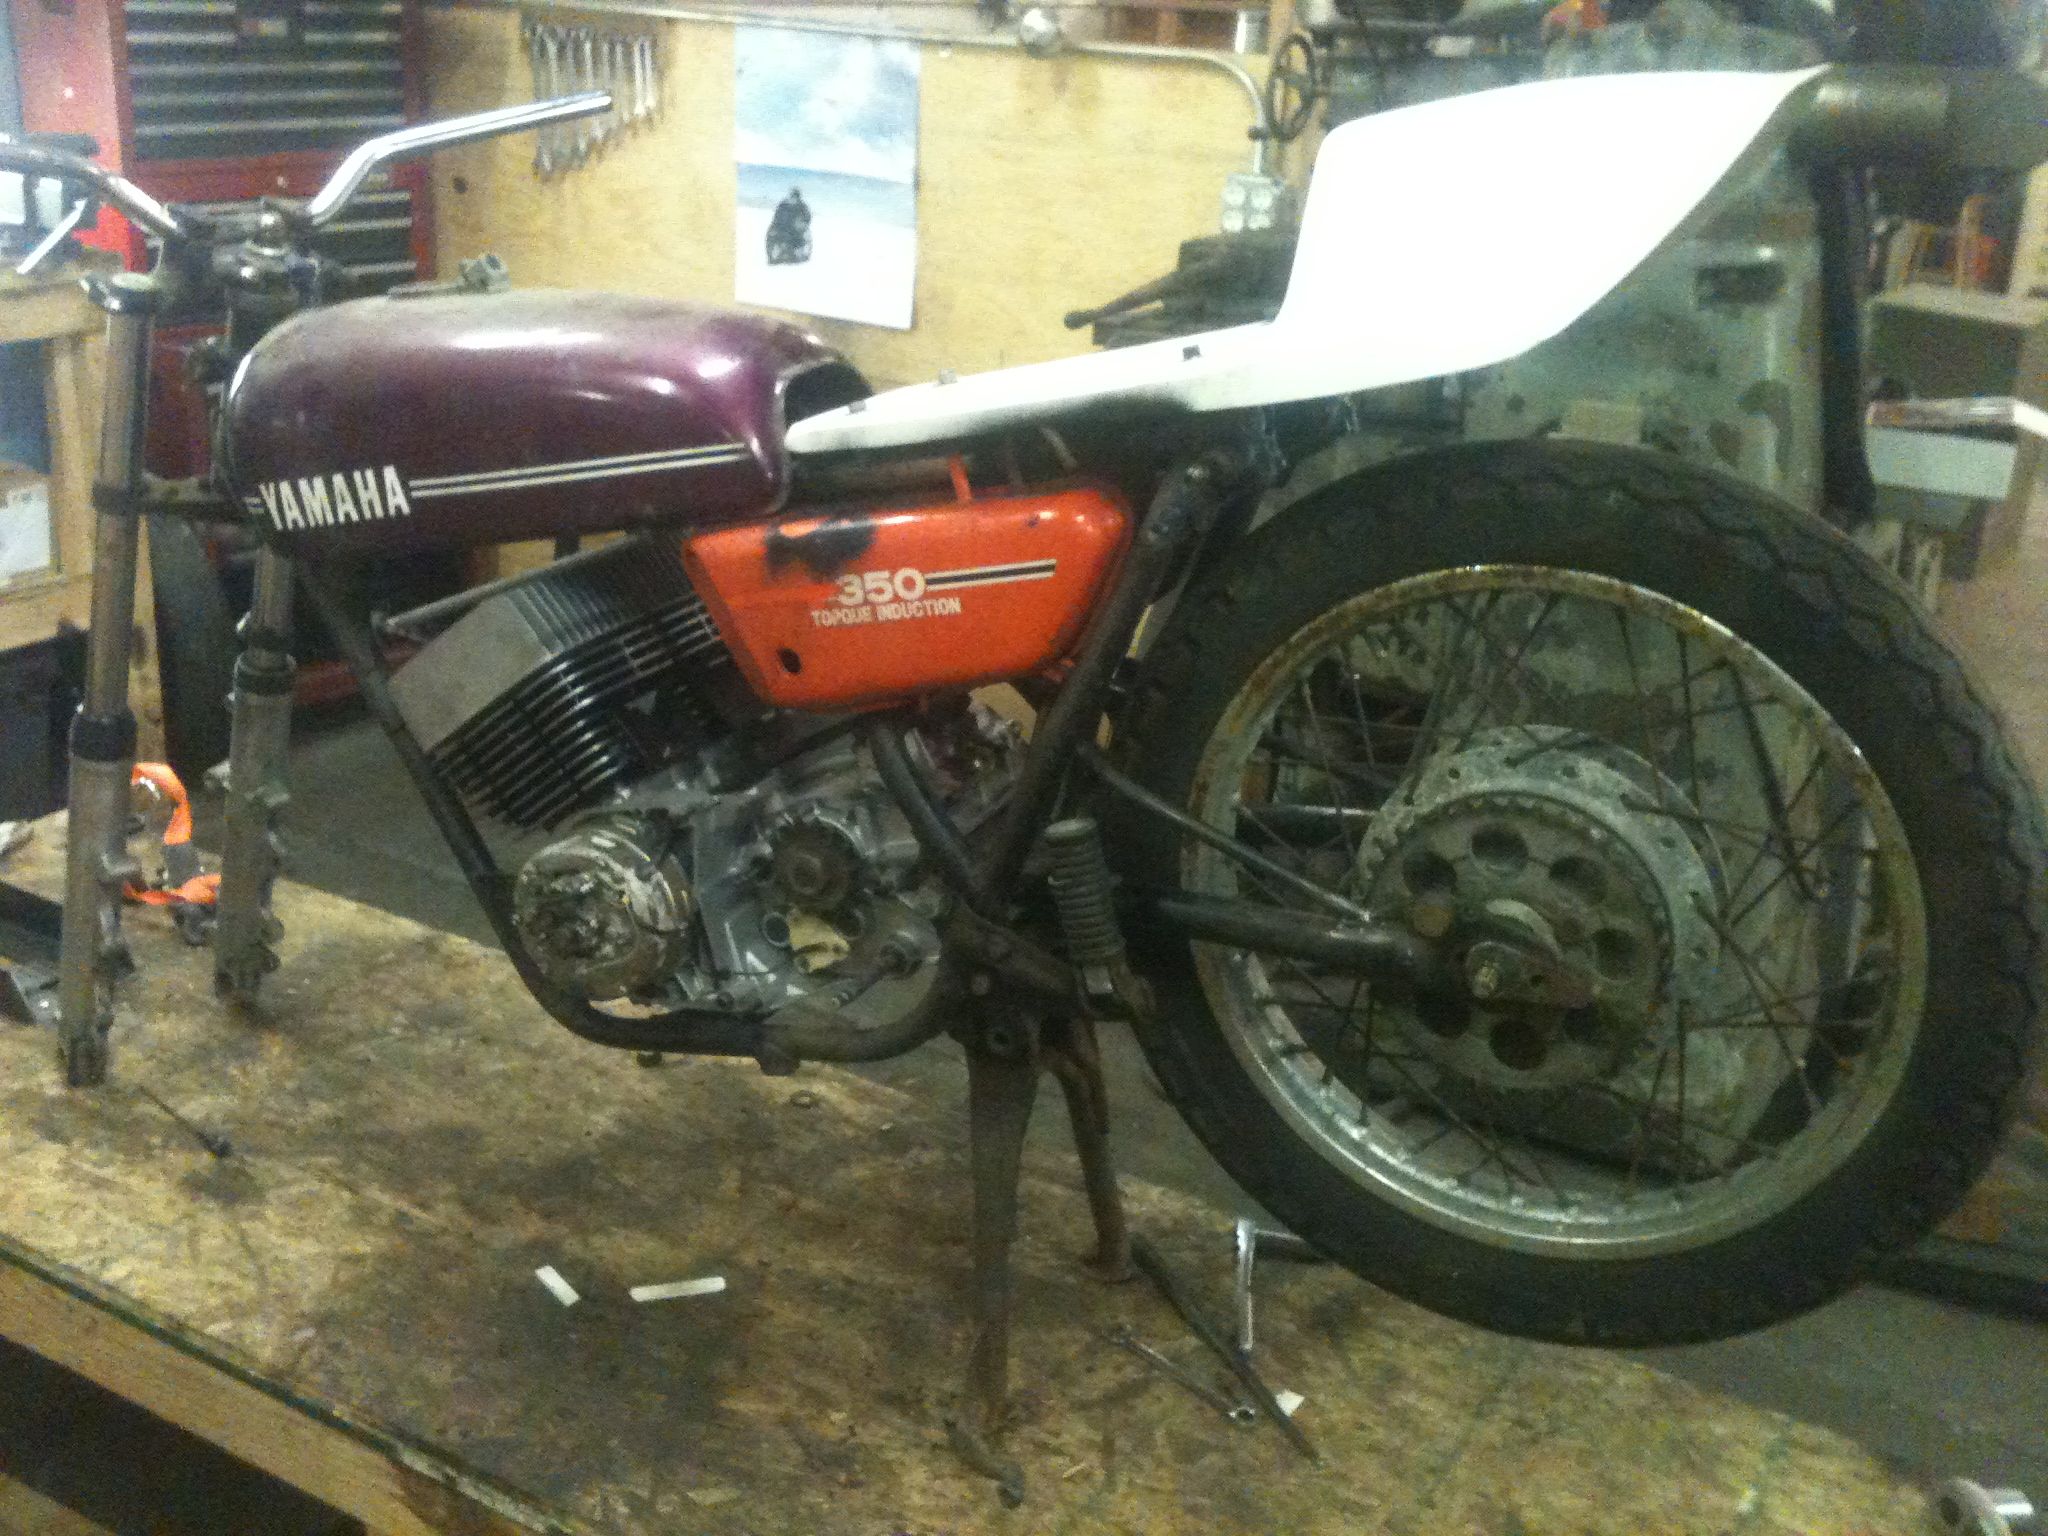
The RD get a Trick suspension upgrade on the CHEAP!
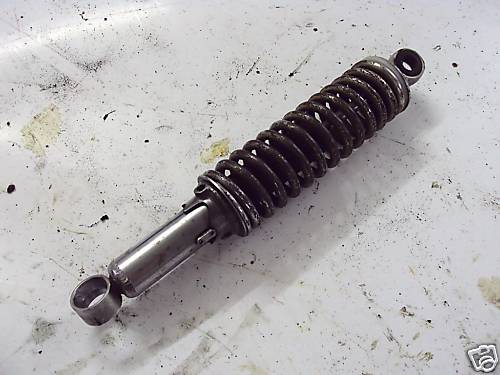
So from the beginning of building this bike I knew I wanted a bike that handled like a brand new sport bike. Rd’s wernt know for their stellar rear suspension when new and the 40 years of sitting in upstate NY made these ones good paperweights. I had looked into a few different options like Progressive and Koni and was not siked on spending the $400+ on them.
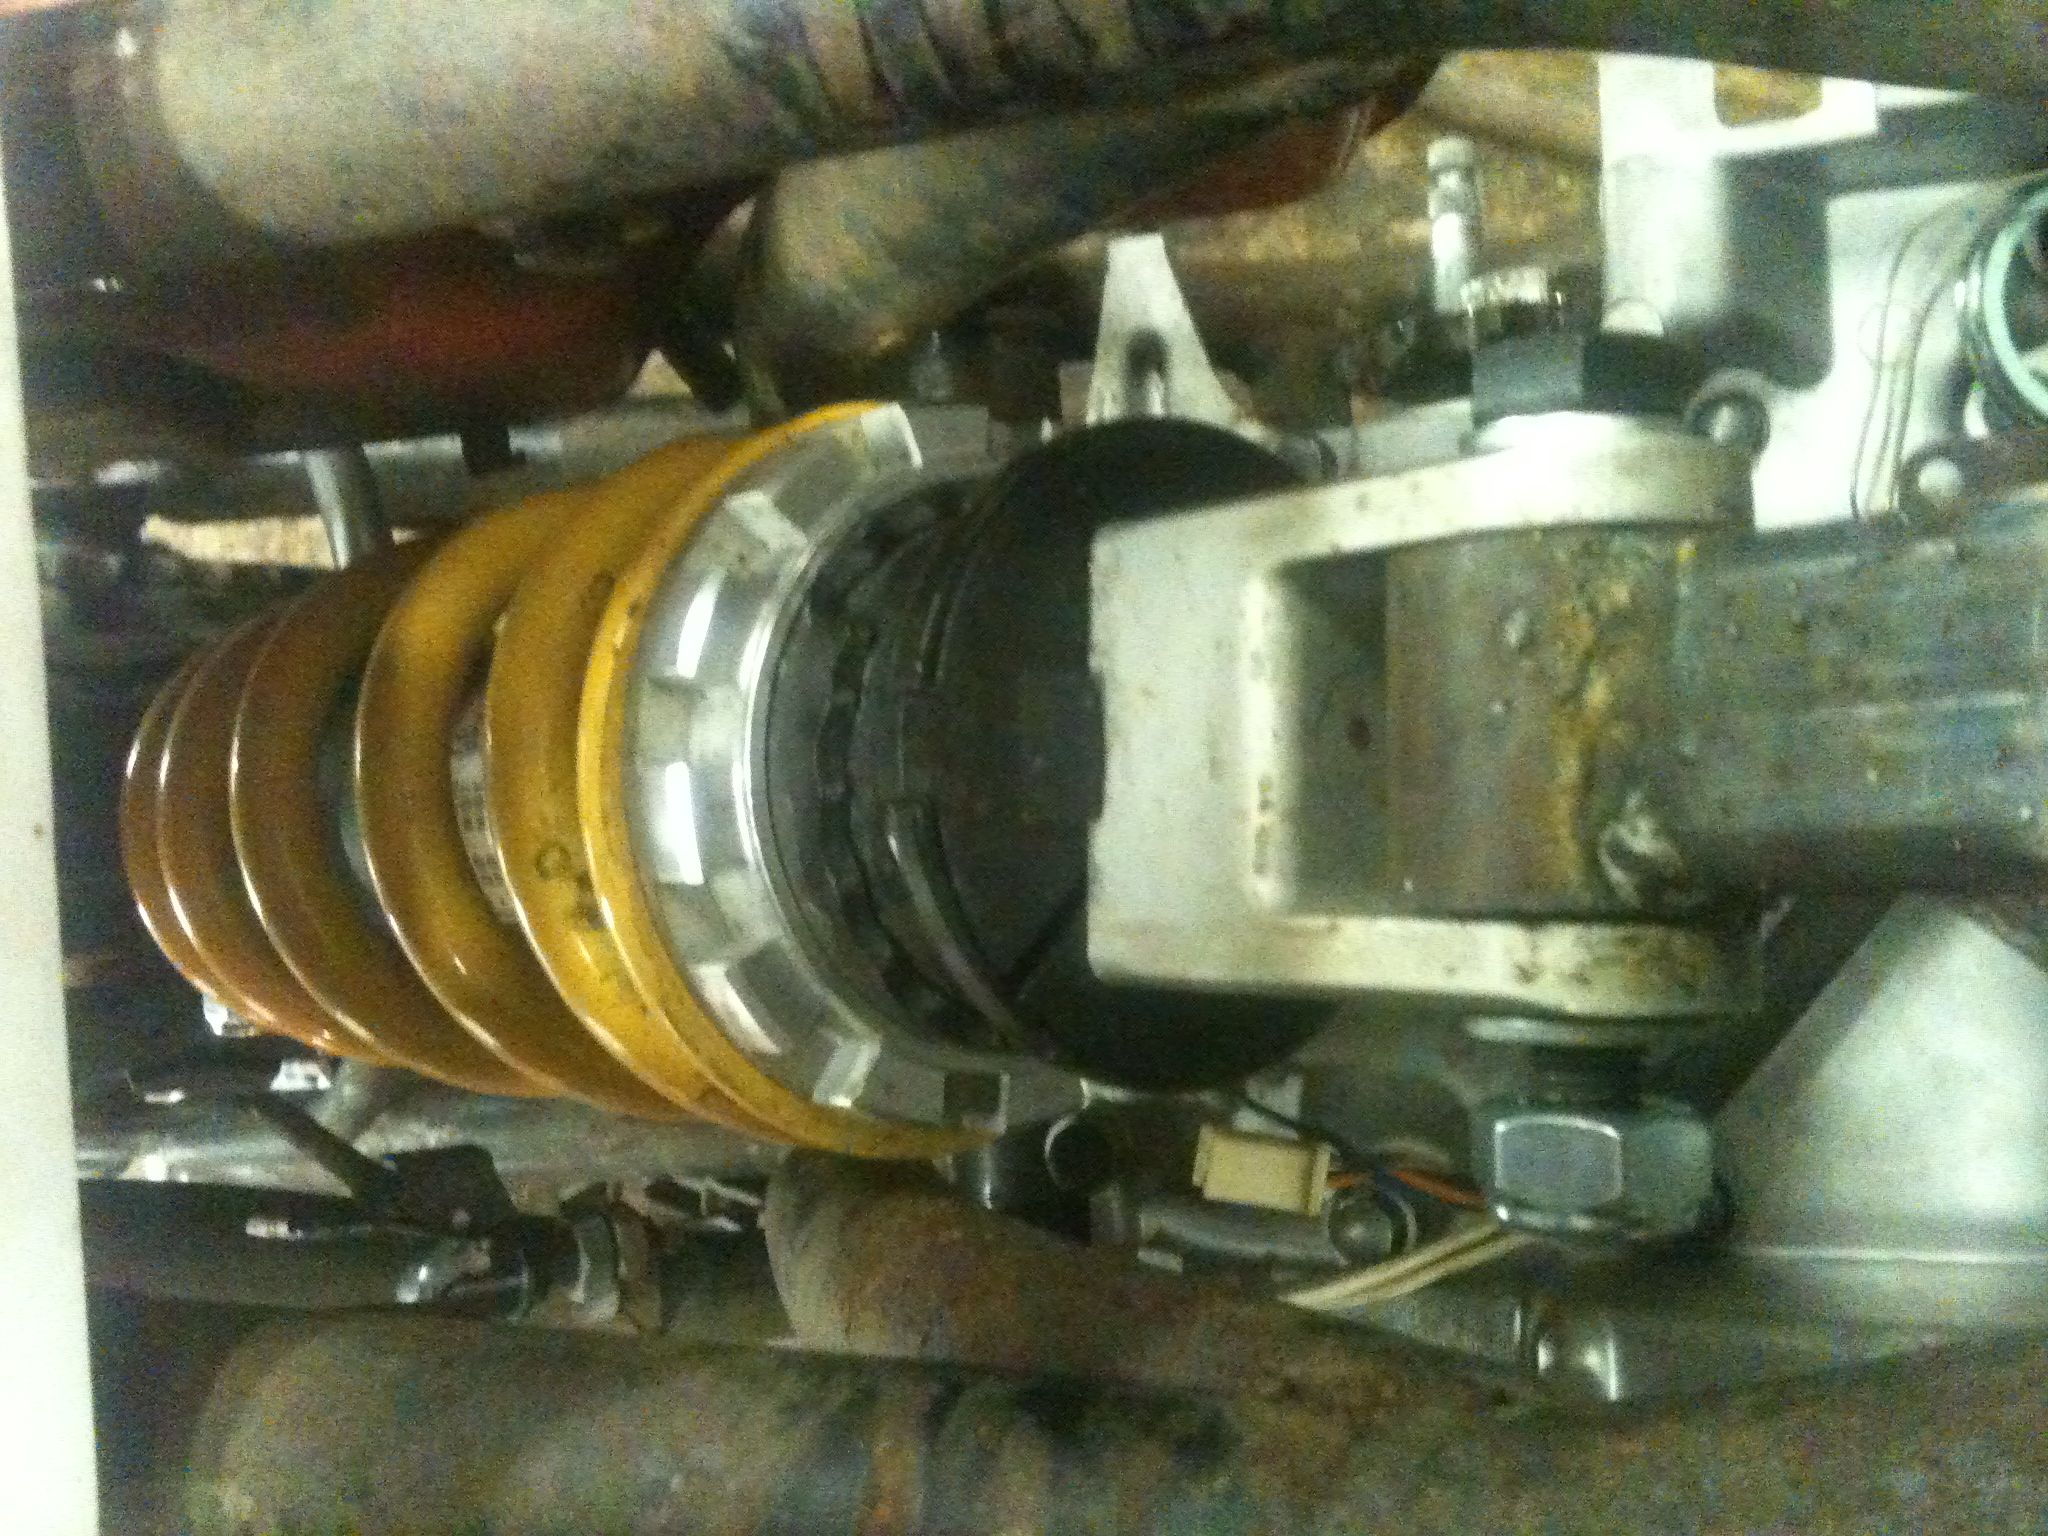
My wife had been out of town for work a few weeks and I spent lot of nights laying in bed thinking of options. What better way to get modern sport bike handling than with sport bike parts. Did a bunch of research on spring rates using the Racetech.com site and settled on a 07 Honda CBR1000rr showa unit. Its a nice unit with adjustable dampening and rebound and spring preload, plus a healthy aftermarket of parts as well. The spring rate is 11.5kg per mm and with the rd’s feather weight and my 195 lb self this puts me a bit stiffer than stock with tons of adjustments. A quick search of ebay yielded one from a low mileage bike for $25 with free shipping. I find its better to let the big bike mfg’s spend millions on R&D for their new machines and I’ll reap the benefits for my old junk.
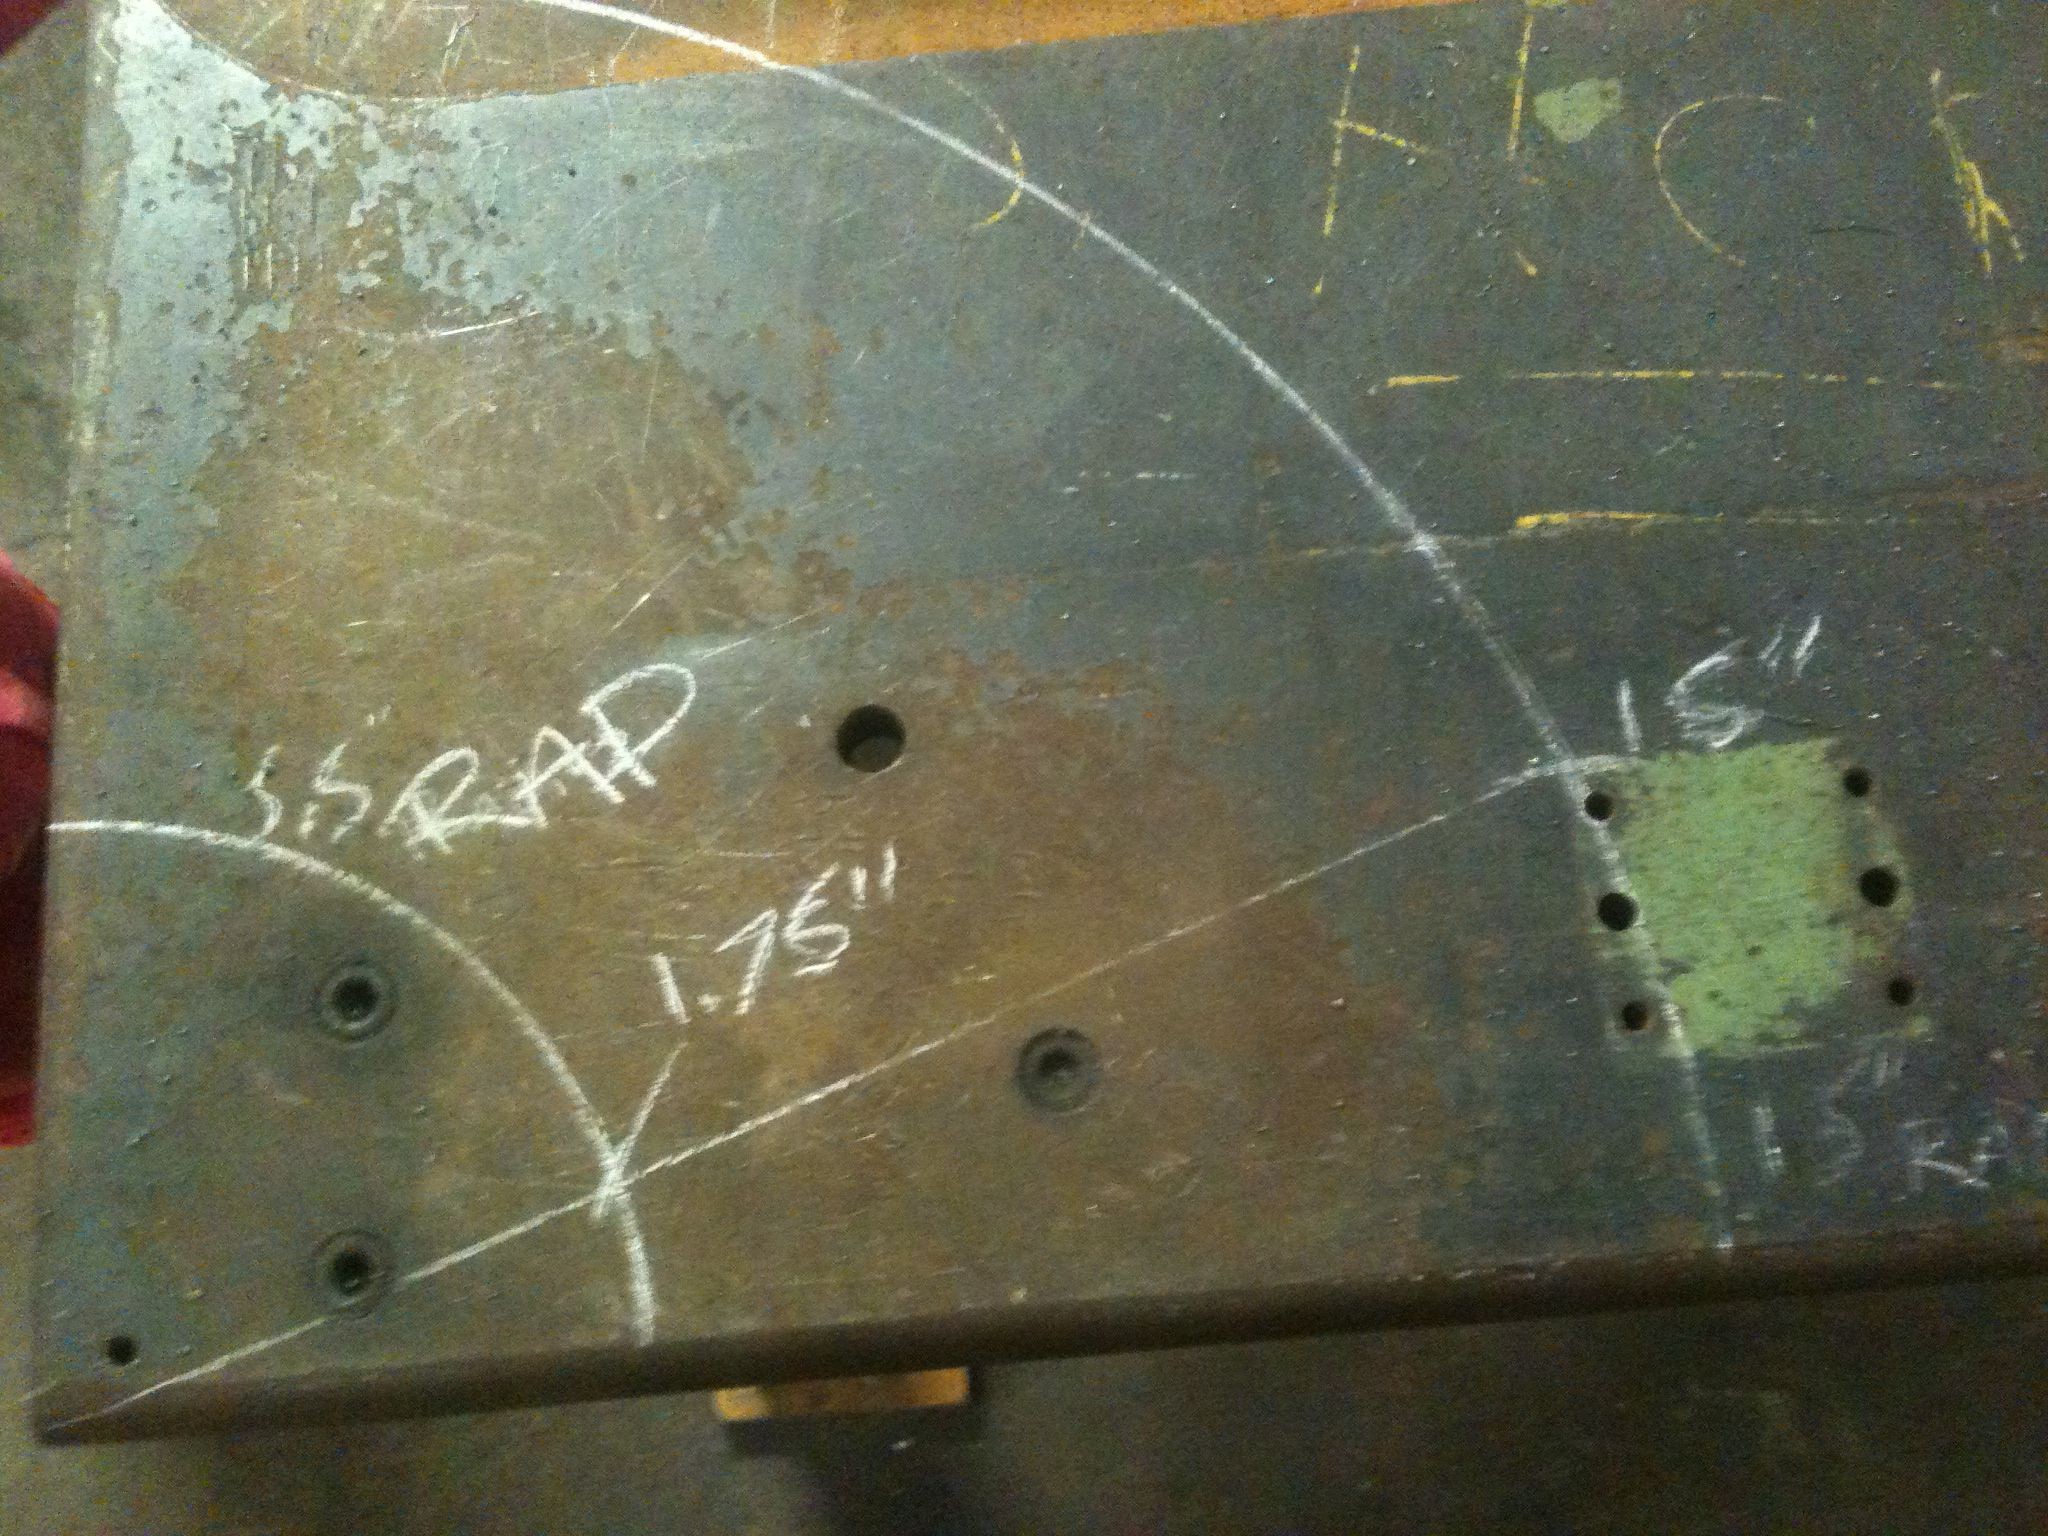
The next problem was how to make a shock with only 1.75 inches travel work in an application that needs about 5″ total with sag and not use all the fancy linkages that honda uses on there bikes. After much thought my solution was to make second arm attached to the swingarm but shorter to reduce the radius. After a lot of math I hadn’t used in years on paper I settled on needing a 5.5 inch radius from the swingarm pivot to give the proper travel when the 15″ arm moves. I decided to draw it to scale on the welding table to check the math. It worked in practice too.
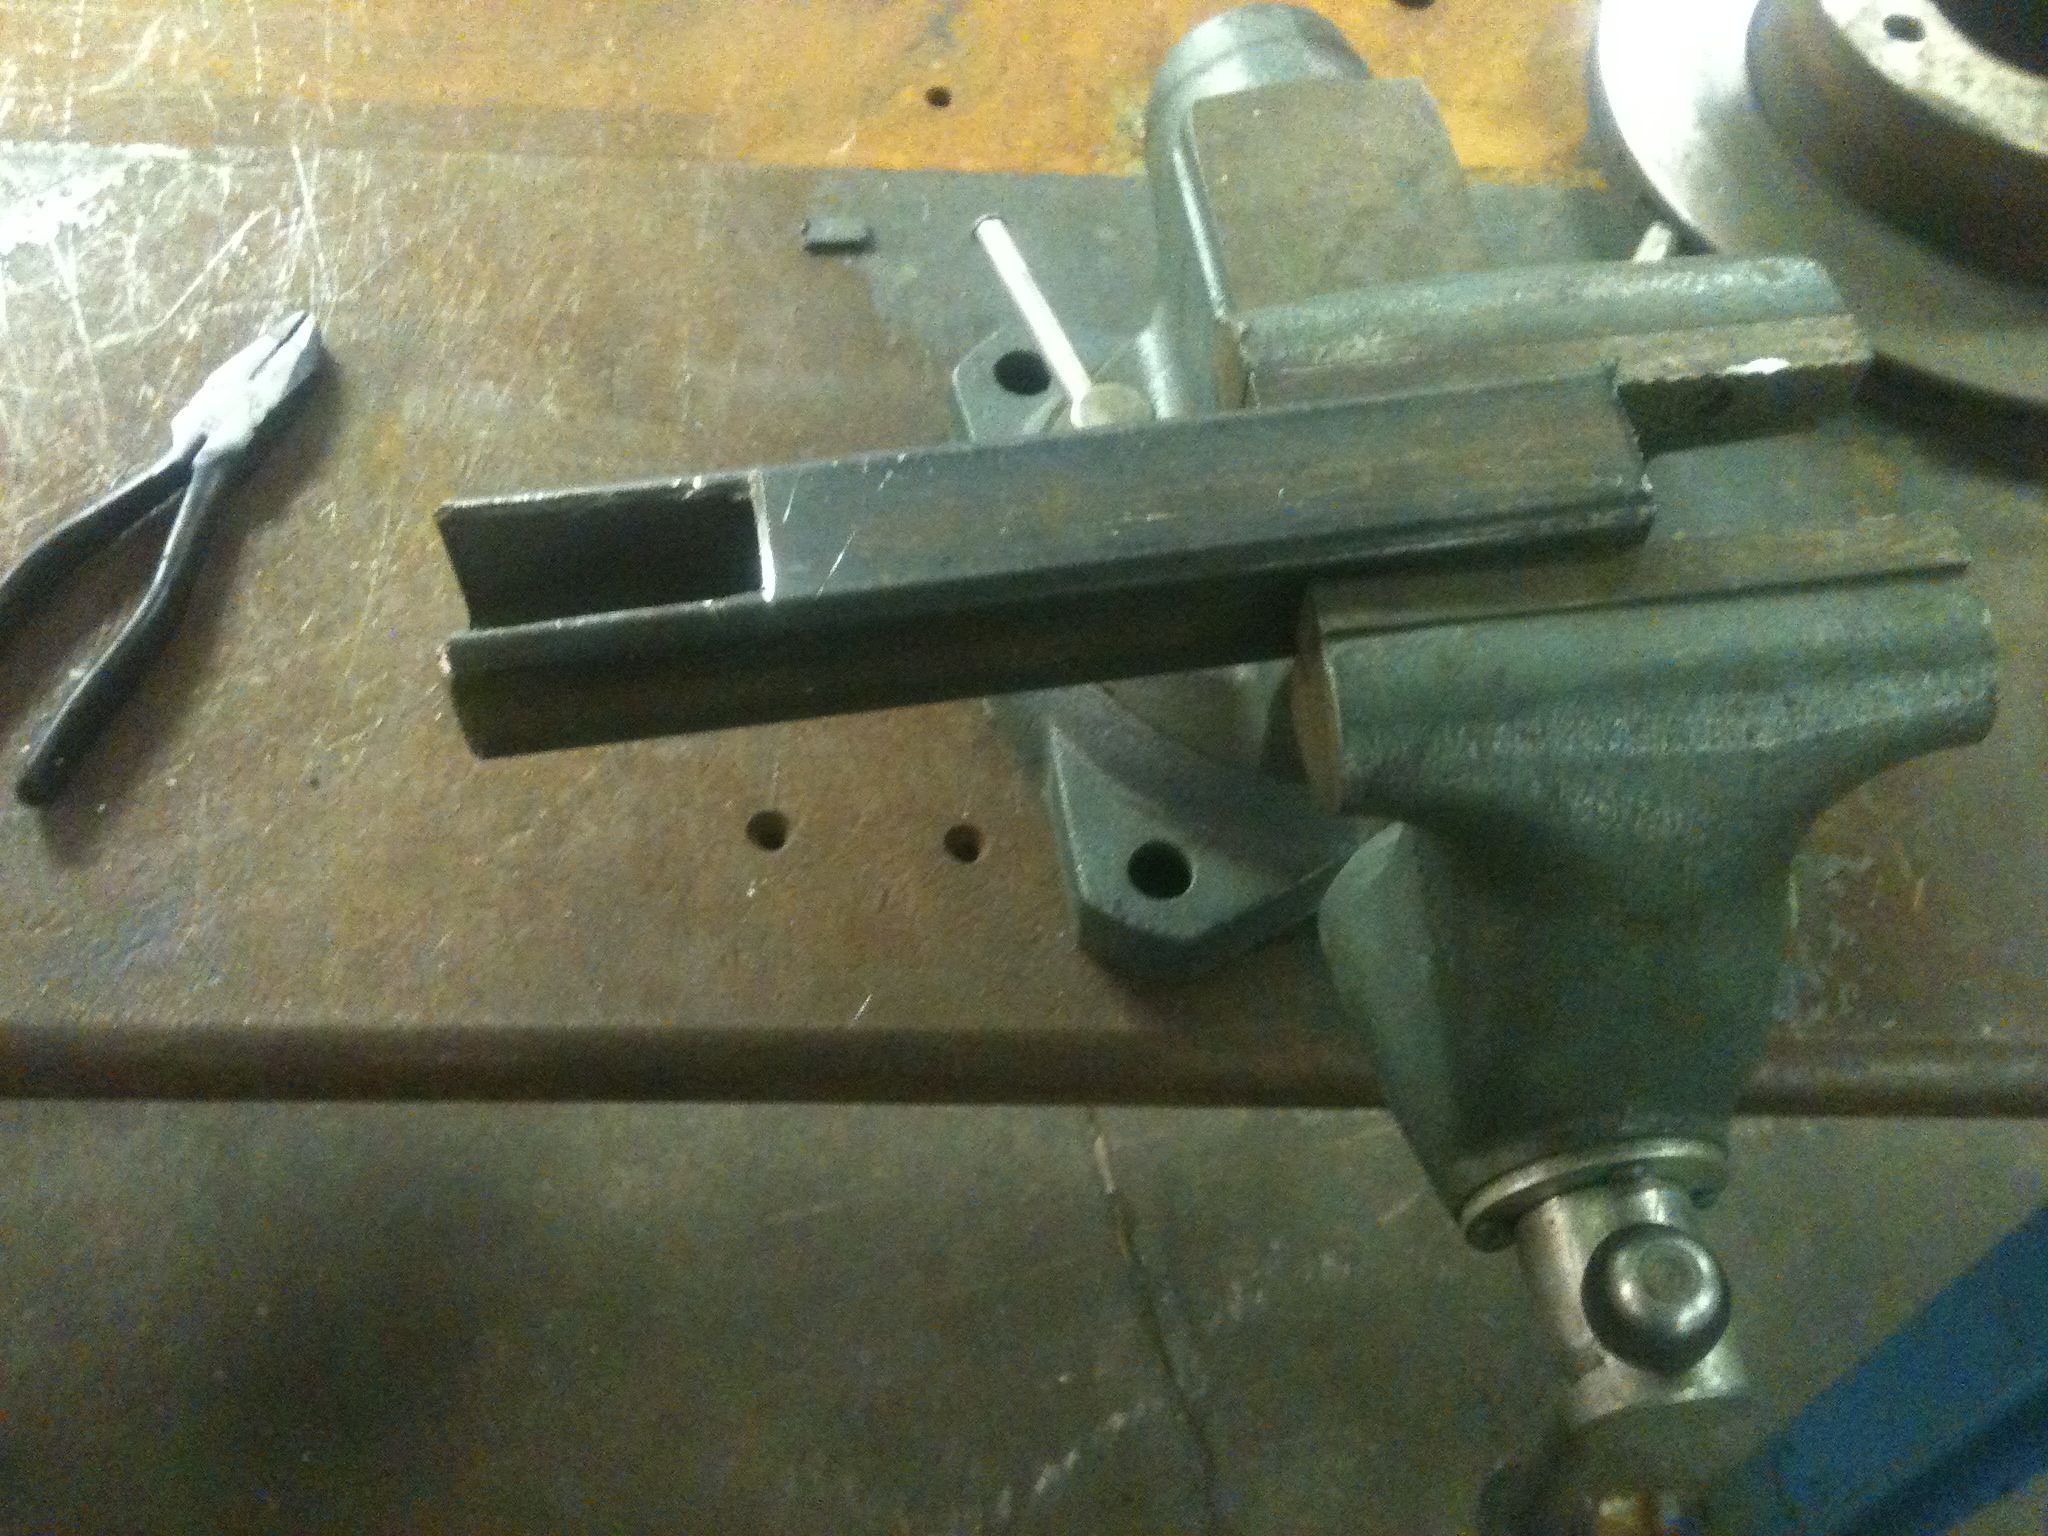
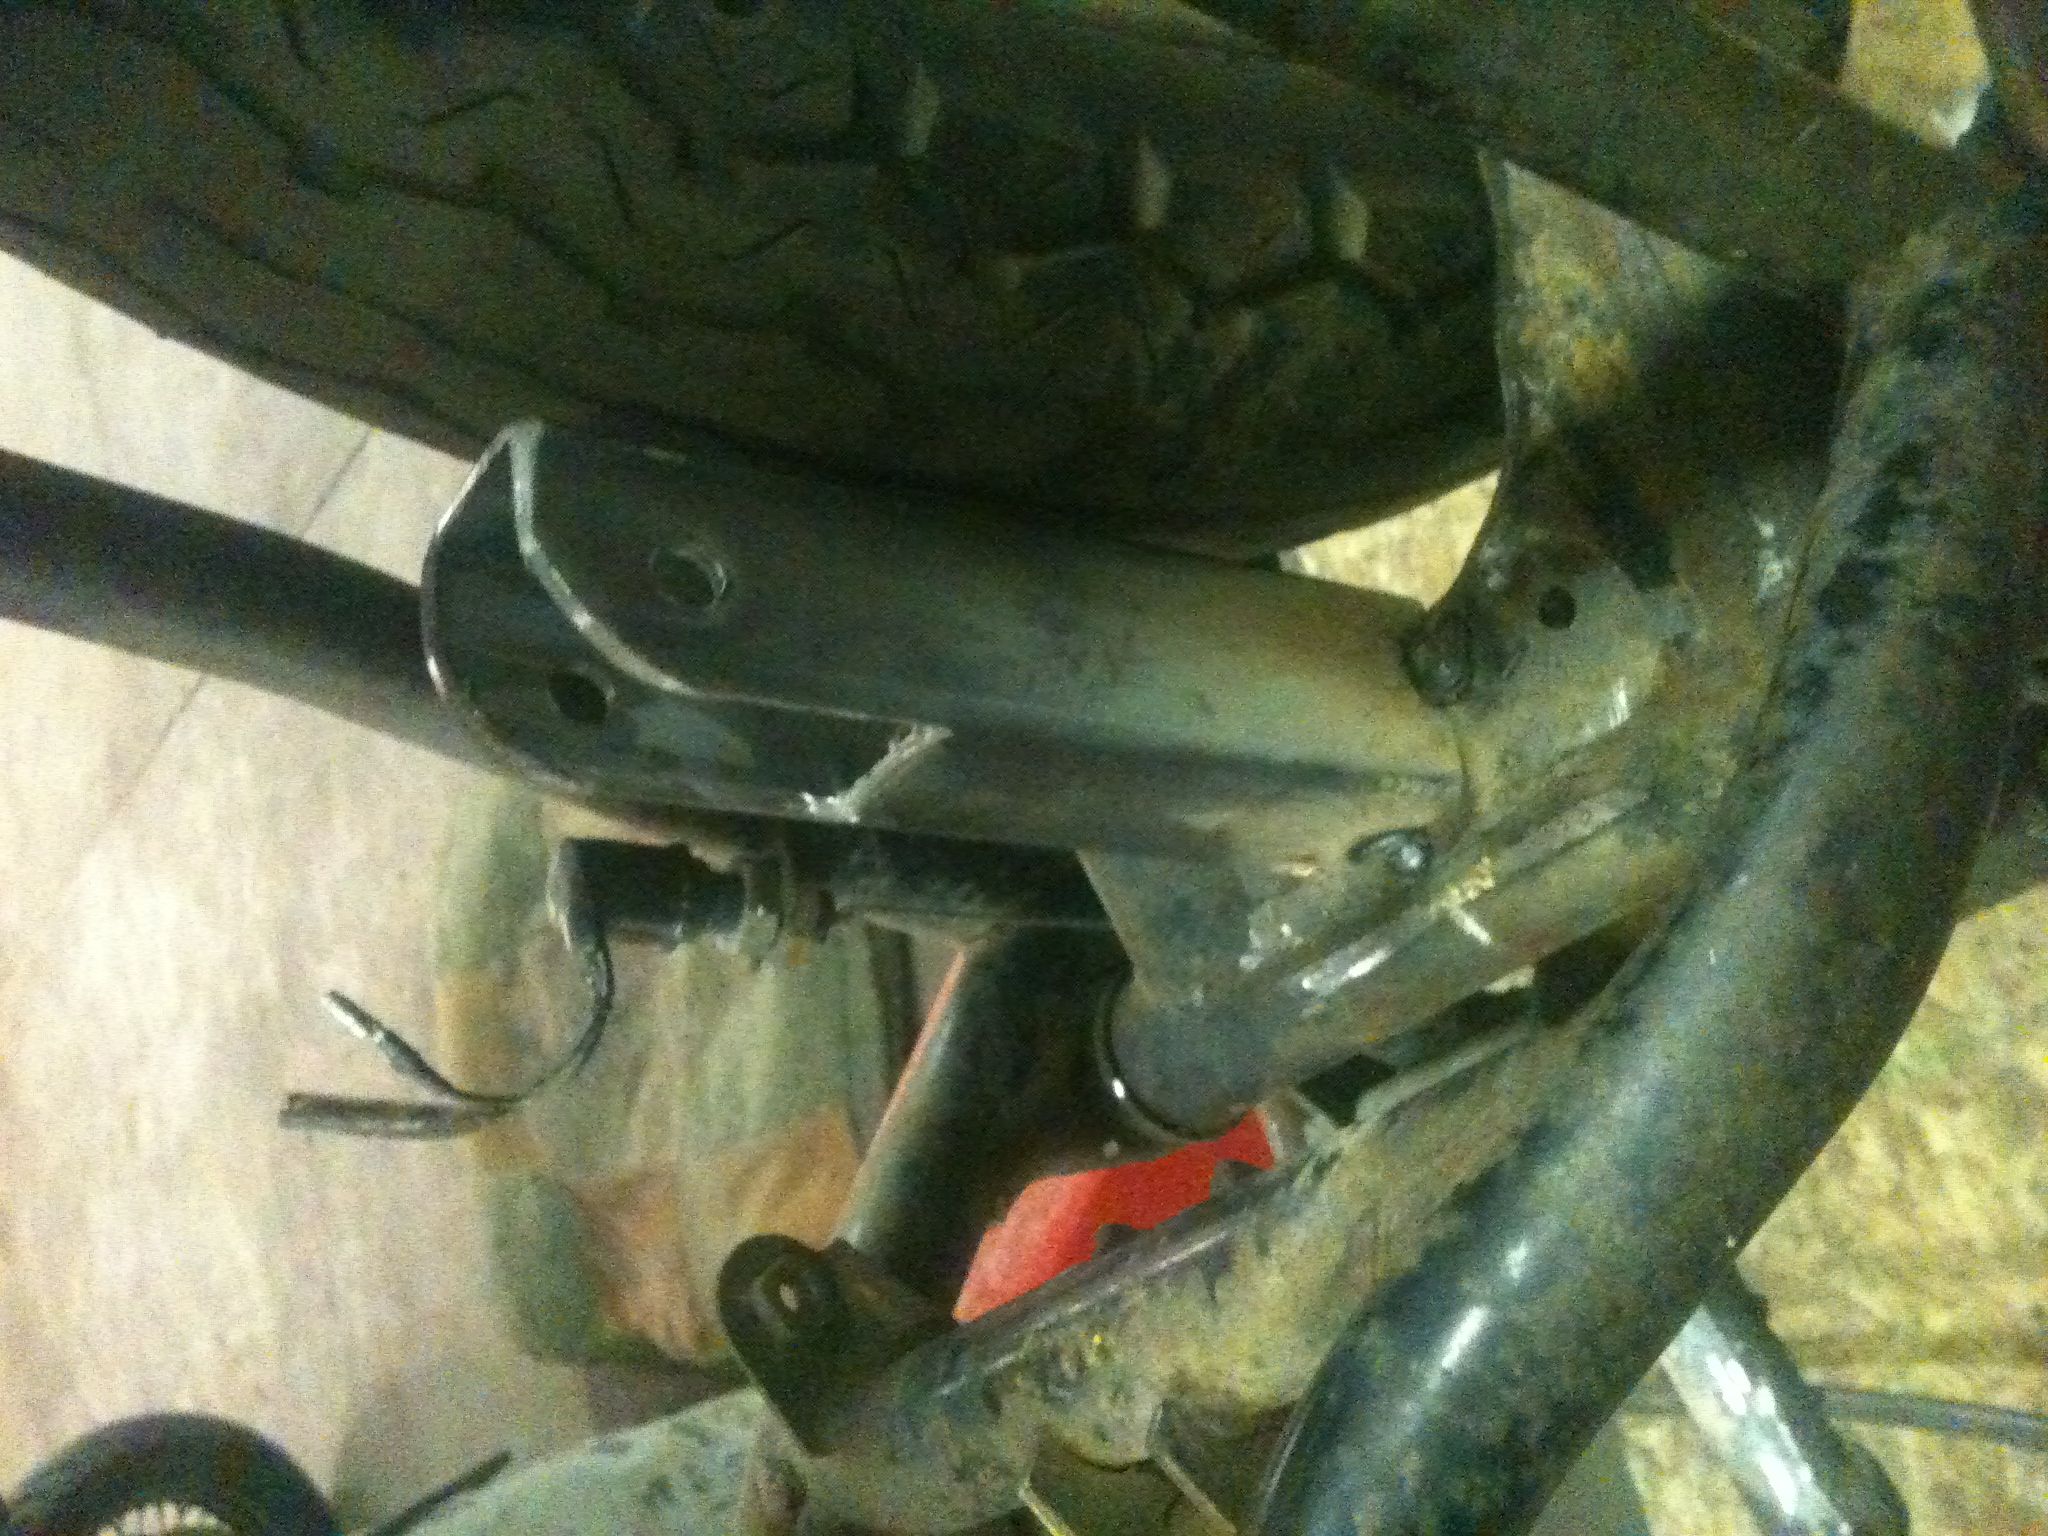
Now was the easy part of tabbing up the mounts. The rear is made out of 1.5″ square stock and the front that I forgot to take pics of is a 660 bronze bush I made on the lathe pressed into some round steel stock with a shoulder on it for the shock mount to ride on.
I also bent some round stock to act as a gusset for the rear mount and brace the swingarm. This should help with the torsional stiffness af the old arm as well.
So final verdict is that it feels like a new bike when you sit on it, It only cost $25 and the rest of the stuff I had at the shop or could be had for short money and the fab work wasn’t crazy. Ill take it. Thanks Honda
-DAN
Using Banshee pistons in your air cooled RD350/400
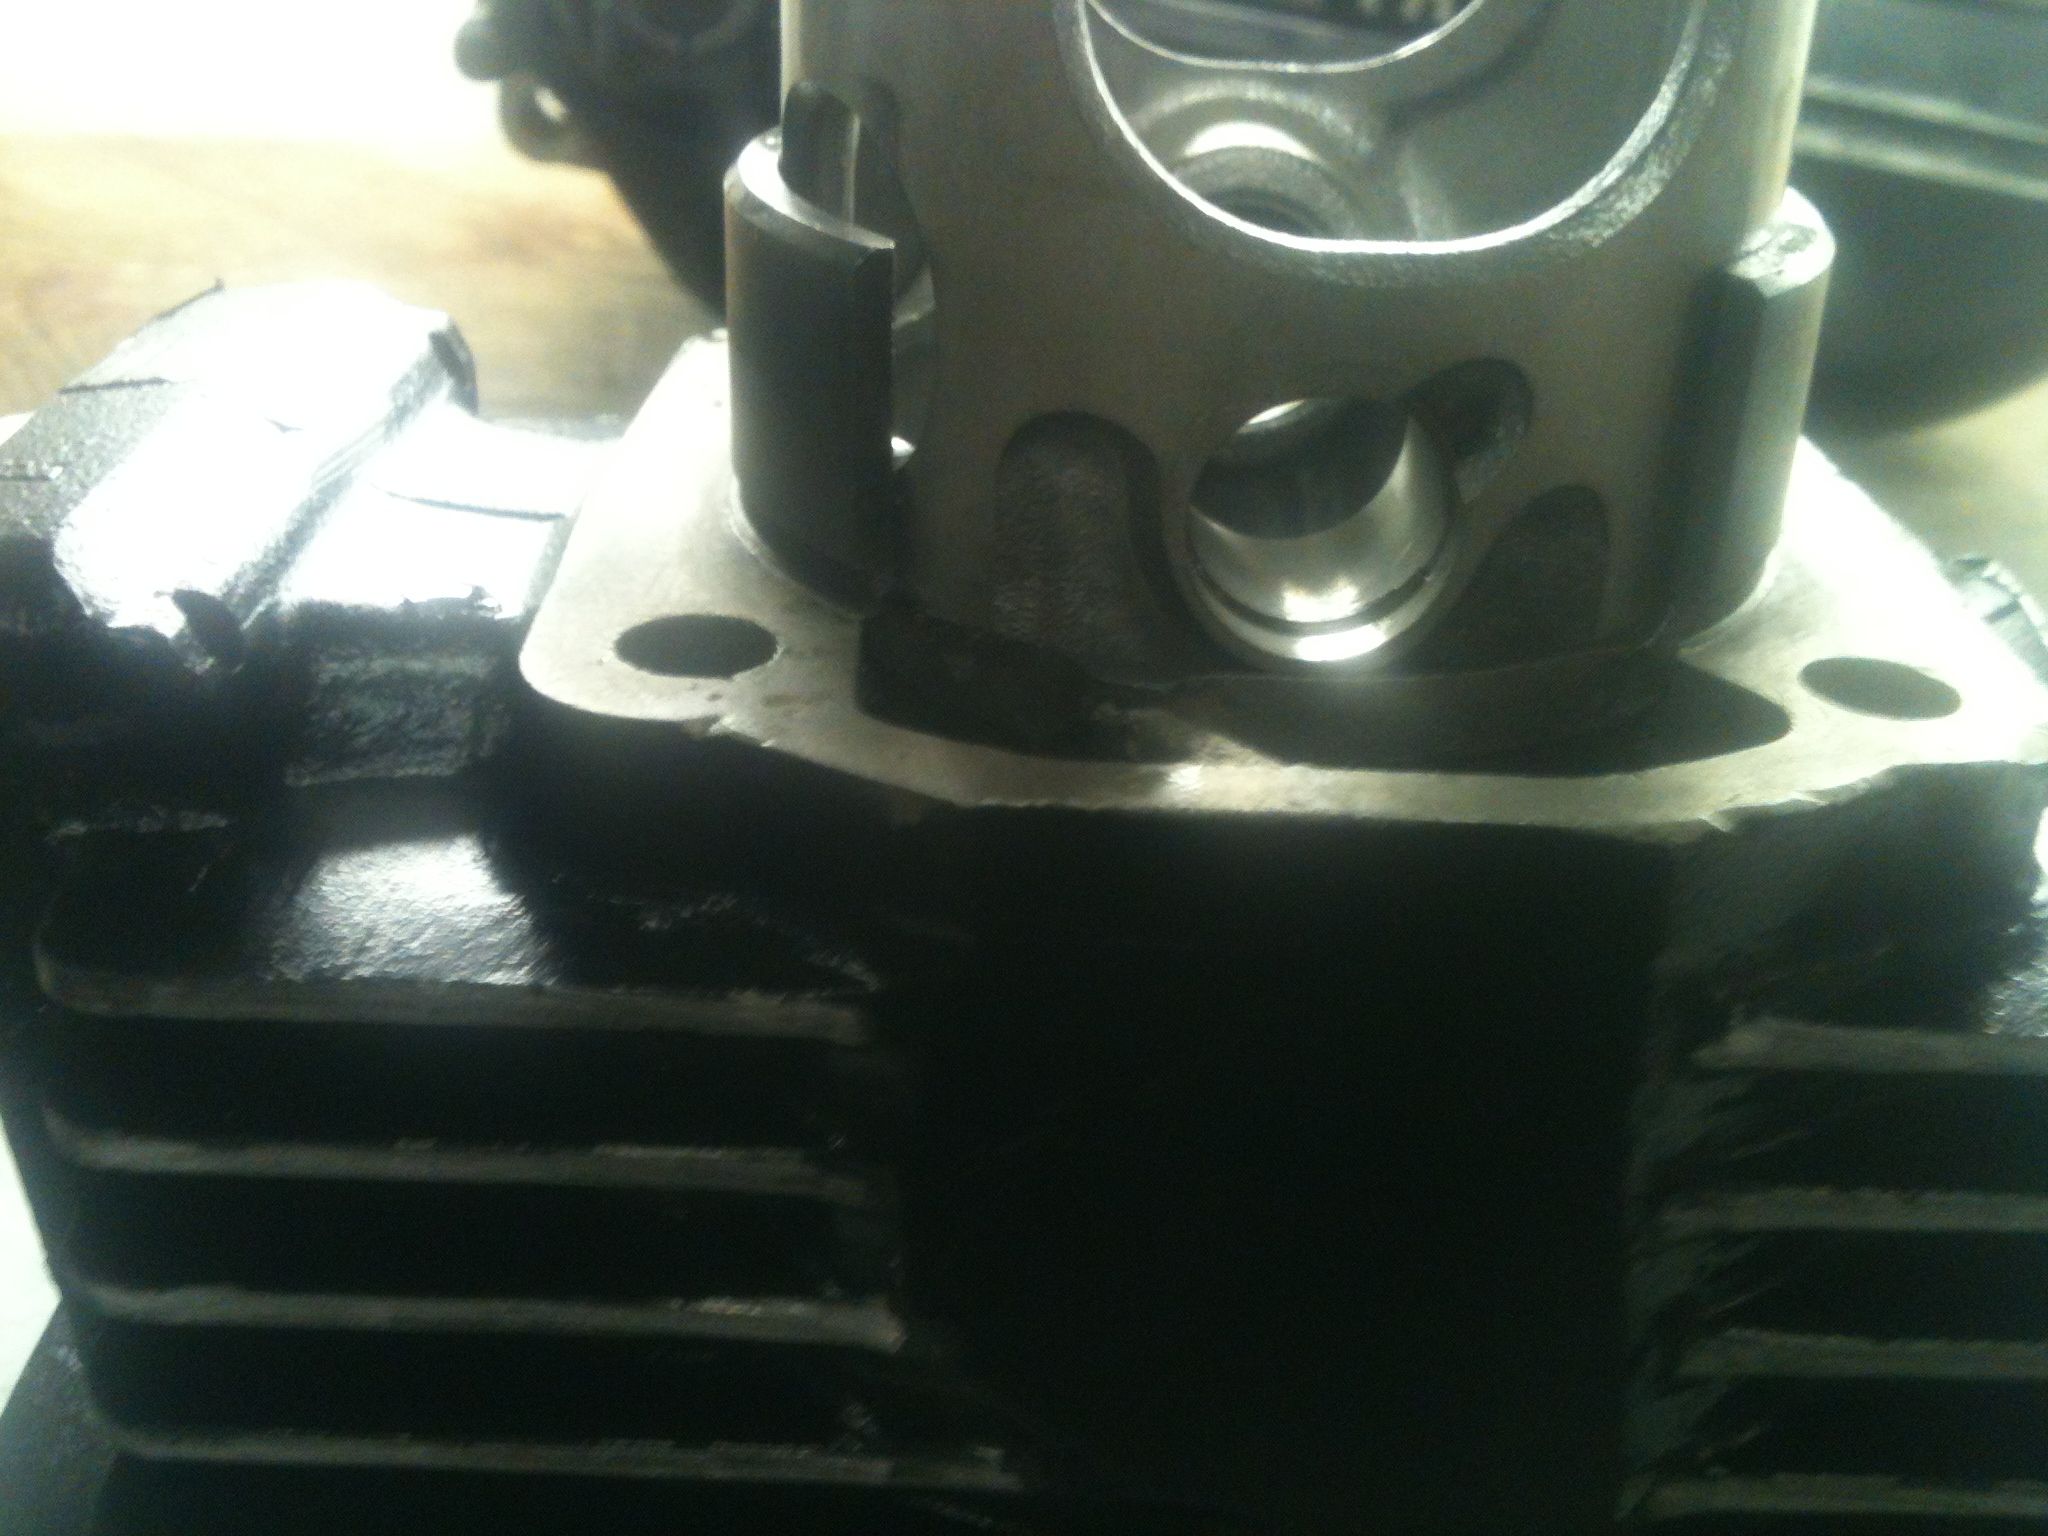
A few days ago my pistons and cylinders came back from the machine shop. Here is how they went together. The only company making true rd350 pistons now is wiesco big $$. Banshee pistons on the other hand are a dime a dozen and are available in a wider range of oversizes. With a small mod you can use the more plentiful banshee piston in the rd motor. Most places are charging $12-25 to modify this piston for your air cooled. Here were going to do it with no more than a few sharp jewelers files and some patience. There is a small tang under the piston ports you must remove. In the banshee intake there is a bridge in the center to allows this tang to ride. The rd has an open area here and the tang will catch on the bottom of the intake runner, break off and cause all sorts of damage to the top end. I started by marking with a sharp pencil where I wanted to file off to. I CAREFULLY filed down to this mark just making contact with the scalloped areas to ensure it was flat. When you have it smooth all the way across, use a fine file to bevel the edge as not to catch on anything. As a side note I held this in my hand to do this NOT in a vise. It probably took me longer to write this post than modify both pistons. Make sure to thoroughly wash the pistons with hot soapy water to remove any contamination.
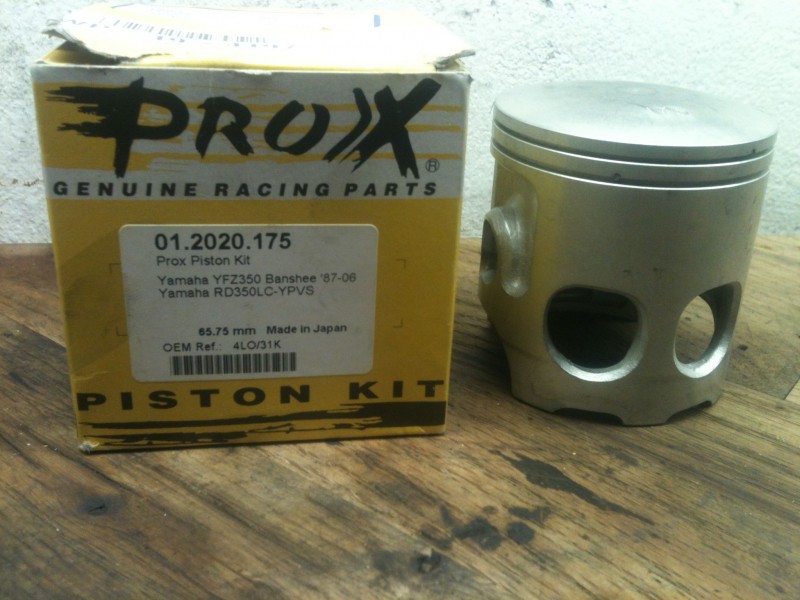
This is how the pistons come stock, notice the small tang on the bottom of the piston under the intake ports
Now to install the rings, there are 2 pins in the ring lands to capture the rings and keep them from rotating into the ports. Look at the rings, notice that the end gaps have a section to correspond with the pins in the pistons. Install them this way. I should also mention you should check the end gaps by installing the rings only in the cylinders and checking the gaps according to the specs listed in your shop manual.
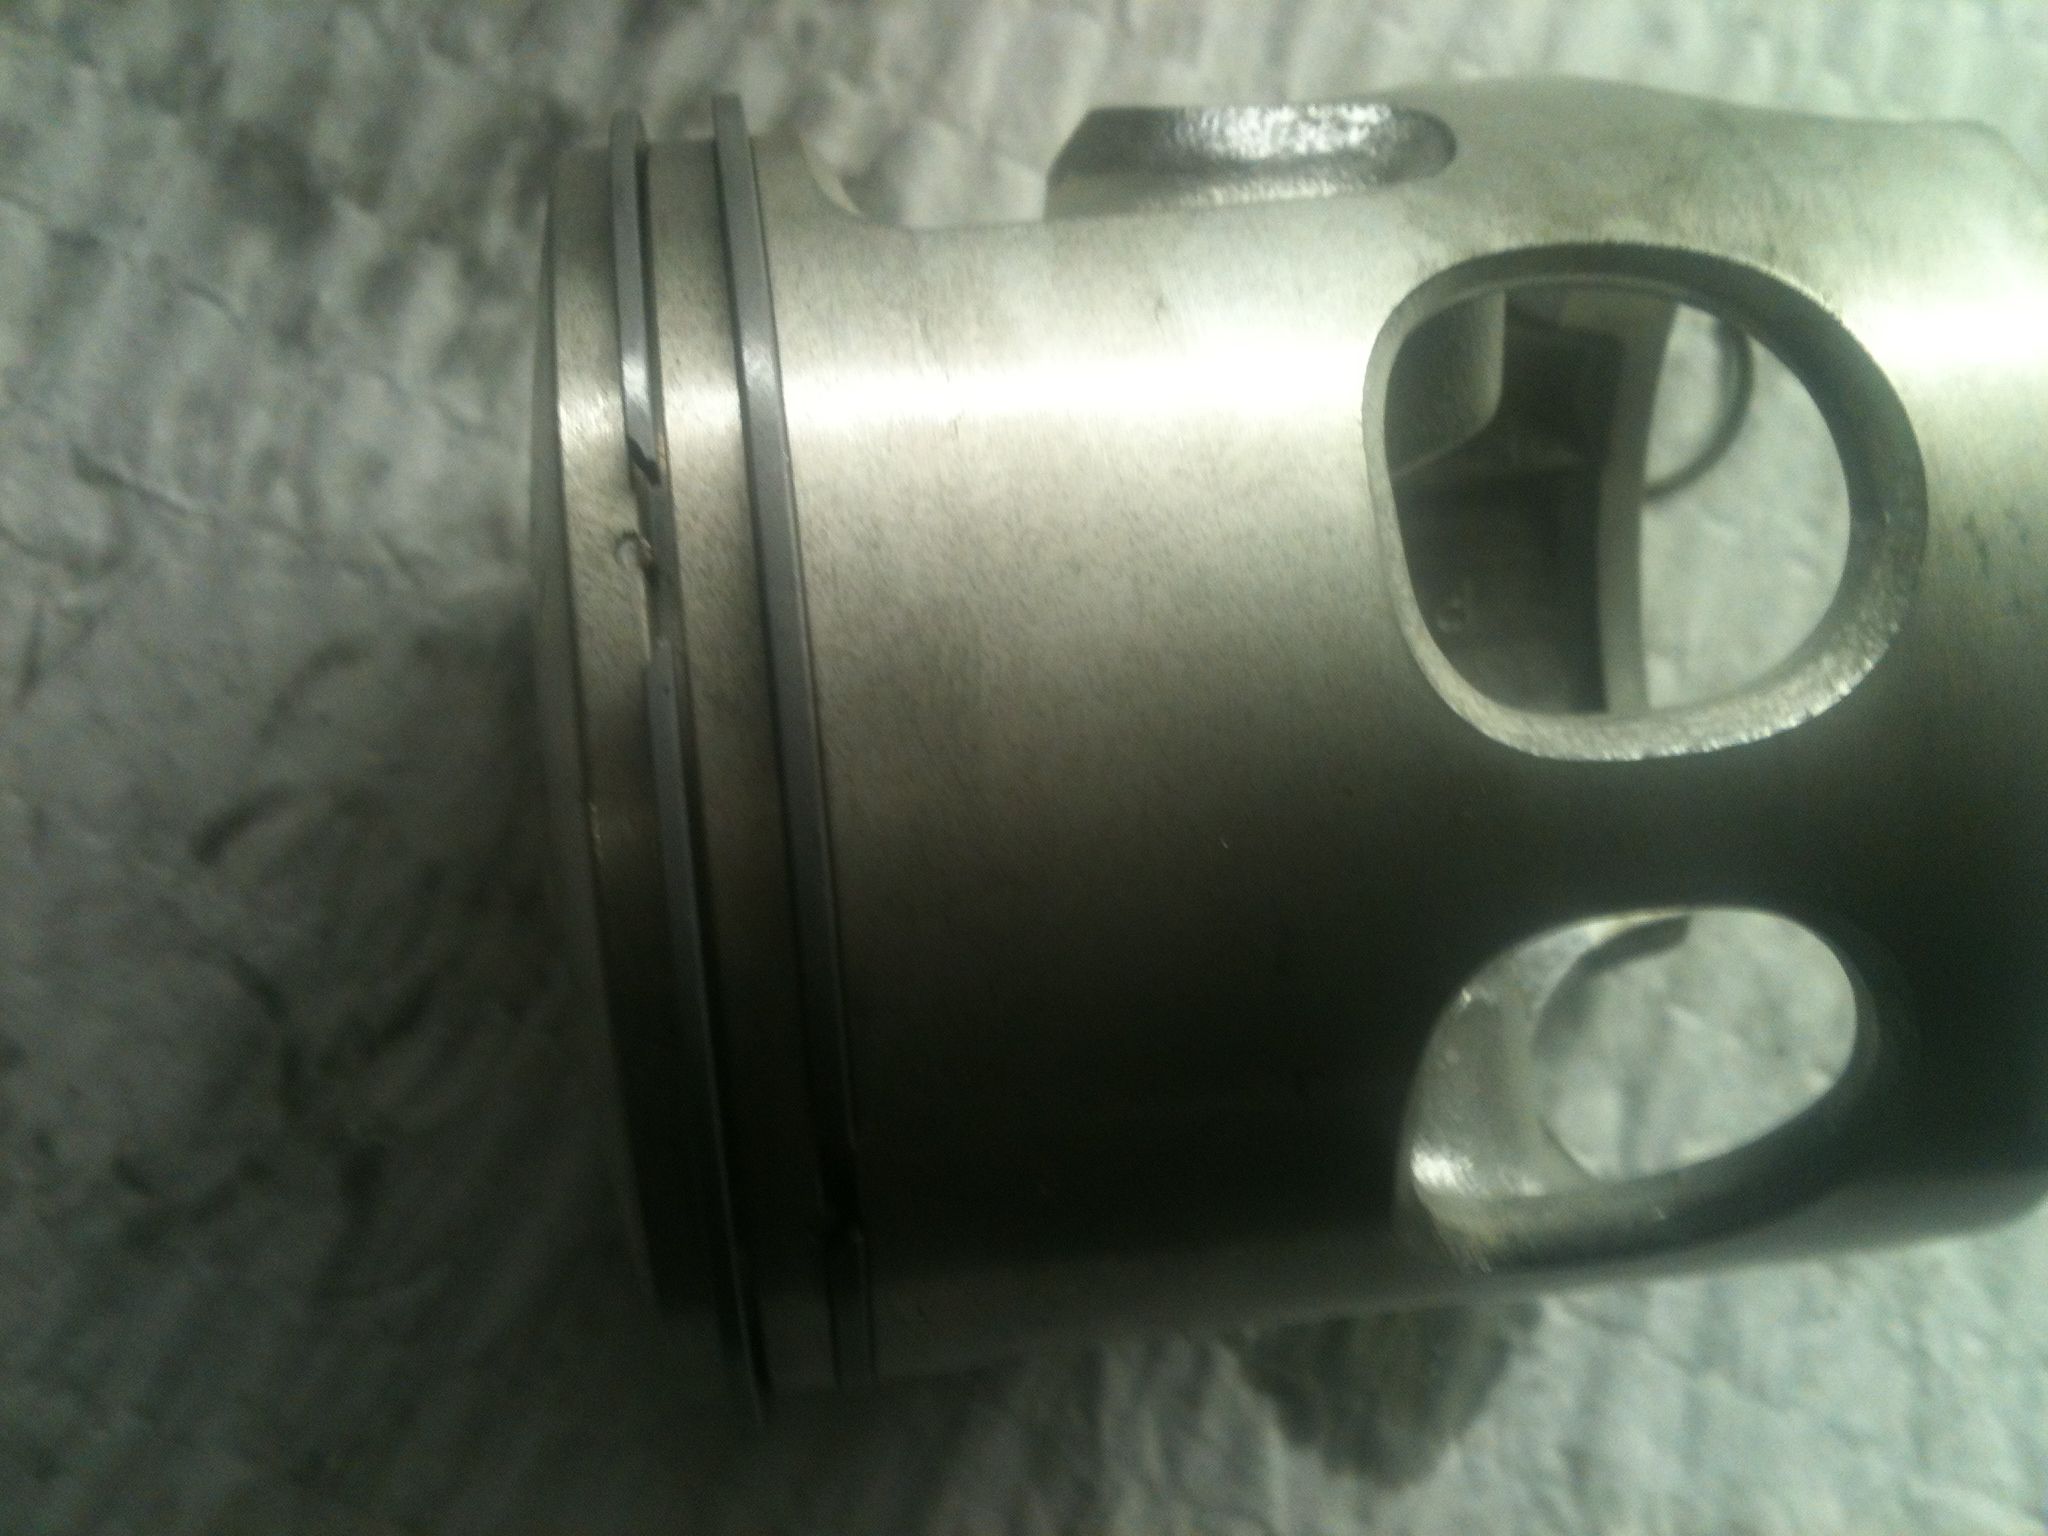
Notice the small pin in the ring land, this is to keep the rings from turning and catching the ports in the cylinders
Since I was working alone this night I decided to try something to install the jugs more easily. It can often be hard to hold the jug and try to compress the rings and assemble it all even with a helper. I know some of you know what I’m talking about. This time I put the pistons in the jugs while they rested on the bench. This allowed me to only have to push the wrist pin in while suspending the jug with one hand, worked pretty well I thought.
Later that night I put the heads on and did some measuring of the squish band, and started on some major rear suspension upgrades. Come back later in the week for more on that, promise you’ll be impressed.
-DAN

