Author Archives: Young Dan
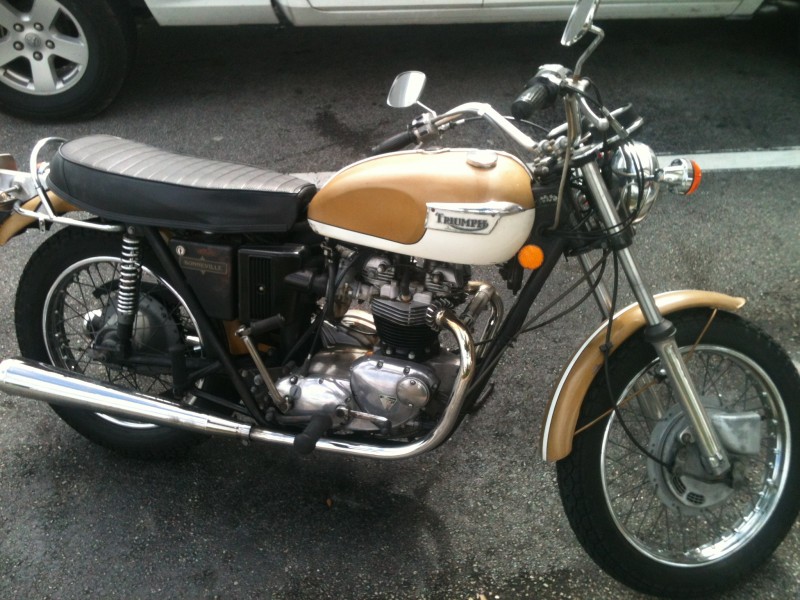
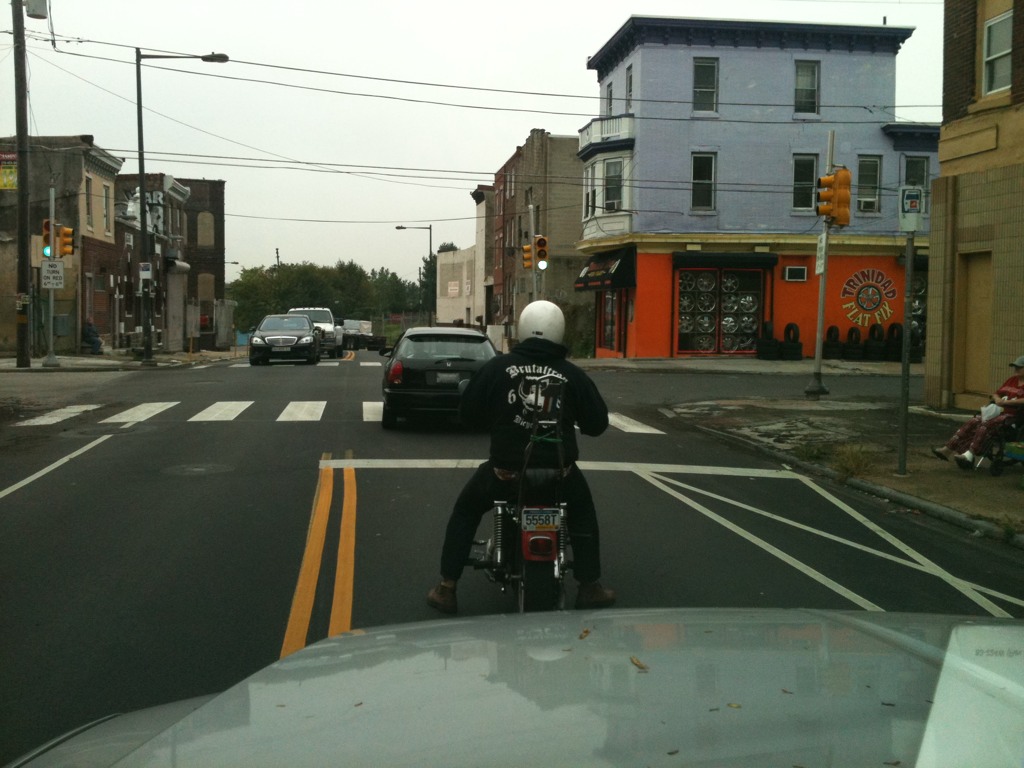
Spotted In FLORIDA
Rd350 built up crank assembly
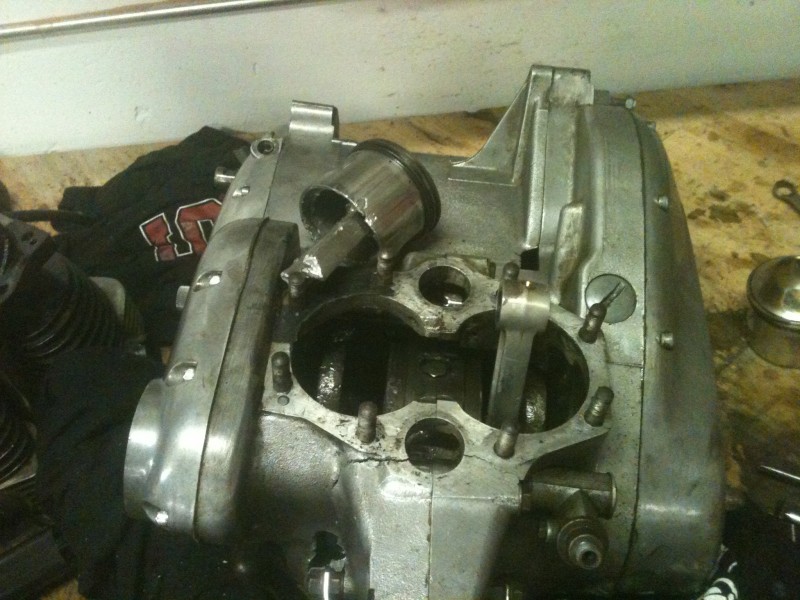
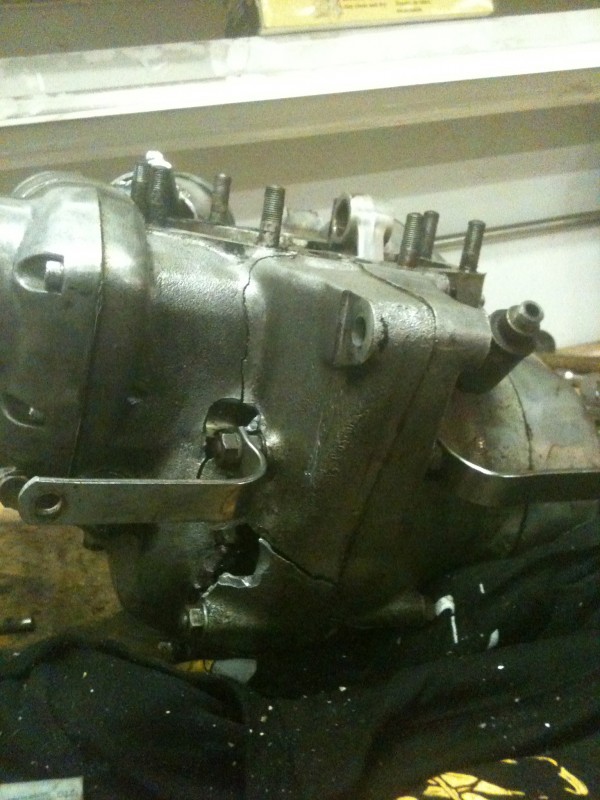
A few of you may of seen the pair of RD350’s I picked up a few weeks ago and there subsequent tear down. This will document the rebuild of the crankshaft. As I type the cases are out in Oregon being vapor blasted HERE, a process similar to glass beading except that its done with a slurry and produces a superior finish that doesn’t stain as easily and looks like the day the part was cast. In the meantime I have been sussing out different things on the bike and gearbox, removing unesscary tabs on the frame and collecting parts for the rebuild.
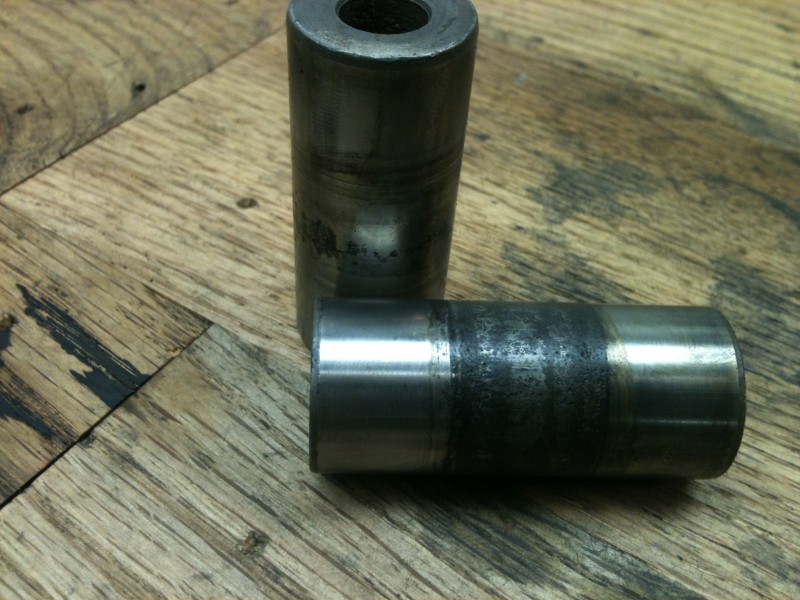
Having dissembled the the crank to inspect,I found out I would need new connecting rods and bearings in addition to the 4 main bearings that support the crank.
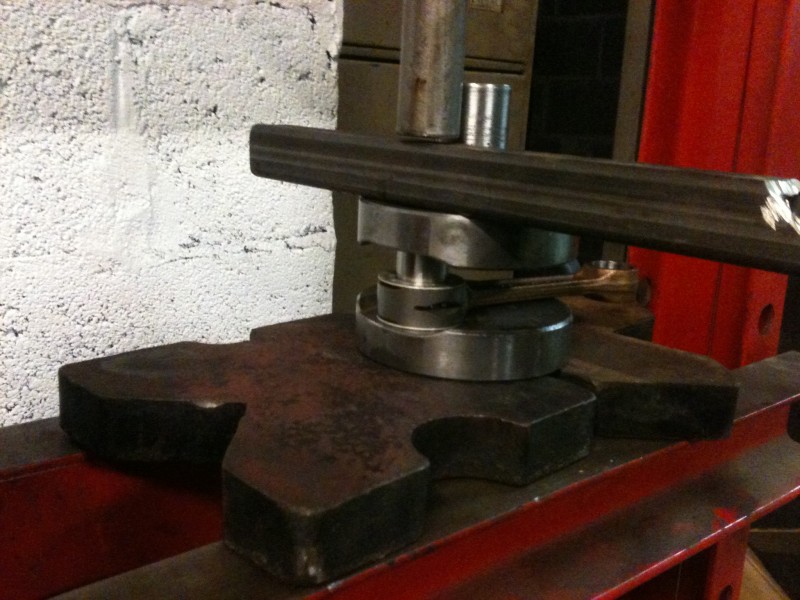
While I neglected to take photos of pressing the crank apart it is almost the same as reassembly.
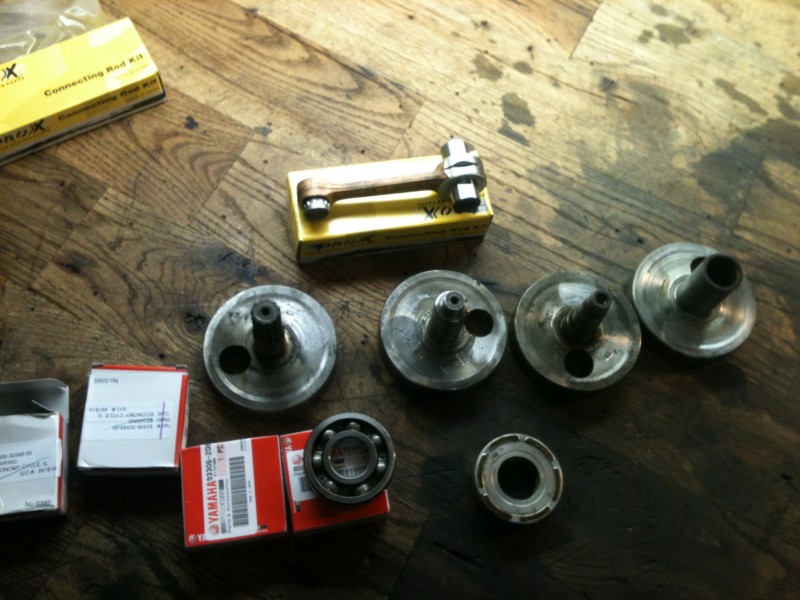
All apart with the pieces that will make it new again, also note the slotted con rod for better oiling
objectives are: Make special fixture to support the crank while pressing it apart and not bend the rods.
Almost fold the press and or explode my push bar to sepiarate the center webs that have been married for 40 years.
Catch crank halves as they fire out the bottom of the press.
All this has been accomplished by the simple fixture I made out of some large square tube with a half a dozen rags stuffed in the end and a plate with an notch cut out for the crank pin to sit.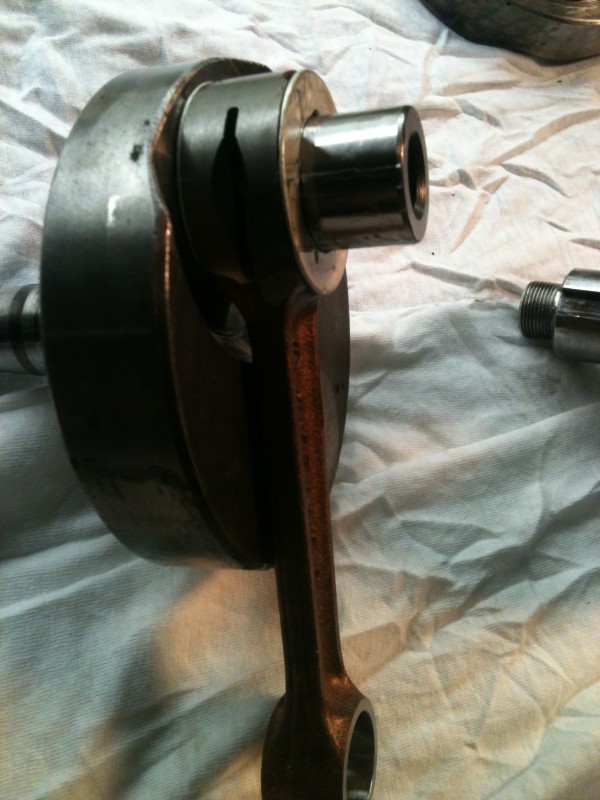
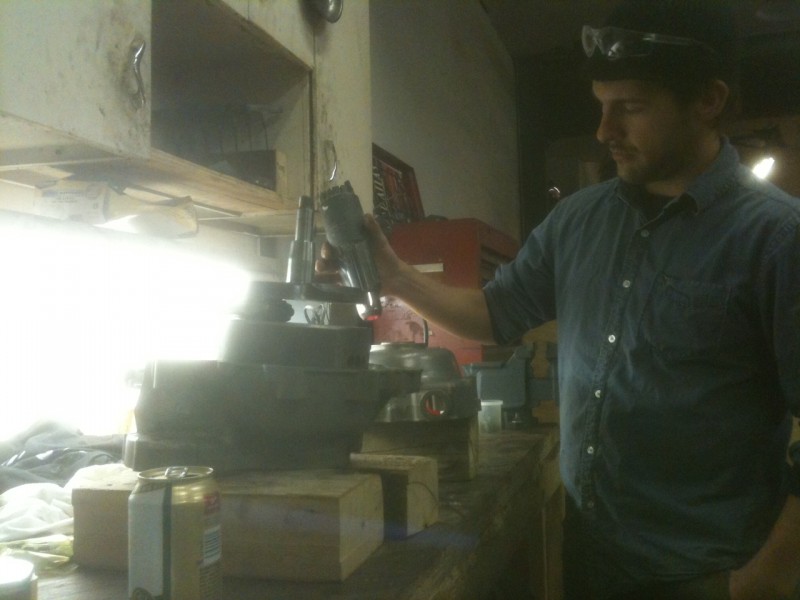
The most difficult part of reassembly is pressing the two sub-assembles together while maintaining the rod side clearance at .001-.003 You can’t see from the pictures how I accomplished this with two pieces of bar between the crank webs. This proved difficult as the clearance I wanted to maintain went away to almost nothing, at least it prevented me from bending the crank pins! Because of this I had to reset the side clearances, not big deal but a little harder than while it was still the sub-assemblys. This is the point where I began to get frustrated and stopped with the photography class. After a bit more futzing around I was left with an assembled crank. Next installment will be truing the crank, STAY TUNED!
Chris’s Norton mill goes together
Sunday night I met Chris aka Goodwill down at the shop to put his Norton Commando motor together. While he has never built a motor before he has a pretty good mechanical knowledge and I get the pleasure of working with him 5 days a week to answer all his questions. He’s been coming down to the shop on Sundays and tuesdays for a few months quietly working away. Ive been pretty busy with my other projects so I haven’t been paying much attention to what he’s been doing. All his busy work of cleaning bolts, fixing threads, and sorting what goes where paid off on sunday.
He will be running one of those fancy superblend bearings on the drive side an a ball on the timing side to control the crank end float.
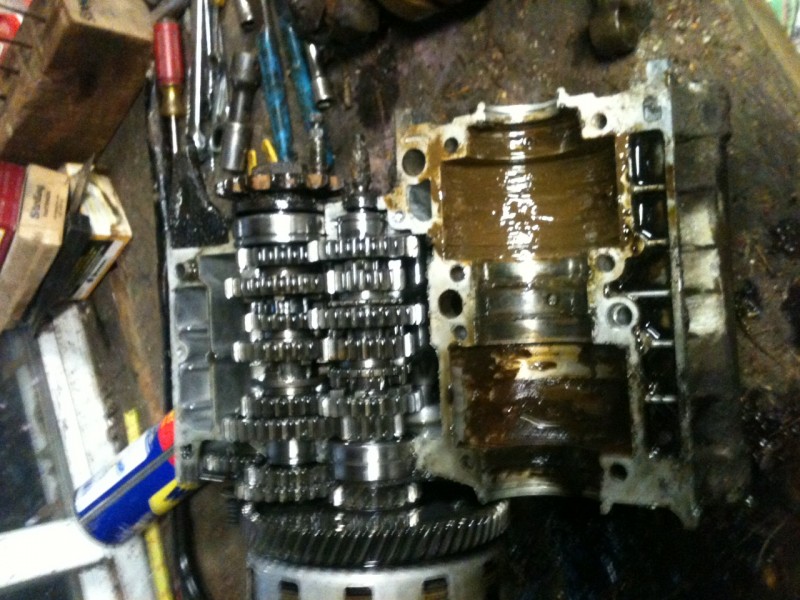
Crank has been built up and the rods polished by Classic Cycles in frenchtown NJ, you could comb you beard in the reflection of these things. We put the bearing in the “bearing shrinker” aka shop fridge for a while and sorted a few things out. After sufficient shrinking time Chris fired up the heat gun and heated the cases to install the bearing. It dropped in for install with no hamfistery needed.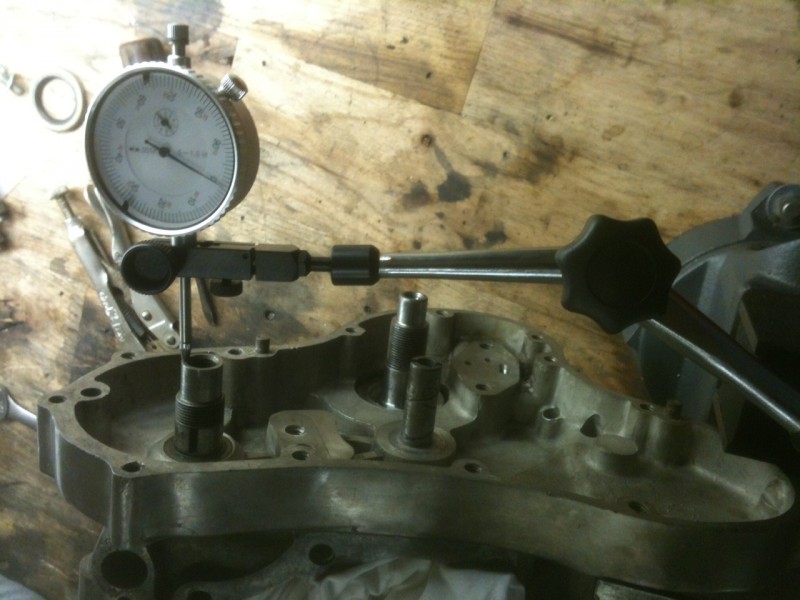 After that, we used sufficient force to assemble the case halves for a dry run on the end float of the crank and camshaft. 2 or 3 tries later we had the float within acceptable limits on both and were ready to jizz them together.
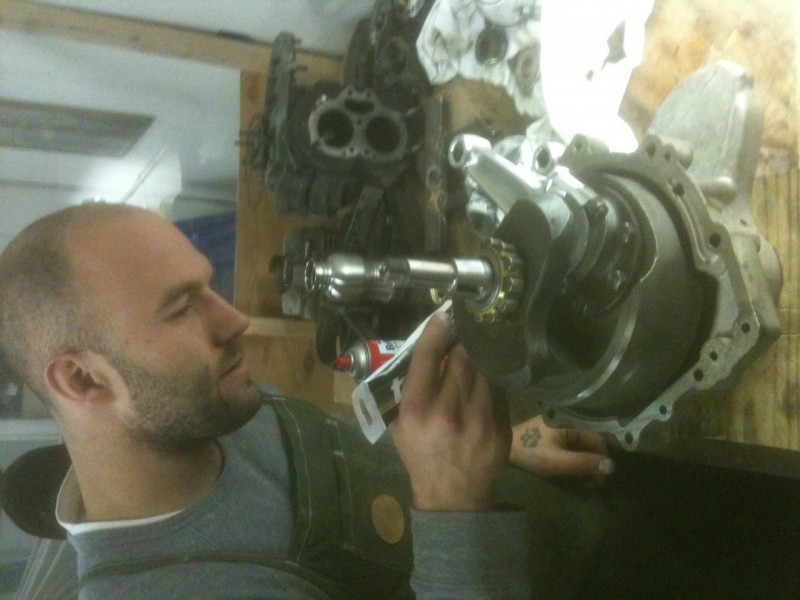 We fitted the halves back together one last time and torqued the bolts to: just tight enough in/lbs, checked it one more time and had a Beer. PERFECT SUNDAY
Im Turning Japanese
For a long time now Ive been wanting a Yamaha RD350-400 but just couldn’t justify the cost of buying one with all my there current projects. I bought a fancy app for my phone that searches craigslist for you under the search criteria you want. It cost the same as a good cup of coffee, best 2.99 I HAVE EVER SPENT! At work this past week this modern marvel of technology lets me know that there a pair of rd’s for sale in upstate NY for $100 with title. Called guy and he gave me the story, been sitting since 81′ was the fastest bike he has ever ridden etc. After getting off the phone I felt an immeadate call outta work sickness coming on. Me and Cleo Dog took the 10 hour ride there and back through the fall leaves and countryside.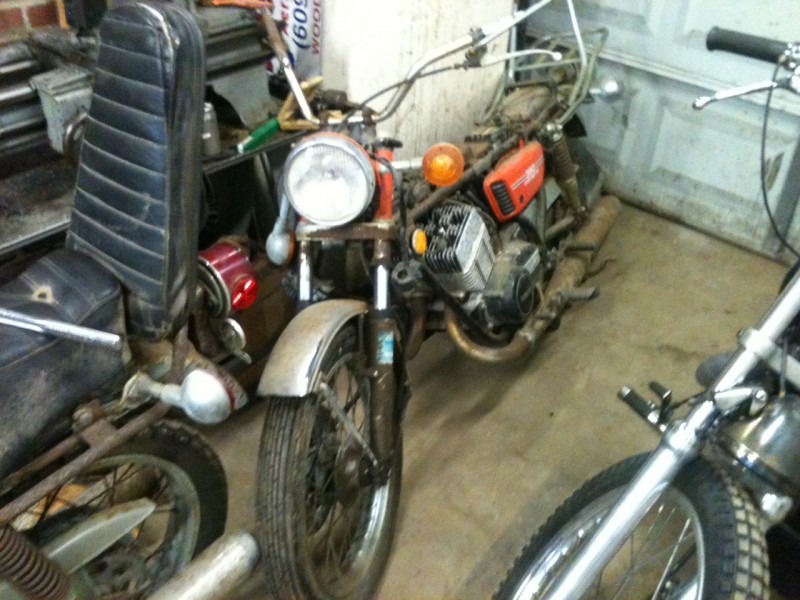
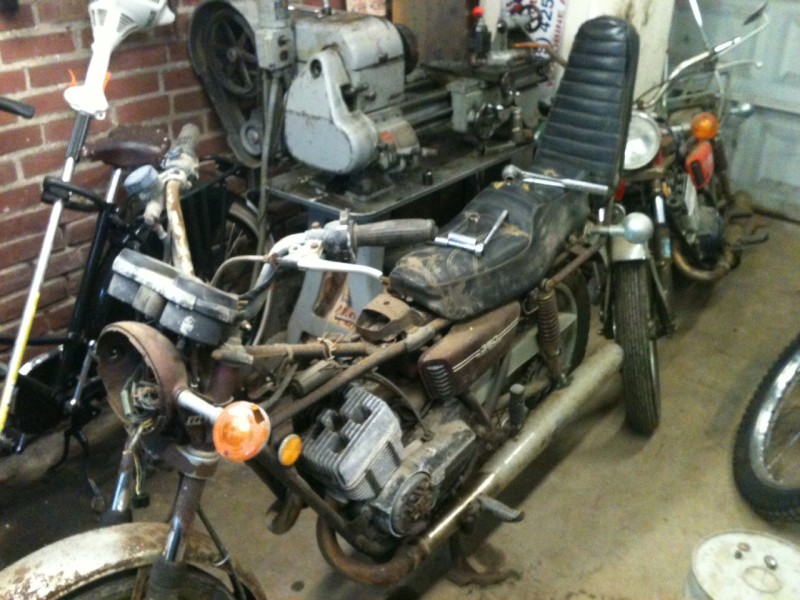 Lately Ive been rather disapointed in the amount of time I’ve been getting at the shop. This project will be done at my house only like old times. Get to put a few hours in after the kids go to bed.
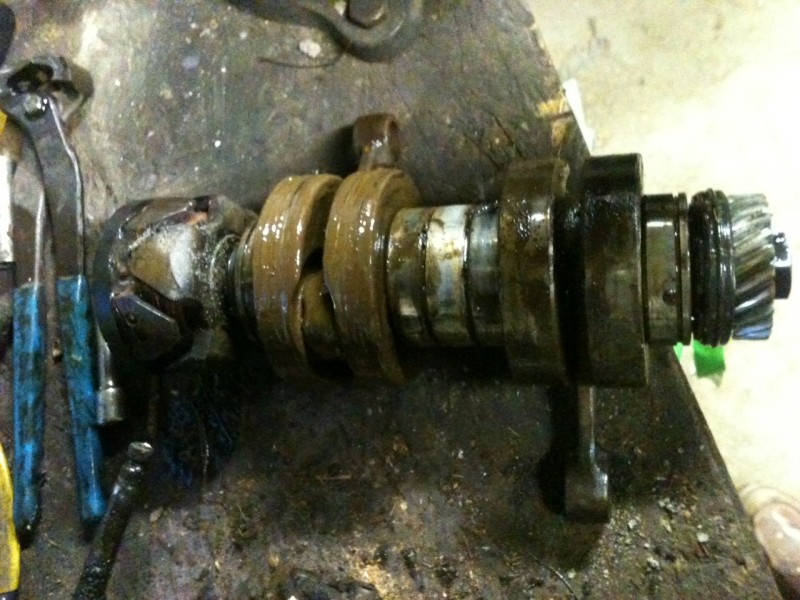
This will be kind of a super bike build. Lots of fiberglass, the bike stock weighs in at 351 lbs dry, pretty light to begin with. Im going to try to shave at about 50 lbs off it. I split cases and crank the other night, The build sheet will include new bearings throughout, rods, pistons, banshee reed cages, yz125 reeds, boost bottle, updated brakes and shocks, and aluminum rims. Stay tuned.
Tanks ALOT Den
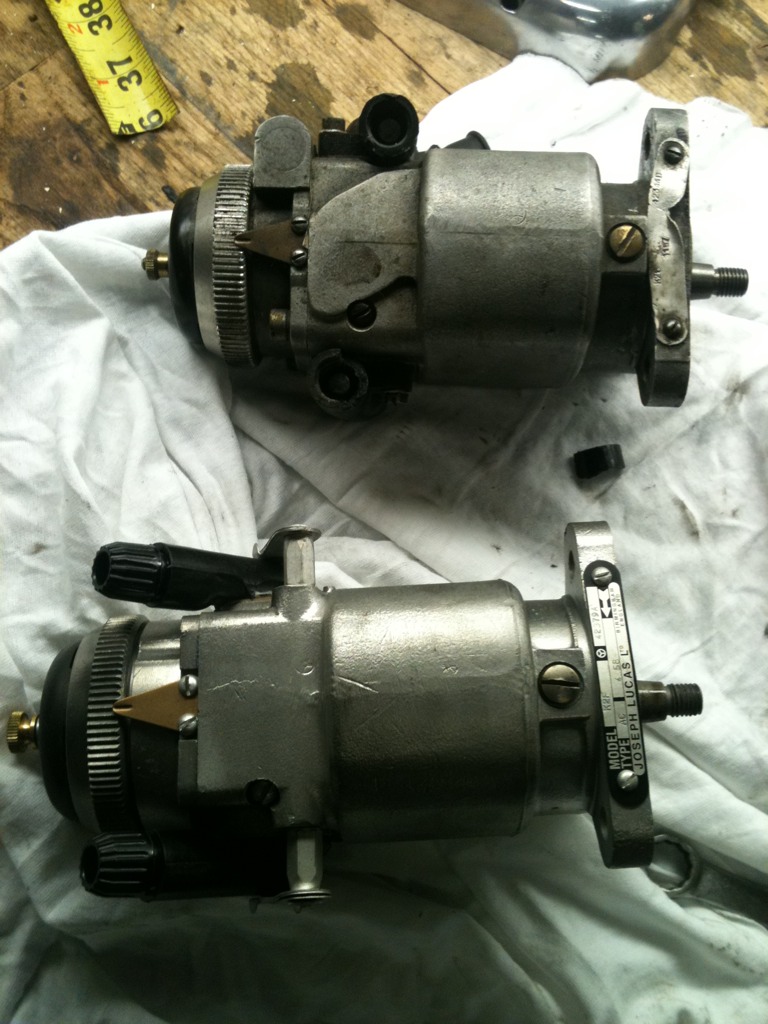
The TALE OF TWO MAGNETOS
I swapped out the old maggy on the preunit last night. The old one was starting to give trouble occasionally causing me to miss a day of riding and requiring me to close the gap down to about 16 thou. It’s replacement is a spare I had around and rebuilt by Doug Wood engineering. Inside it’s been rewound, re magnetized and new modern condensers and coils fitted. Doug says they will run all day at 28 thou gap. Well see.
Break’n egg &cheese machine rides again
Oregon trip
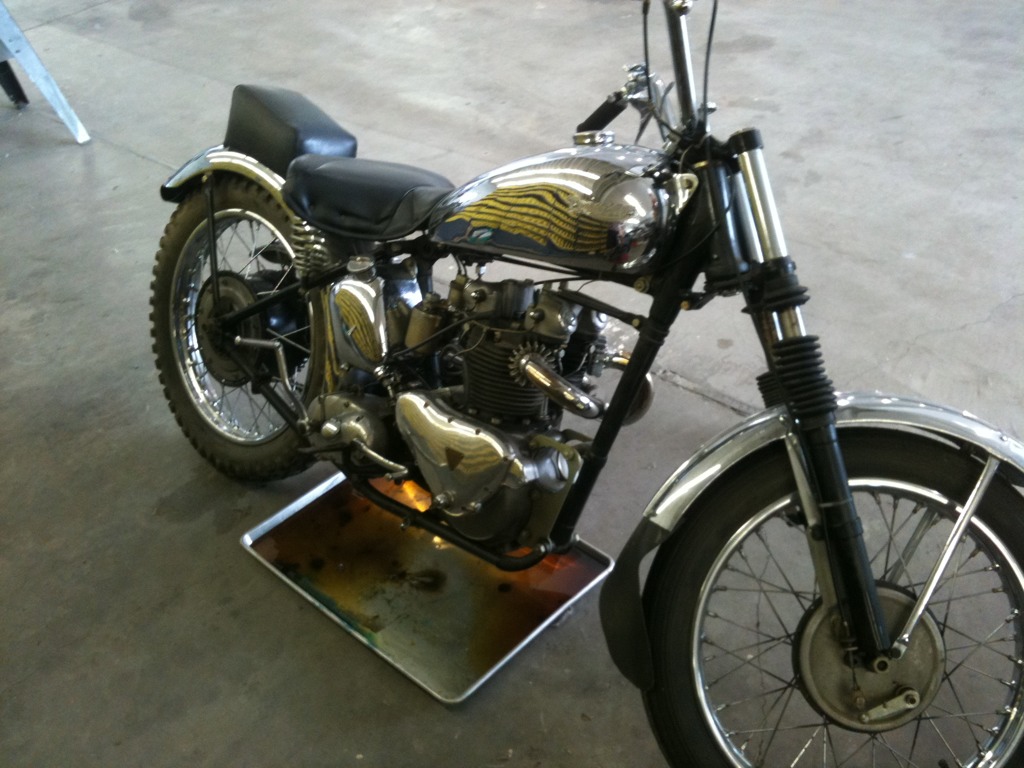
A while back me and the family went to Oregon. We stopped by a air museum in tillamuck. Real cool place, amongst all the ww2 planes and blimps I spied this baby in the maintenance hangar. Talked to the original owner who has had it since new. Check out the O.G. Remote float carb and Dunlop desert sled rear tire.
PHOTO ESSAY: fitting a 23″ wheel to a late sportster front end
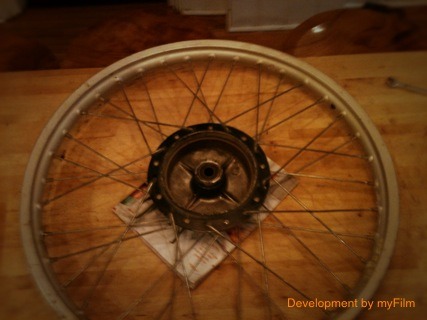
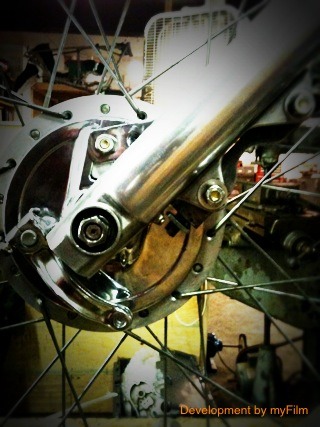
This serves to test out posting through an outside source AND how I fitted a 23″ xr500 wheel to late sportster forks

Cutting the axle to fit the new bearings
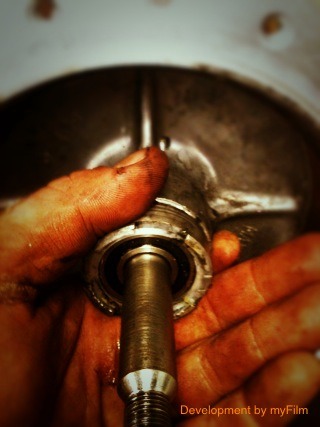
Oversized bearings from mcmaster installed and axle fitted
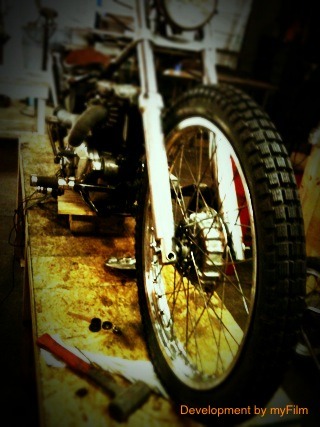
Relaced and trued to less than .020 out of round. Rim polished on the buffer
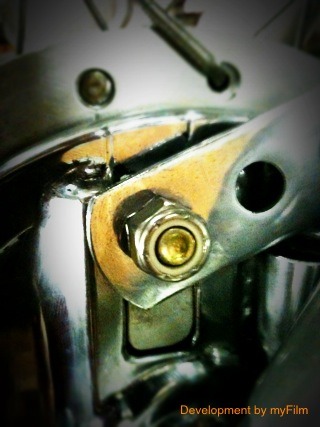
Brake backing plate all polished up with brackets to adapt to late forks and built in cable adjuster

