About Jason

Born Raised Educated Living Fathering Riding Declining Returning

Brooklyn Nights

Don’t let sunny day appearances fool you. Every time you see someone on a nice old good-running bike you can be sure they’ve put in hundreds or even thousands of greasy hours behind the scenes in some garage or sidewalk or living room.

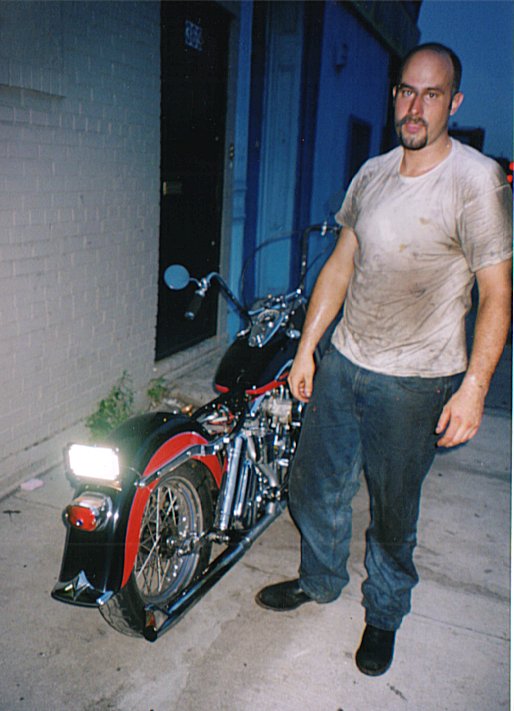
Brooklyn. 1998. In the earlier phases of R&B refinement. After a 30hour weekend getting the motor buttoned up and back in the bike after a major failure. Riding with sport bike guys. Best way to get me to do something? Tell me I can’t (keep up).

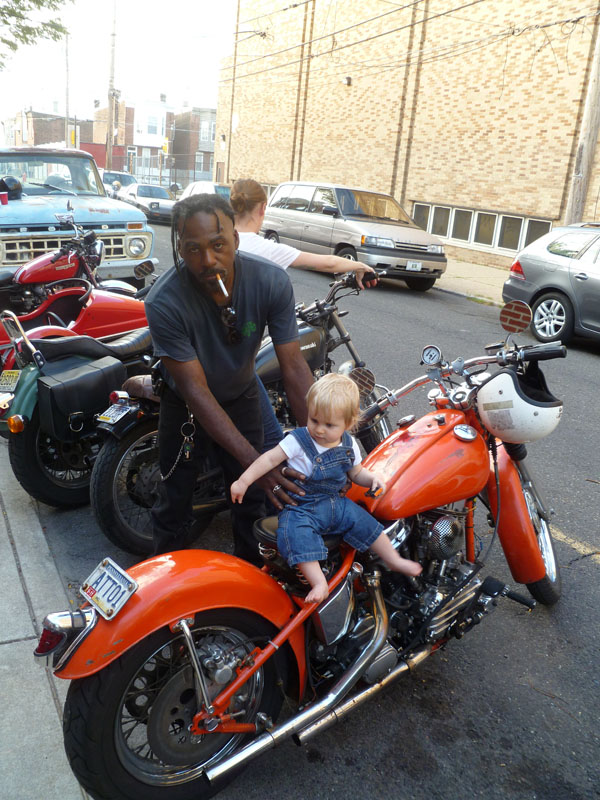
Jason

Dues are ALWAYS due.

Let's call it a day

Synching Twin Carbs

We were talking with a friend last night who was trying to get his dual Dell’Orto carbed Guzzi synched and idle speed set. As is often easy to do, we slipped into over-analyzing what needs to be done and how to accomplish it. Then after a a couple beer’s worth of continued speculation and jabber, we reeled it in and simplified it.

Synching a twin is easy. Here’s how to do it.

Some people are conceptual learners, needing to understand how something works and the approach behind tuning it. Others a procedural learners, concerned more with how something is done than why it works. Both are valid. I’m in the former camp. I’ve found that once you know how something works there are many different recipes for how to do it.

There is only one goal in synching your carbs: To have all cylinders contributing the same amount of effort at any time.

There are three steps to doing this on your twin:

1) Obtaining the optimal idle fuel mixture for both carbs

2) Setting the idle speed screws so both carbs run at the same rpms when the other cylinder is not firing

3) Adjusting the throttle cables so that the throttles move at the exact same time when the grip is turned.

There are some tools you can use to make this job easier or quicker, but they are not required. You can do a fine job of synching with just your ears and a screwdriver. A simple vacuum gauge like one you’d get at the auto parts store will make setting idle fuel mix easier. A motorcycle carb synch tool makes step one and two easier. A tachometer could also be used in place of a vacuum gauge or synch tool for the first two steps.

Continue reading

Fall Pennsyltucky Ride

I’ve been having a hard time getting out for a ride in the last couple months. Work is blown up and demanding mad hours (need to find a new job). Emmett is now walking. Cold weather has me tired all the time. There’s no end to things that need to be done around the house.

Got my chance yesterday. Almost folded when I woke up to see the 34F on the thermometer and the clouds in the sky. After breakfast and a snippet of sunlight, I decided I’d best take my chances. Good thing I did.

Per usual, I chose a general direction and tried my best to let my good road instincts guide me. Sometimes it works fabulously. Others, well, some of you have ridden through plenty of suburban sprawl hell zones that this city has so many mile of, with me. Sorry. Yesterday turned out right and I found some new great roads and routes to get out of Dodge with minimal foulness. I even wrote the names of the roads down on my fancy phone a few times during the day so I might get back there and continue scouting at some point.

I ended up at French Creek S.P. and Hopewell Furnace. I’d been camping at the former a few times but never had the pleasure of checking out the furnace. Wow. I had no idea. What a place. A system of sluices for carrying water from Hopewell Lake runs for miles through the woods to drive the water wheel for the furnace belows. The wheel house below is almost temple-like in its quiet and demand for calm. The coal barn and feed room set on the hill must be 100 feet above. Downstairs there were ten or more casting mold stations that appear to have been recently used. I wonder if they give demonstrations. The furnace is obviously not working, but there’s no reason they couldn’t make molds there at least. The pig iron troughs in the floor at the foot of the furnace were still full of old rusty iron. Stacks of pig iron lay about the building everywhere. Molds for frying pans and griddles and shirt irons too.

After a dynamite cup of coffee from a visitor center lobby vending machine (which spilled on me and took almost ten minutes) I made my way while I still had time. I suited up and pulled my ipod out of the tank bag. I spent the next few hours riding twisty back roads around Berks and Perkiomen counties through the blaze colored trees. Listened to Fleet Foxes and Fruit Bats and Black Keys. Perfect companion.

It was nice to be back on the BSA again. I finished this bike (again) in the Spring and spent the first couple months of the season riding it everywhere. Then for some reason I put it away in August and hadn’t been on it since. After pumping up the tires and changing the oil, she was a flawless ride. Nimble and perfect for this type of ride. You can flick this bike through the turns at 60mph just like a modern bike, or pretty close at least.

Got home by sundown and went out to dinner with my family.

Jason
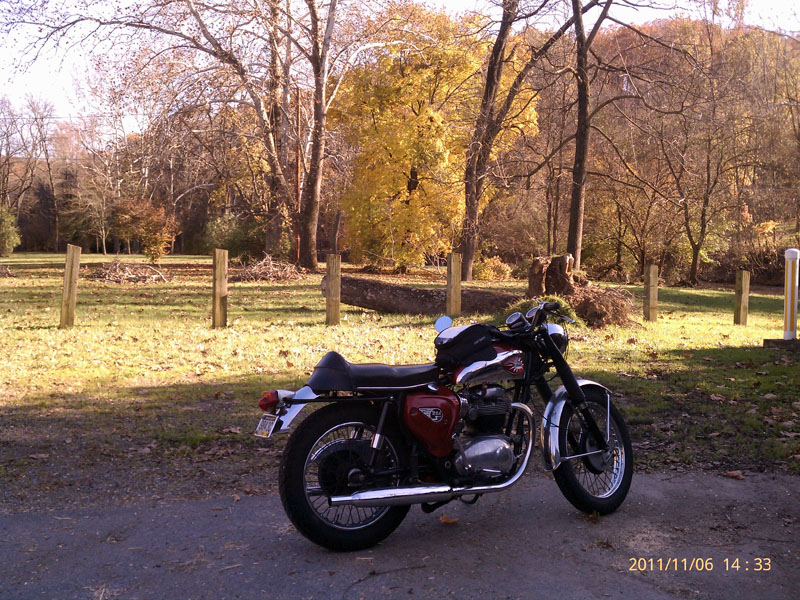
Manatawny Rd somewhere just below Oley, PA.
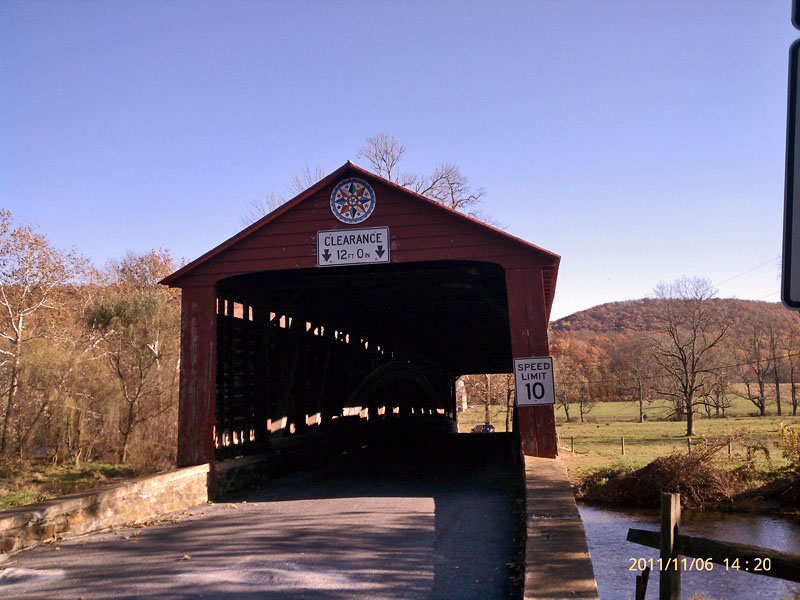
Covered Bridge Rd just outside of Pleasantville
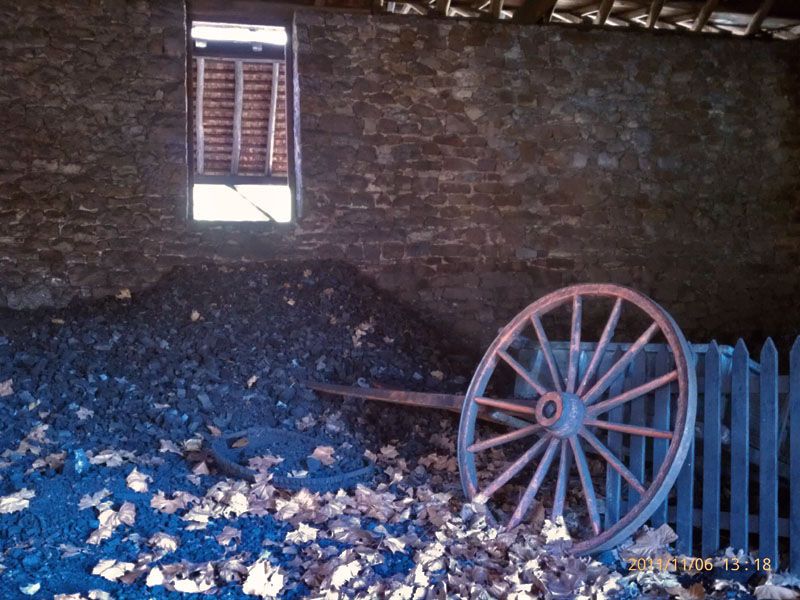
It wouldn't be Fall in PA without coal

Continue reading

Canyon Carvers . . .

An excerpt from a story about our Spring Opener trip in 2010 . . .

We met some new folks in Knoxville after suffering a mid-trip slump earlier in the day. Complete with a little bitching and tension from having spent the last so many days with five guys on the road. At a rest stop at dusk about 100mi from Knoxville, Vinny and I decided “Let’s ride as fast as we can right into the middle of the busiest place we can find in Knoxville, park right on the sidewalk, walk in like we own the place and talk to EVERYBODY we meet and buy them beer!”

Rather than entertain any further discussion, we were flying along at 90mph in the starry dusk with unseasonably warm winds ruffling our sweatshirts. We were there in no time and the plan was an irrefutable success.

Three people we met: Nathan, a young vet who now builds sick canyon bikes and rides it like he means it. His friend John, a musician and fellow rider, albeit of the gentler variety. Tony, plain fucking insane and builder of the Banshee-powered RD below. Fastest bike I’ve ever seen, and I’ve been around the block a few times.

Enjoy.

Full story here: Spring Opener 2010


Early HD Timer Conversion

Where can I buy one of these? Nowhere? Ok.

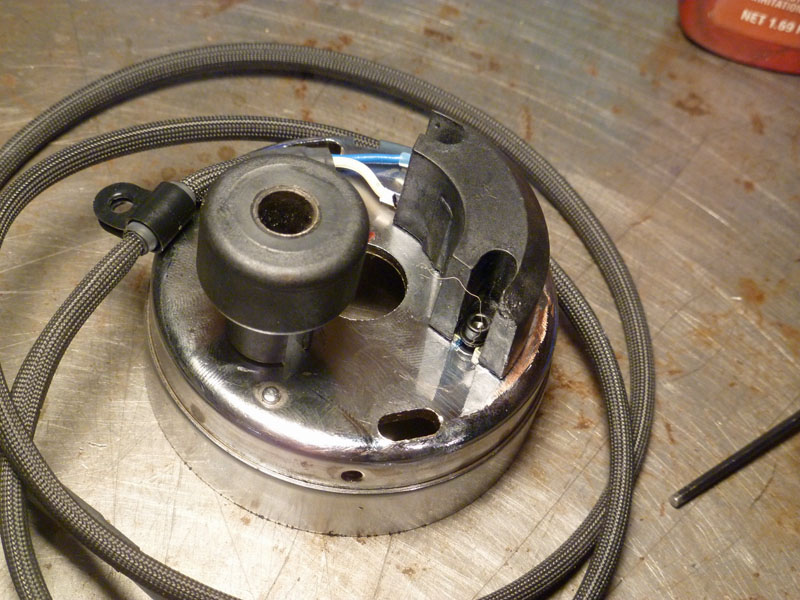
We’ve been helping Ralph turn his ’70 XLCH (The Iron Headache) into a reliable machine for regular use over the last couple months. As most people who’ve owned an ironhead will tell you, there’s a pile of work hiding in all of them. Some choose to refine the bike over a period of years fixing crap as it occurs. This gets tiring and often leaves you short of your destination. Some folks like that approach and that’s perfectly valid. We’re trying fast-track Ralph to understanding his machine thoroughly and addressing all the major systems in advance of their likely failure. This week? A non-fidgety low maintenance ignition system.

His bike has an external ignition timer as opposed to the embedded timing chamber that later sportsters and cone shovels have. This slims down the choices a bit. There are three main issues that limit choices: The timer does not accept a bolt-in points replacement as the body of the timer itself carries the points. The timing weights are also integral with the timer shaft preventing use of an ignition that doesn’t use centrifugal advance weights. Lastly, the timer shaft rotates clockwise whereas later sportsters, cone shovels and evos rotate the timer shaft/cam counter-clockwise. Hmmm.

I recommended a Dyna S for this job, as would probably anyone who has put serious miles on an early bike. They are cheap, simple and stone reliable. There’s a reason most bikes at the drag strip run them. You can run them with stock HD coils and existing weights. In the even of a rare failure out on the road, you can pop your points (that you carry in your tool bag, right?) back in and keep it moving.

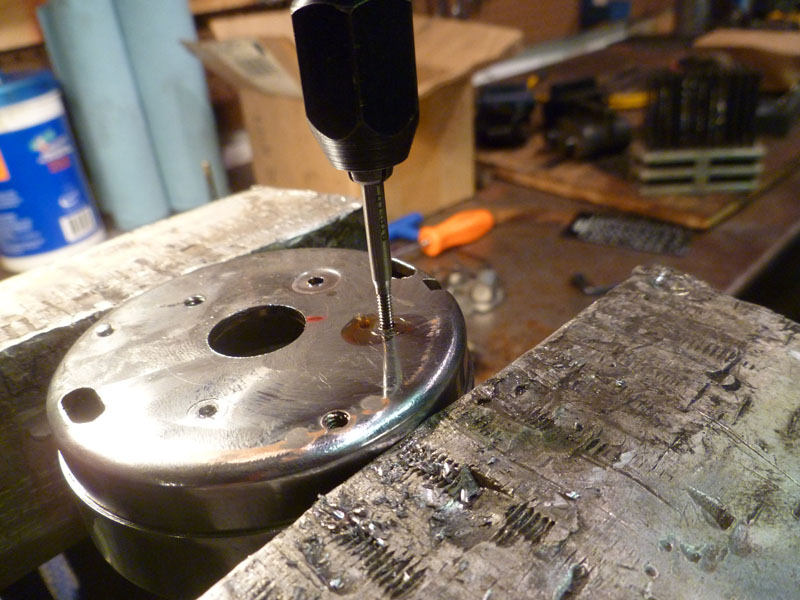
Young Dan and I got to figuring out our approach last evening using an old Dyna S I had in my stash. We had it largely figured by time Ralph arrived. Both of us are prone to impatience and are easily consumed by interesting problems to solve. Details are in the captions below. Enjoy.

Jason

We removed the pickup sensor from the new ignition and marked holes for mounting on the old timer. Tapped to 4-40 to use the mount screws it came with.

Continue reading

They Stopped Making These . . .

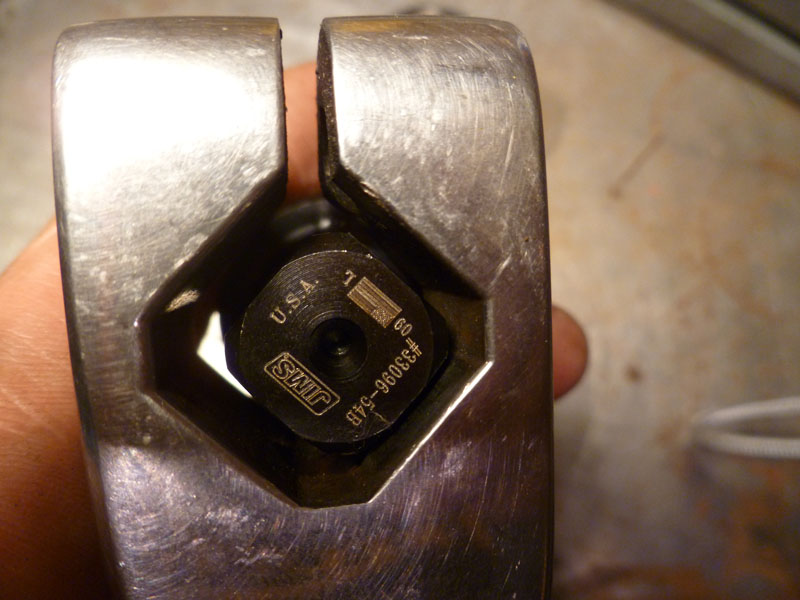
Hmmmm. How to make this part fit that part. . . I don’t think smashing it closed and bolting it down will do.

So as I’m leaving to go for a ride a couple weeks ago the kicker on the red & black pan gets stuck in the bottom position and no longer turns the motor. There were no noises or other indications that the shaft had broken, but it did. A number of years ago I fixed this shaft when the threaded boss for the internal gear sheared off. That one was my fault. Sometimes I’m still a gorillla-fist and tighten things too much. I machined off the end and tapped it for a retainer screw and made a thick retainer washer. This fix lasted about five years. Not bad.

At that time I was too stubborn to buy a new shaft as I thought they were too expensive at almost a $100. Well, now you can’t get one at all for any price. I searched pretty thoroughly. Seems they stopped making them. The shaft for this particular kicker has an oversized boss where the arm attaches for increased strength. The arm has an extended length compared to stock, too. The attachment point on this one measures at .788″ where a stock one is closer to .600″. That’s a big difference to cover by fashioning some kind of shims but I imagine it could be done.

I ordered a replacement shaft of stock dimension from the local shop (Riverside Cycles in Phila) and figured I’d come up with an idea for how to make it work shortly. It came to me later that day: Cut the old shaft in two, keeping the oversize arm attachment portion. Cut a perfectly good brand new shaft in two, keeping the internal gear and shaft portion. Weld them together. What makes this job tricky is that the shaft material is extremely hard, tempered and precision ground. You can’t weld at the shaft as you’d have no way to grind it back down to original dims. It’d also probably be weak. I decided to cut them off just behind the arm attachment point, taper them down to a “V” shape to allow deep welds and then clean up the welds back to original size.

Guess there’s no way you can claim to know how to weld if you don’t trust your own work. This application will be good test. You can imagine that there are major forces exerted at the repair point including flex and torsion. I don’t claim to be a welder but I have welded a ton of parts for my bikes and a few others’ that have held up just fine. I know the machine I have very well and can generally be confident in my work. I also have fucked up a bunch of stuff. . . and like to think I learned from it. We’ll see with this one.

I was pleased with how this came out in that at least it looks decent enough. I’ll see if it holds in real life. This kicker is used to start a 93ci shovel/panhead motor with 9:1 compression. Not huge, but no 350 Honda either. I’ll keep you posted.

Let’s get to it. Pics and steps after the jump . . .

Continue reading