Category Archives: Uncategorized
Looking For
Rare
If you are running a CV carb and you are looking for the right parts to tune it this is where you want to go: https://www.cv-performance.com/
I put a CV on my Iron Head and could not get it dialed in. Jason shimmed the needle which helped a lot but it still isn’t where it needs to be. I ordered parts from CVP and initially they f-d up the order. I called and left a message and within 20 minutes got a call back from the owner Ken. Ken apologized for the mistake and sent out the correct part asap. He seemed so cool I asked for some free tuning advice which he happily offered and shipped me an additional needle to try out and see if it would help solve the ongoing problem. All he wanted in return was feedback on how the part worked and for me to let friends know about CVP. I rarely run into people like Ken in the general market place. He does good business. And all the CVP parts are made in the US. Thanks Ken.
’62 Triumph Rebuild Begins
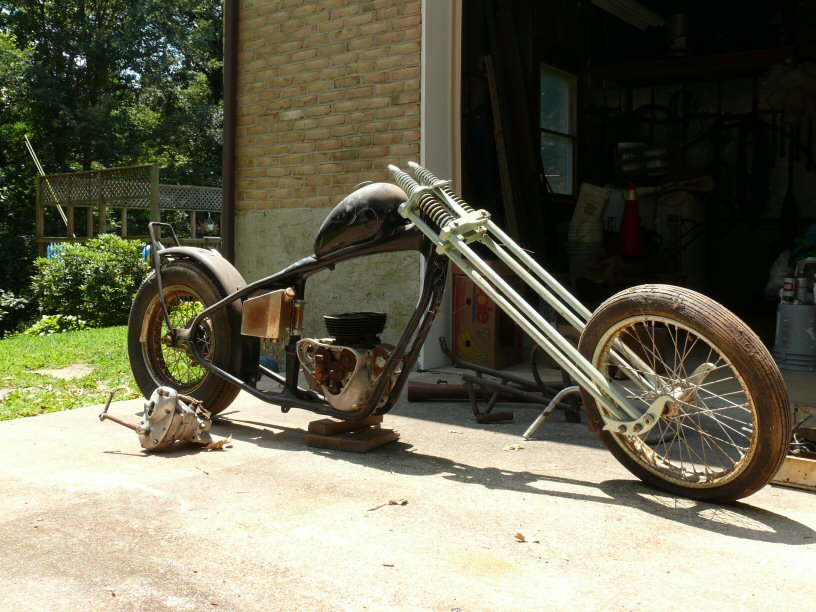
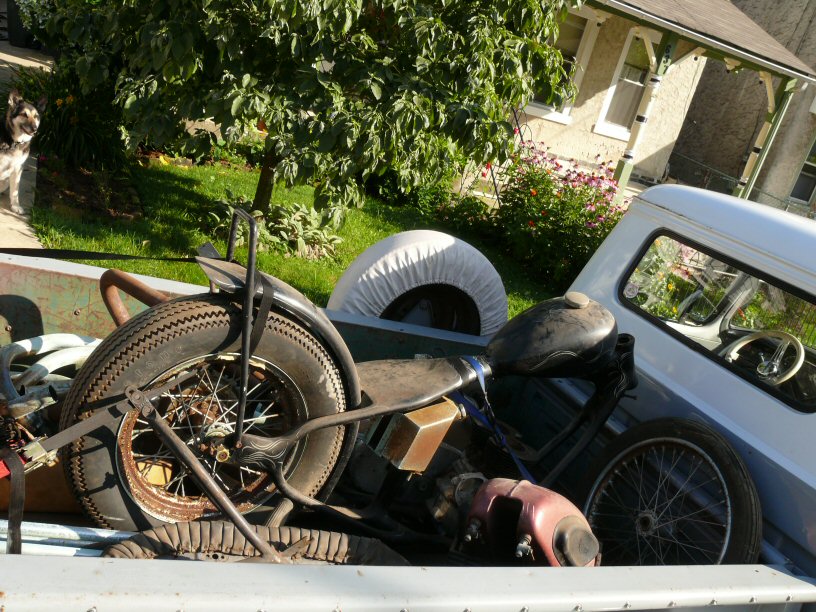
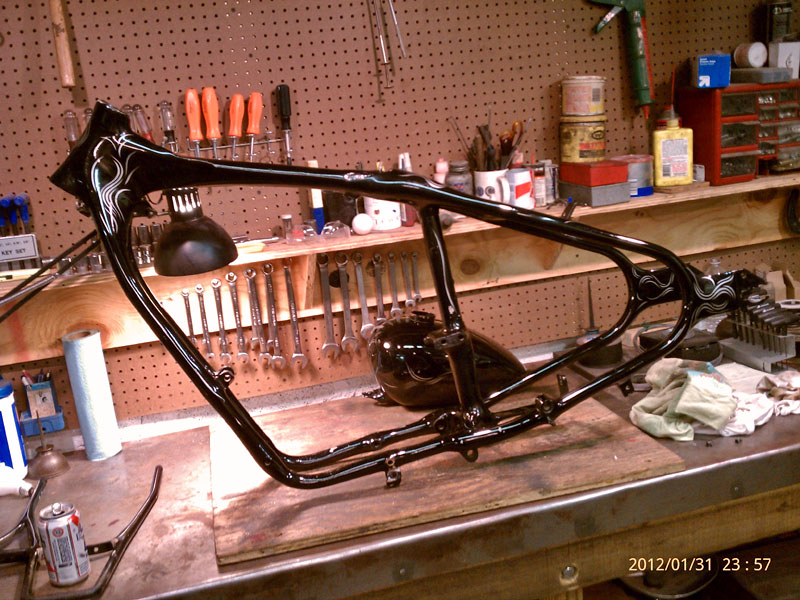
I picked up this ’62 Triumph pre-unit chopper about three or four years ago. It came to me via the good karma express. If you want the long version (and my friends know that is always my preferred route!), go here: ’62 Triumph Find
I intended to restore it just as it sits and ride it down to Maryland to show the man that built it. I couldn’t wait to see the look on his face after having heard stories about how much fun he had building and riding this bike back in ’67. Sadly, I received an email from his wife on Friday that he had passed. I was very sad to hear the news and bummed that I couldn’t make good on my intentions.
A couple weeks before I’d already decided this would be the next project. After a fiendish rush of shop improvements over the last month, I’m ready.
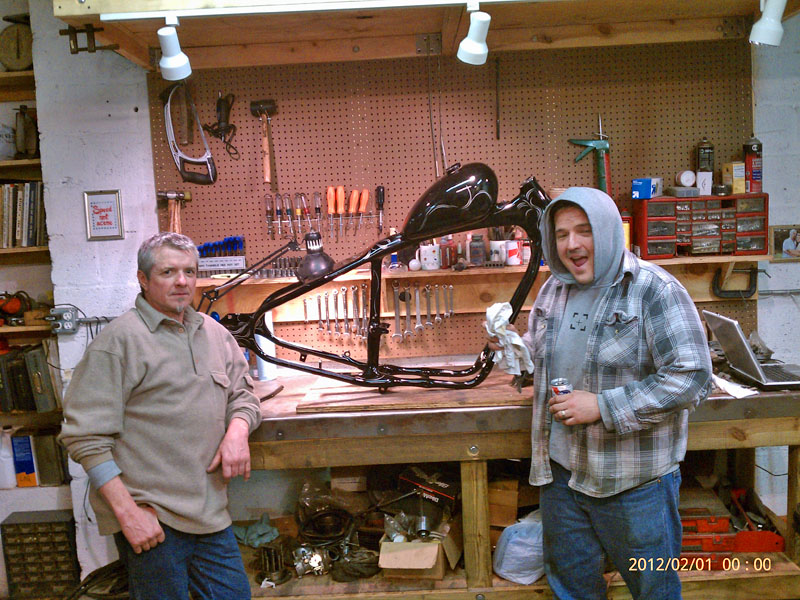
We tore into it last night. Frank, Bill and Sergei helped me carry it down from the second floor via the stairs. It is heavier than it looks. We then went through the boxes and bins of parts to save everything that was metal and discard all the cracked acorns and shredded paper from the squirrels who’d made this their home for a while. Amazingly, it seems that every single piece to this bike is present. Many will need some serious cleanup and plating. I’m sure some of it will have to get chucked.
I don’t like choppers at all. But this one is just so damned cool I’m gonna have to leave it just like it is. Shitty steering and gallons of Bondo be damned.
After stripping the motor and back wheel from the frame we set about rubbing out the paint with compound, then hand glaze. I think it came out great. Paint stays.
Thanks everyone for your help last night. It was a good time. This bike’s story continues just like it began. . . with a group of friends working together and plenty of cold beer. Chet would be proud.
Jason
Our neighborhood
Oil pump rebuild
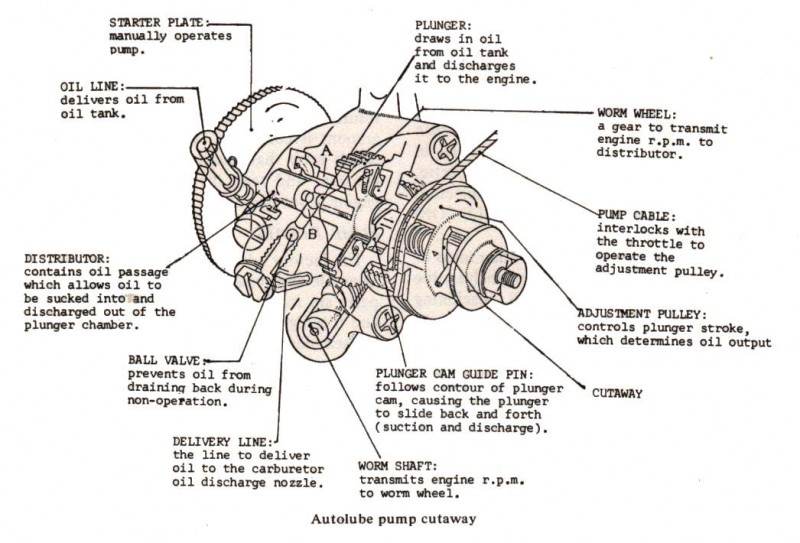
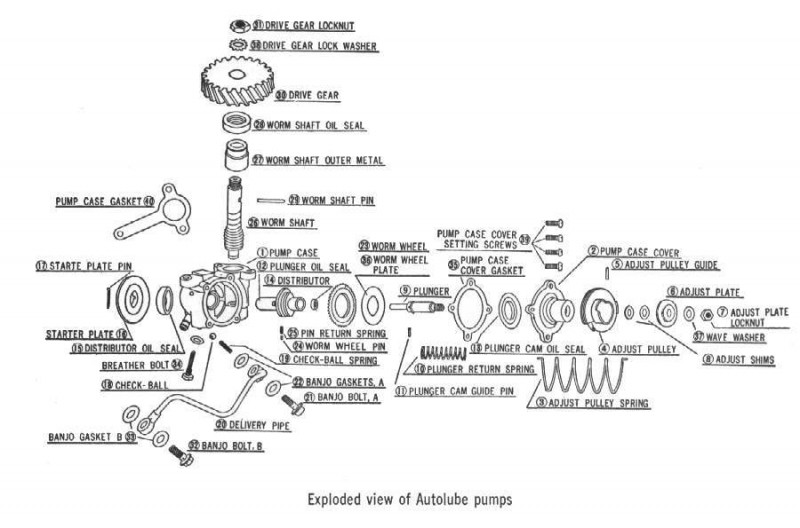
In the FACTORY YAMAHA manual there is a section about the autolube oil injection system. In this section it tells you how to adjust the pump stroke and remove and install it. It also says the pump is a precision machined part and is unserviceable and if needed it should be replaced with a new pump. Well that was 40 years ago and the NOS pump supply has dried up. As you can see there are no less than 40 parts in this small pump. its about 2 inches square in size.
I forgot to bring my camera to take some pictures so we are reeling on the diagrams. I ordered a new seal kit fromlast week and it arrived yesterday. Kit comes with 3 oil seals 2 pump gaskets and some new screws. Theres not much info I have found about rebuilding these pumps on the interwebs.
I worked on this thing for a solid 4 hours and had it apart and together at least 15 times before I had it working where I was happy with it.
Last thing to do is bench test it with some oil and set the pump stroke for Idle conditions. Sorry again for the lack of pics today.
-DAN
Merry Christmas
Learning to Wrench
You become an apprentice when you lose your fear and start taking on the new and unknown with little hesitation.
As a journeyman you improve your chops, take some hard lessons and think there’s nothing you can’t fix or make.
Glimpsing mastery, you learn judgement. When you can improve something and when you should leave well enough alone. You become increasingly aware of all you don’t know. You recognize that mastery cannot be achieved, only approached.
I’m sure this applies elsewhere.
Jason
Sorry AMCA Purists. . .
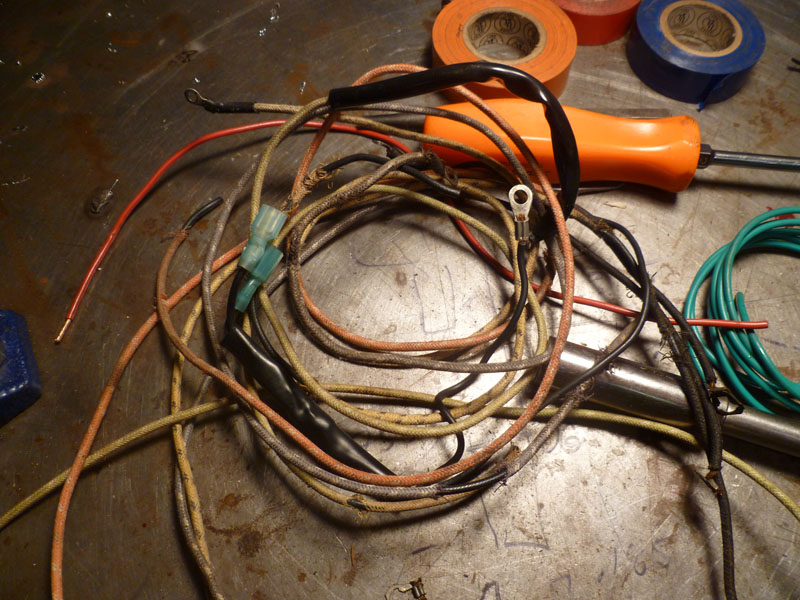
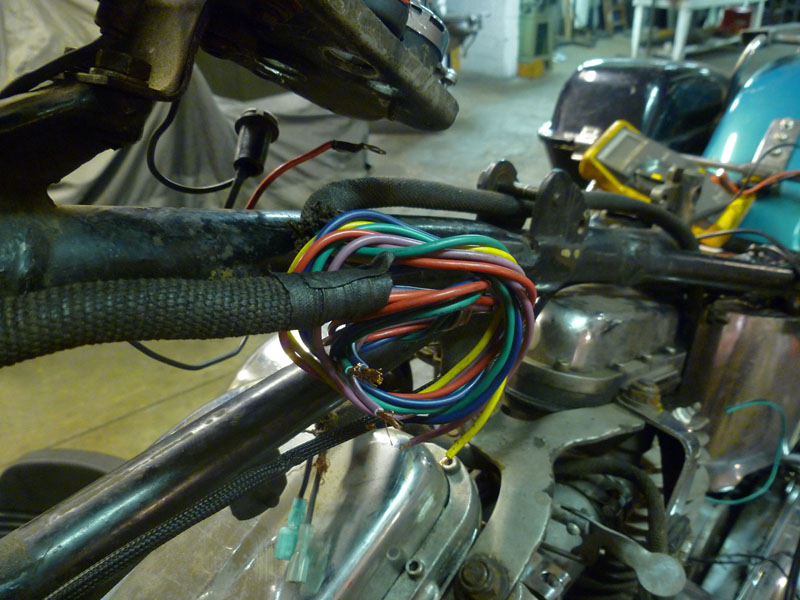
. . . but the 47 year old cloth wiring and flag terminals had to go.
Made a mistake by not replacing all of it when I rebuilt the bike. Too much resistance. This is only a 6V bike, making it worse. Many wires are internally corroded even though the jacketing looks fine.
I kept the old sheathing/conduit at least.
Bright lights and loud horn now. Hopefully better battery life too.
Jason
Brooklyn Nights
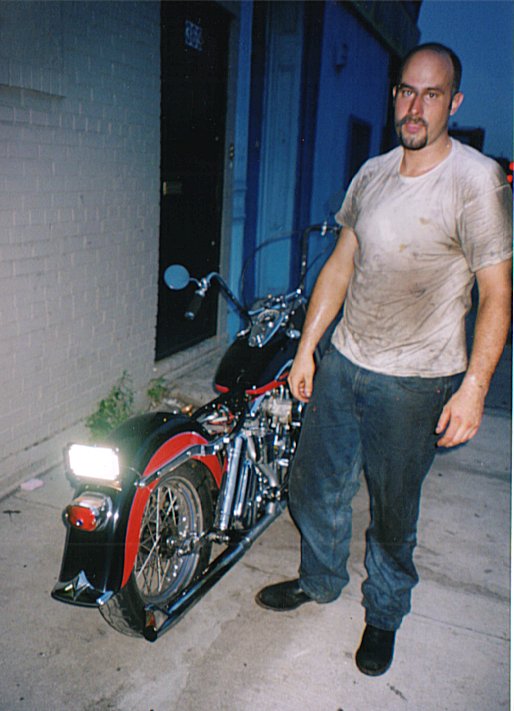
Don’t let sunny day appearances fool you. Every time you see someone on a nice old good-running bike you can be sure they’ve put in hundreds or even thousands of greasy hours behind the scenes in some garage or sidewalk or living room.
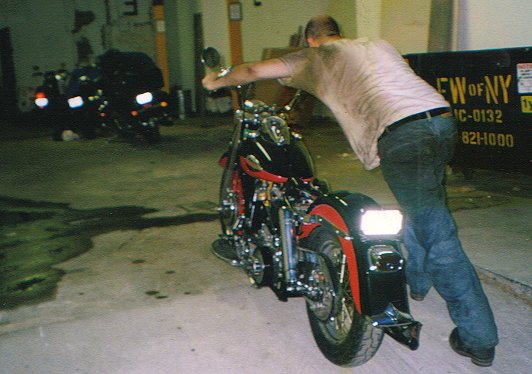
Brooklyn. 1998. In the earlier phases of R&B refinement. After a 30hour weekend getting the motor buttoned up and back in the bike after a major failure. Riding with sport bike guys. Best way to get me to do something? Tell me I can’t (keep up).
Jason


![jmcwinter[1]](http://www.greasygringo.com/wp-content/uploads/2011/12/jmcwinter1.jpg)
