Convert-O-Bike Project (Final)

Time keeps moving and I found myself a day away from Emmett’s birthday, needing to get down the shop to finish up. Still had the rear fork/axle to figure out, all the wheel bearings, the crank assembly, and finally, some cleaning up and polishing to do.

Got down there around 3p on Saturday, put some good music on and grabbed a big mug of coffee. I had a great time, which is what this is supposed to be all about. I was done by seven. Megan thought for certain that I’d be my usual maniacally obsessed self and get home at three in the morning. Sorry to disappoint.

Emmett loves it! I may have created a monster. He said nothing other than “Bike! Bike! BIke!” all morning after we gave it to him. His legs are about two inches too short to fully engage the pedals, but it’ll be no time at all until it fist him perfectly. He demanded that I push him all around the house while he steered, which I was happy to do.

Details of the build are in the pics as always. This was a fun one. Thanks for joining me.

Jason
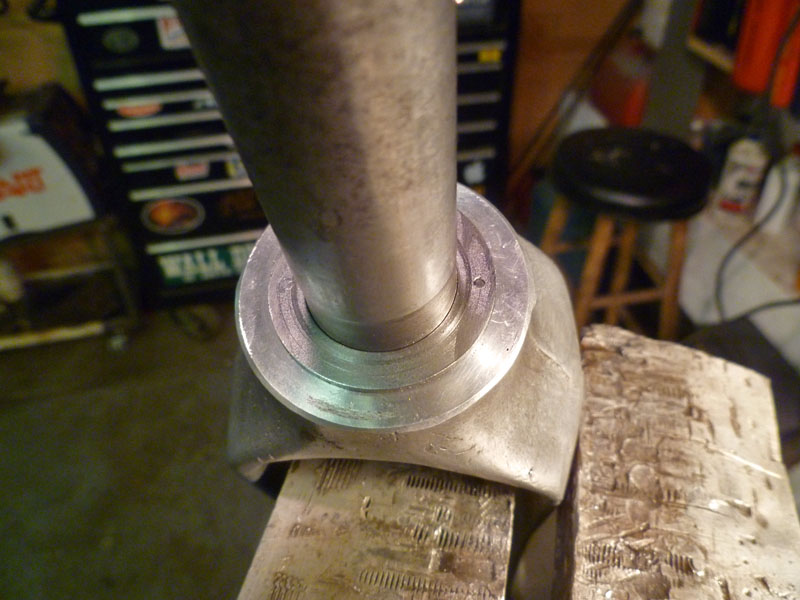
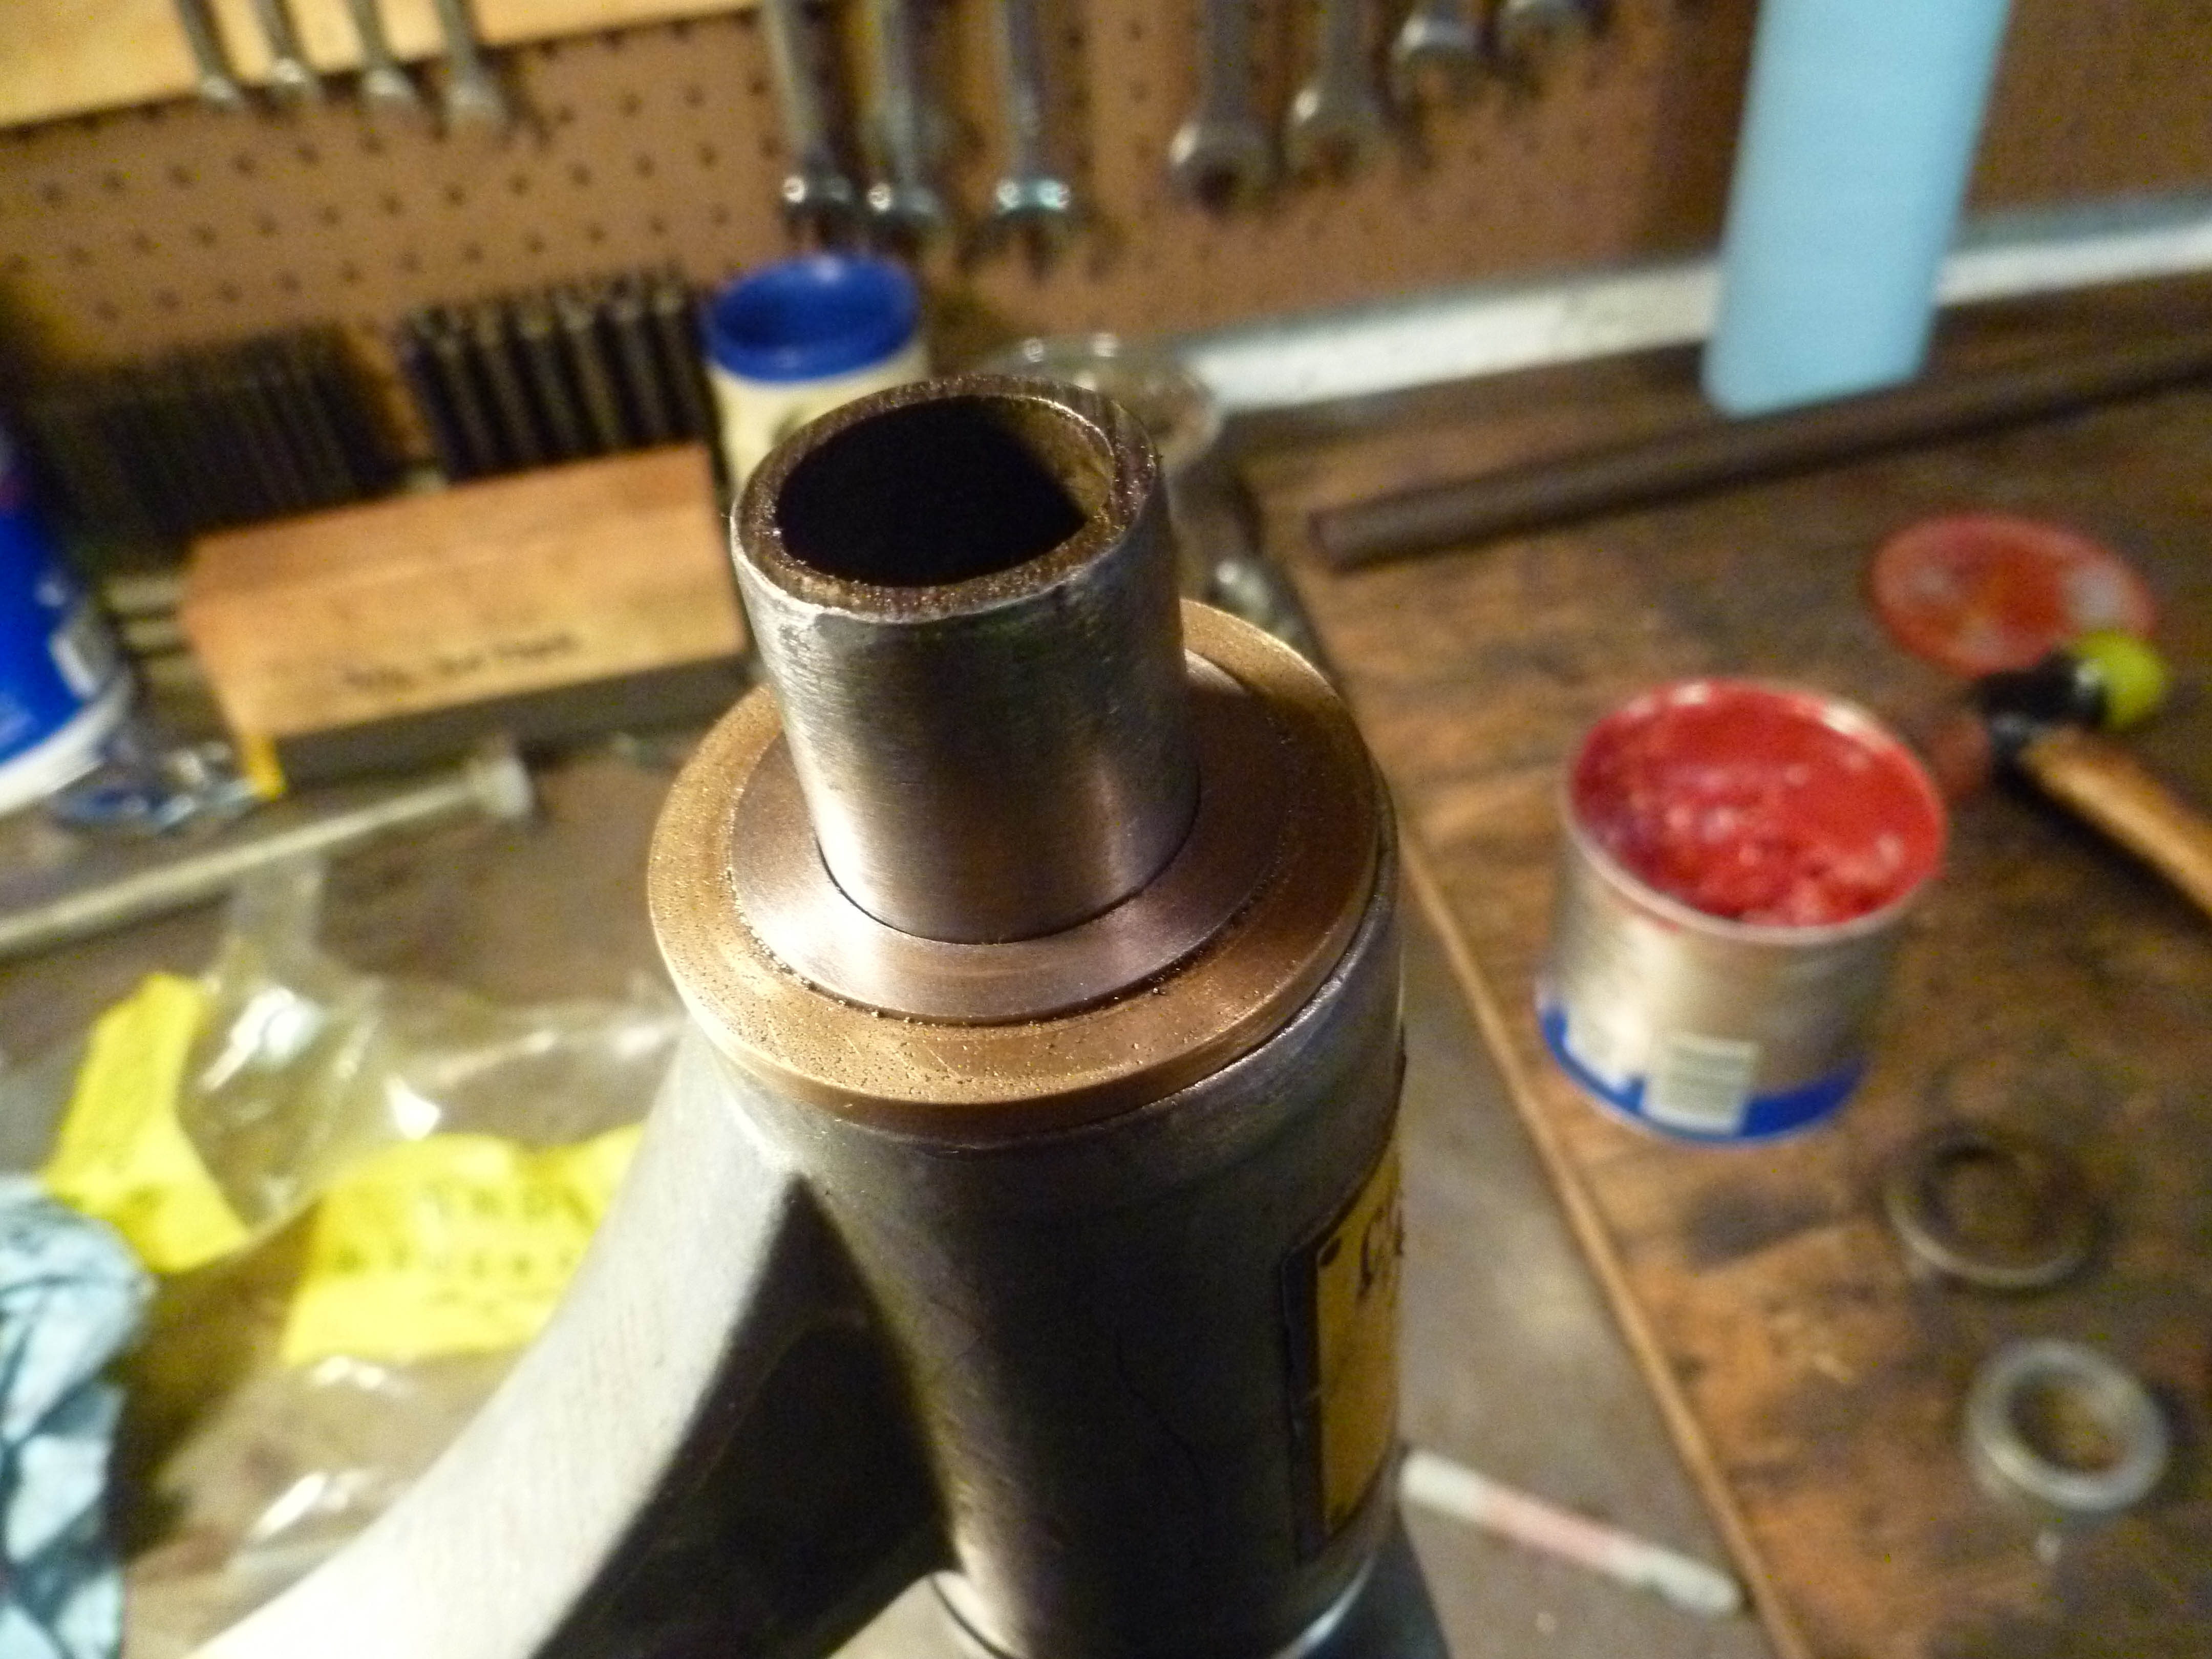
I embedded a hardened steel thrust bearing into a counter-bore in the bronze bearing between the fork and head tube so the original material would not get worn away. Here you can see it pinned in place so it doesn’t rotate against the aluminum shoulder.
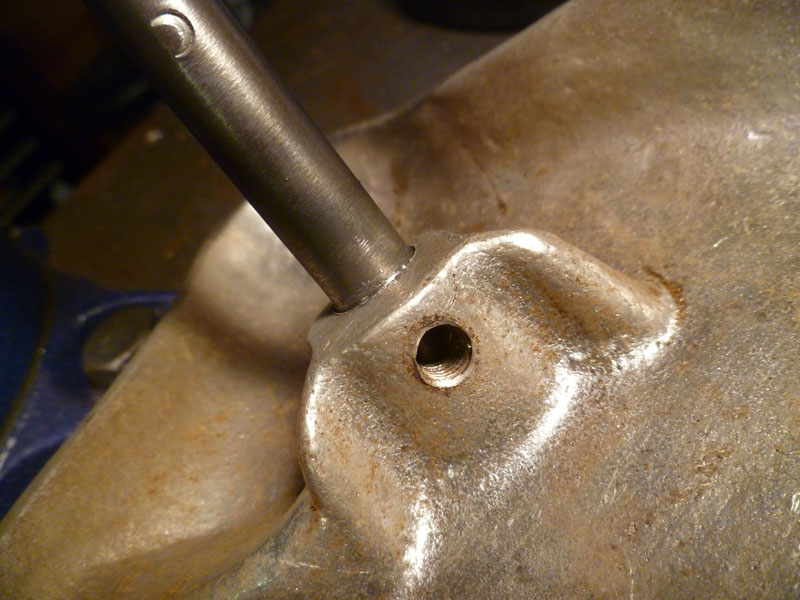
The seat post fit in the seat was hammered, leaving the seat wobbly and about to fall off. I built up the post with welding rod and turned it back down to a large enough diameter to press fit into the seat. The set screw remains although is now basically only for decoration.
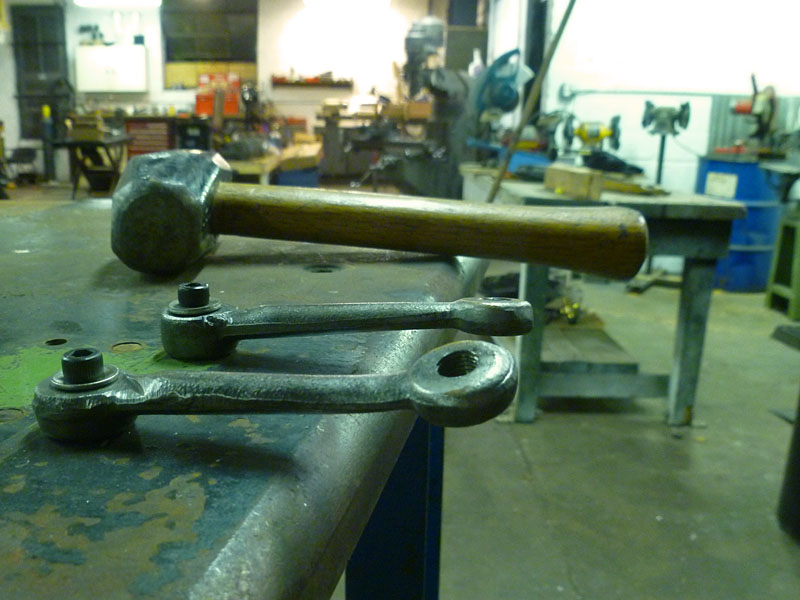
By this point, I was pretty certain this tricycle had been backed over by a car in someone’s garage. The cranks were twisted and bent pretty severely. Luckily we have a heavy duty jig/welding table in the shop. Bolted the cranks to the table next to each other so I could straighten them out with heat and a large pipe.

Continue reading

Bonneville 2012

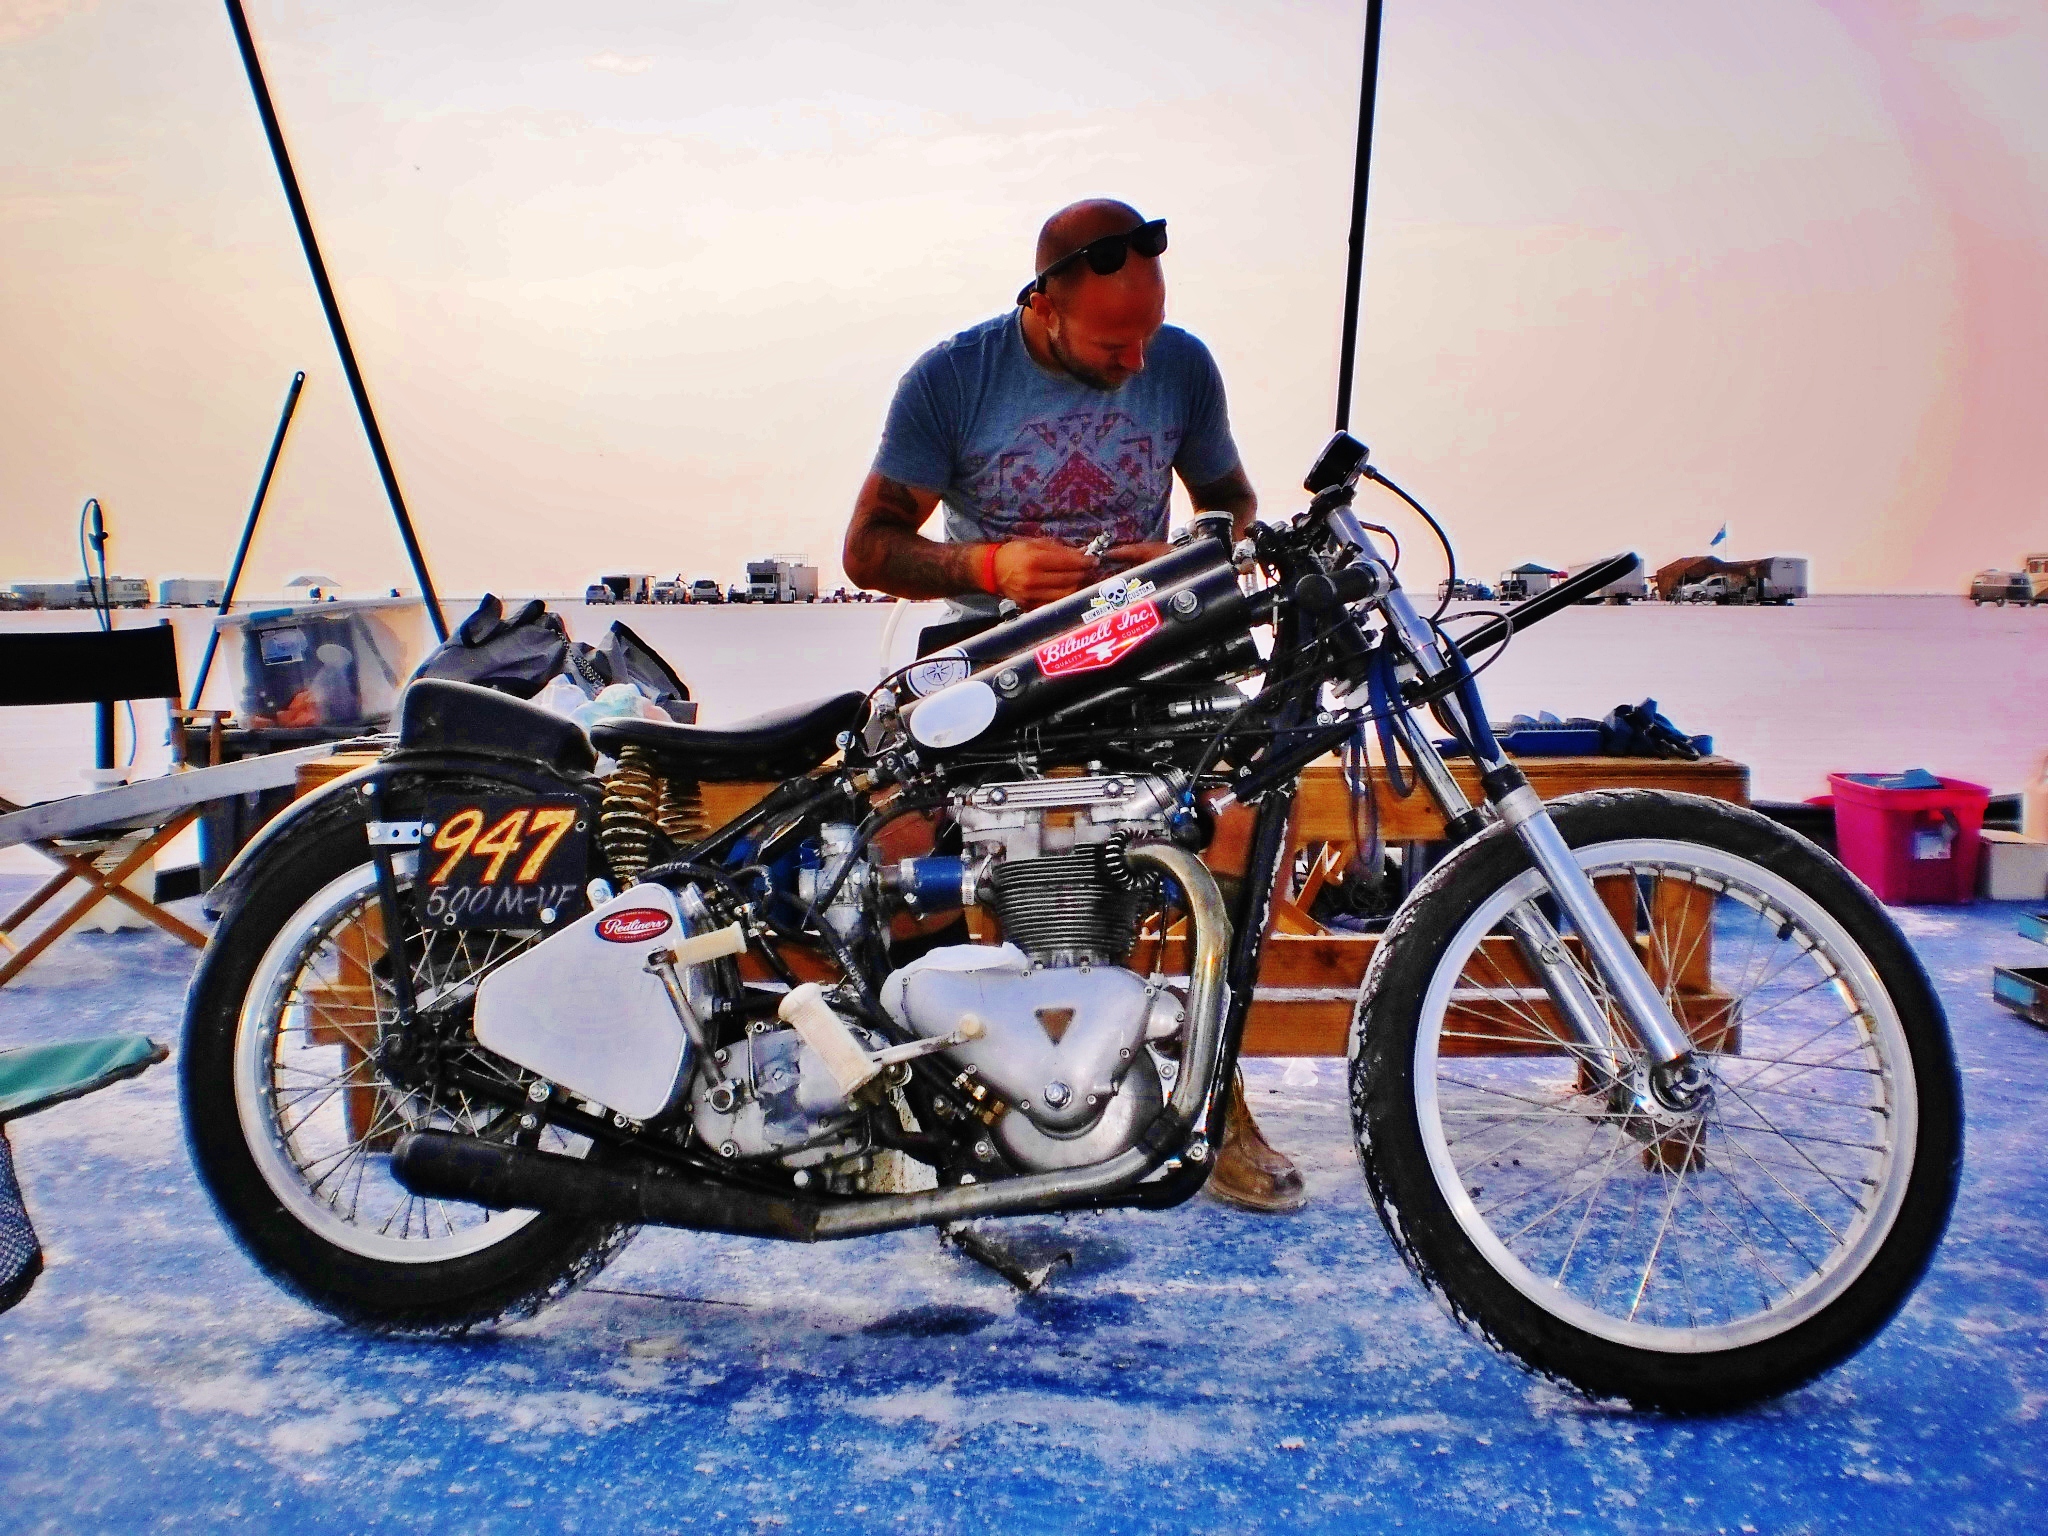
Back in Aug I had the pleasure of going out to Utah and working on the Four Aces Cycle pit crew. Wes is and his friends are a first class bunch of guys. I had never met any of them before and after one email exchange I felt like we were old friends when we met. Thanks for the good times guys. HERE is a link to my flicker slide show with 200 photos. Get the Salt Fever and see you there next year

all photo credits to Frank Zerkel

Convert-O-Bike Project (step 2)

After looking at the mess that was the head and steering parts I spent a day trying to figure out how to fix it. I really didn’t want to make a new stem or weld and reshape the existing one. Research into bearings (thanks, McMaster-Carr for having the best industrial supply business in the world) showed that no available ball bearings would fit the tight dimensions between the fork and frame head tube. I started thinking about how make up some bronze self-lubricating bushings instead. Couldn’t find any sizes that were plug-and-play so I made up a sandwich of two bronze bushings and a steel shim between them, pressed together concentrically. Worked great, if a little too much work for such a simple goal.

Once these bushings were made up, I counterbored one of them for a steel thrust washer so the fork crown (aluminum) wouldn’t get worn away over time. You can’t tell it’s even in there in the pictures. Clean.

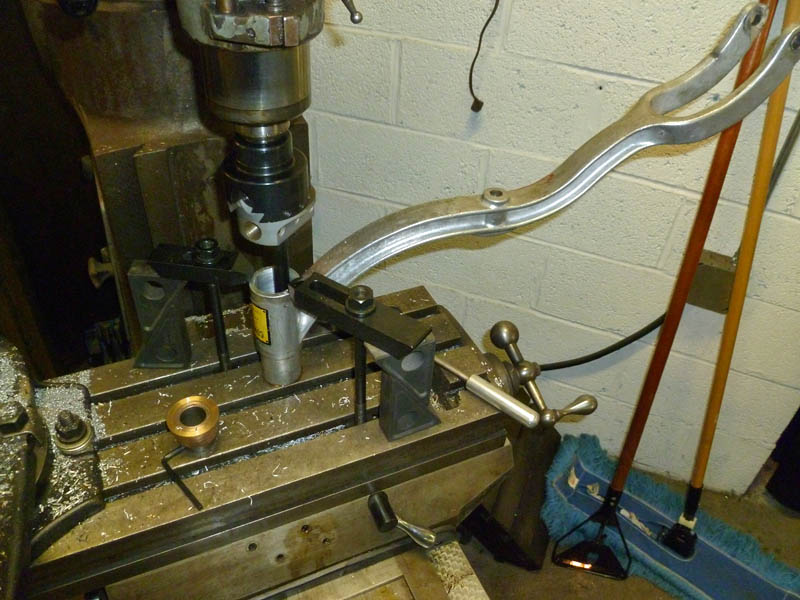
The head tube needed to be bored some for press fit of the bushings. Normally I’d have just turned the bushings down, but the frame had a big seam in the tube that would have prevented a proper fit. I mounted the trike frame to the milling machine table in kind of an oddball fashion, but it worked. I was too lazy to indicate the tube so just eyeballed the setup resulting in the bore being slightly eccentric with the original hole. Whatever. It’s a tricycle, not a track frame. It is silky smooth assembled with zero detectable play.

‘Til next time.

Jason

Frame mounted on the table for boring. Note the three-piece bronze bushing next to it.

Finished fit of fork in frame bushing.

The top collar needs to be machined down a little as the stack height has increased slightly. Easy enough.

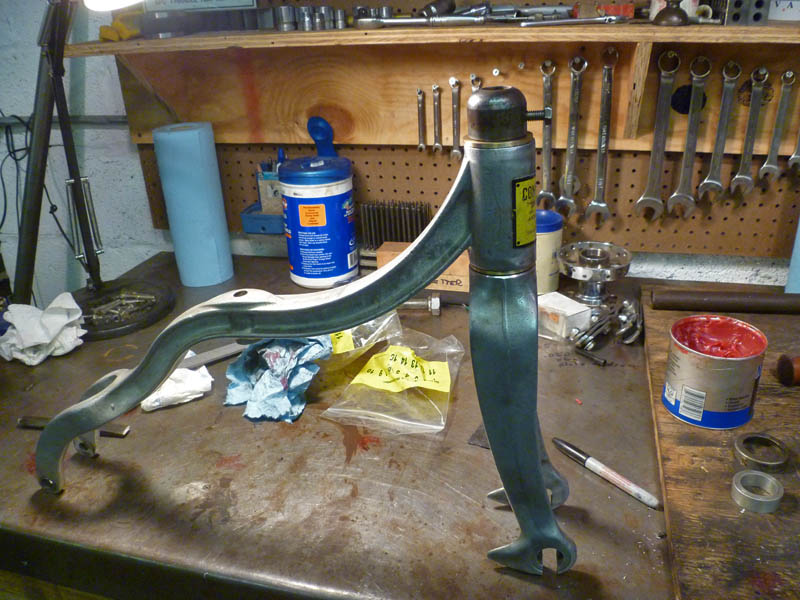
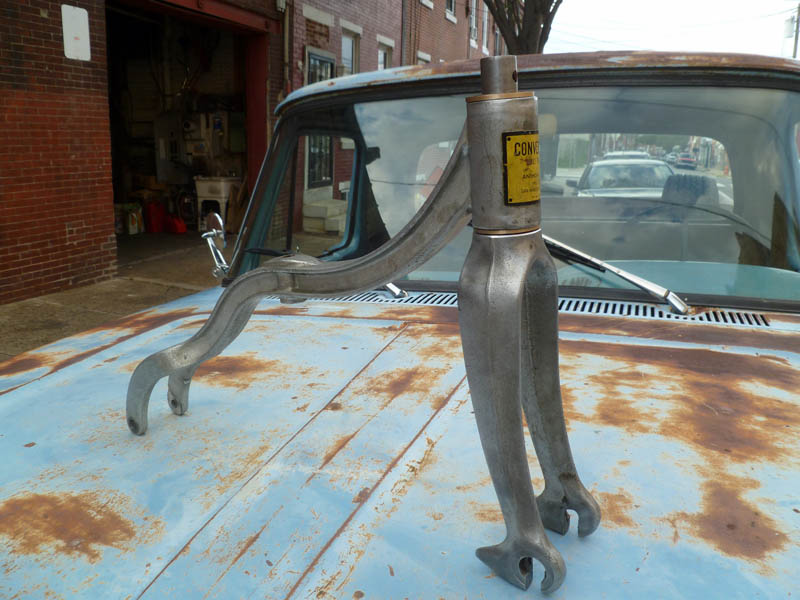
Finished frame and fork. Beautiful castings. Reminds me of the days I used to sweat high-dollar SE Racing framesets that lawn mowing money wouldn’t cover.

Previous installment . . .

Next installment . . .

Convert-O-Bike Project

It’s shop season again. Spent the summer moving to a new house and trying to squeeze in as many rides as possible. Now that things are cooling off, my mind is turning to interesting shop projects.

I found this tricycle for my two year old son Emmett about a month ago. He could not take his eyes off it. Once he climbed aboard, it was a real bear pulling him off. A week later I went back alone and bought it for him. I intend to rebuild it (it was pretty beat) for his upcoming second birthday in November. The shop wanted over $100 for it. I pointed out to him that almost every part of it was damaged beyond being functional. Every bearing was seized or rough, the head tube and fork had an inch of play as the bearings had long ago disappeared. The metal in metal areas was severely beat up and distorted. So I made the case that I am about the only customer that exists for this bike with both the desire and ability to fix it up and put it back into use. He could not argue with that logic and I ended up getting it for $70. After pricing bearings yesterday. . . I still overpaid. I don’t care, though.

The trike is an Anthony Brothers Convert-O-Bike. A little researched showed that they have been making them for over 50 years now. From a sticker on the underside of this one, it appears to be made in 1980, despite the ’50s design cues. If you look at the way the rear wheels attach, you’ll notice a forked connection on the main frame. This allows the rear axle to be replaced by a single wheel, converting the bike to a two-wheeler. Cool! The frame, wheels and most other parts are cast aluminum. Only the handlebars and seat post are steel. The grips are the only plastic on the whole bike. When I’m done with it, this bike will last for a hundred years and maybe my great grandkids will ride it.

I got down to the shop yesterday afternoon after going for a nice Fall motorcycle ride. It was a little tougher to get apart than I expected and damaged far more than I originally realized. It’s entirely disassembled, cleaned and inspected now. I have the various bearings on order. I still need to figure out how to bush/bearing the steering tube as the dimensions do not support the use of conventional ball bearings and I am unaware of how it was originally constructed. I think I’m going to make up some bronze bushings with thrust washers. We’ll see.

Pics of the break-down follow.

I can’t wait to see Emmett’s face when I give it to him.

Happy Fall,

Jason

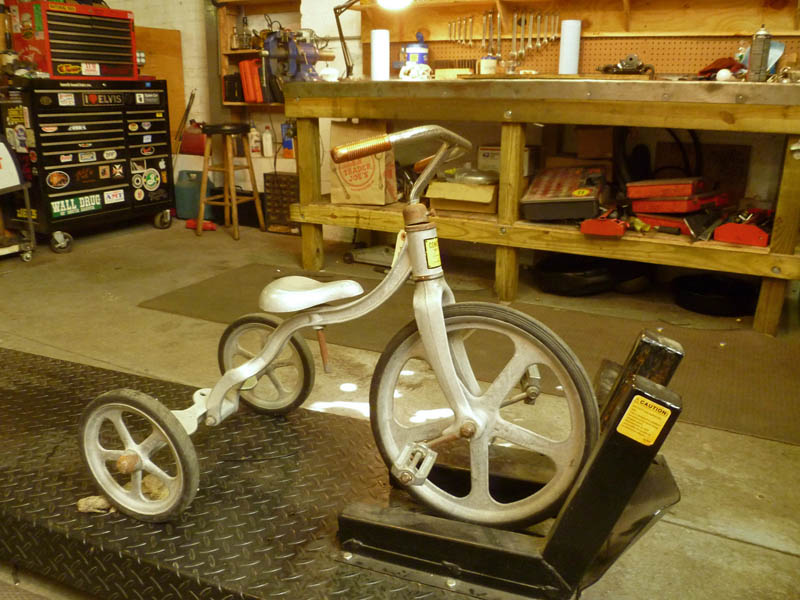
On the lift before dis-assembly.

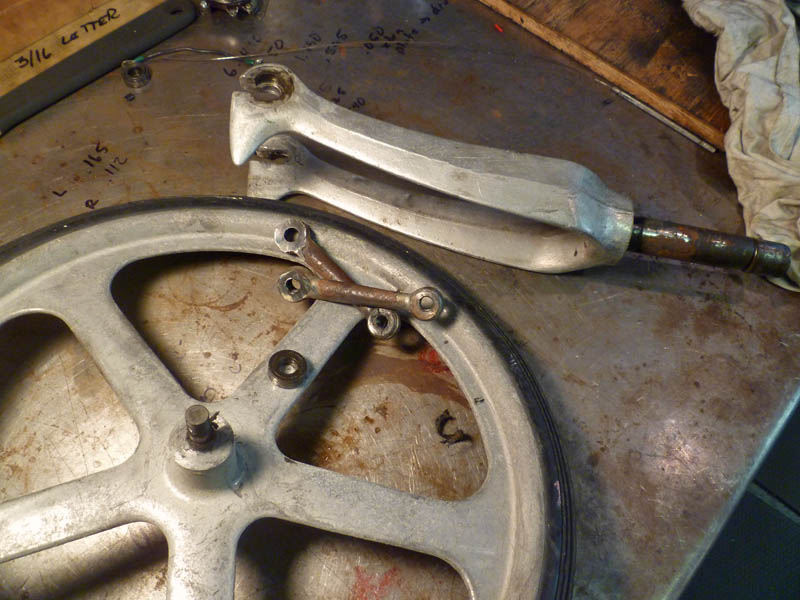
Front end parts. The cranks were screwed on and welded. They needed to be cut to be removed. I was careful to leave enough metal on the spindle and cranks for reuse.

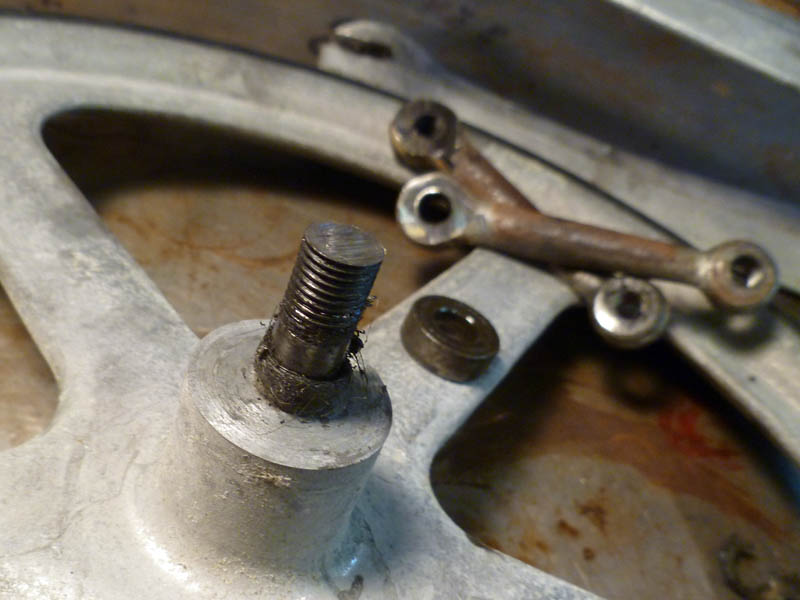
Close-up of front axle and cranks. The cranks are significantly bent and twisted. I’ll likely weld the ends to the edge of welding table and bend back straight.

Continue reading

Pure Bike Porn

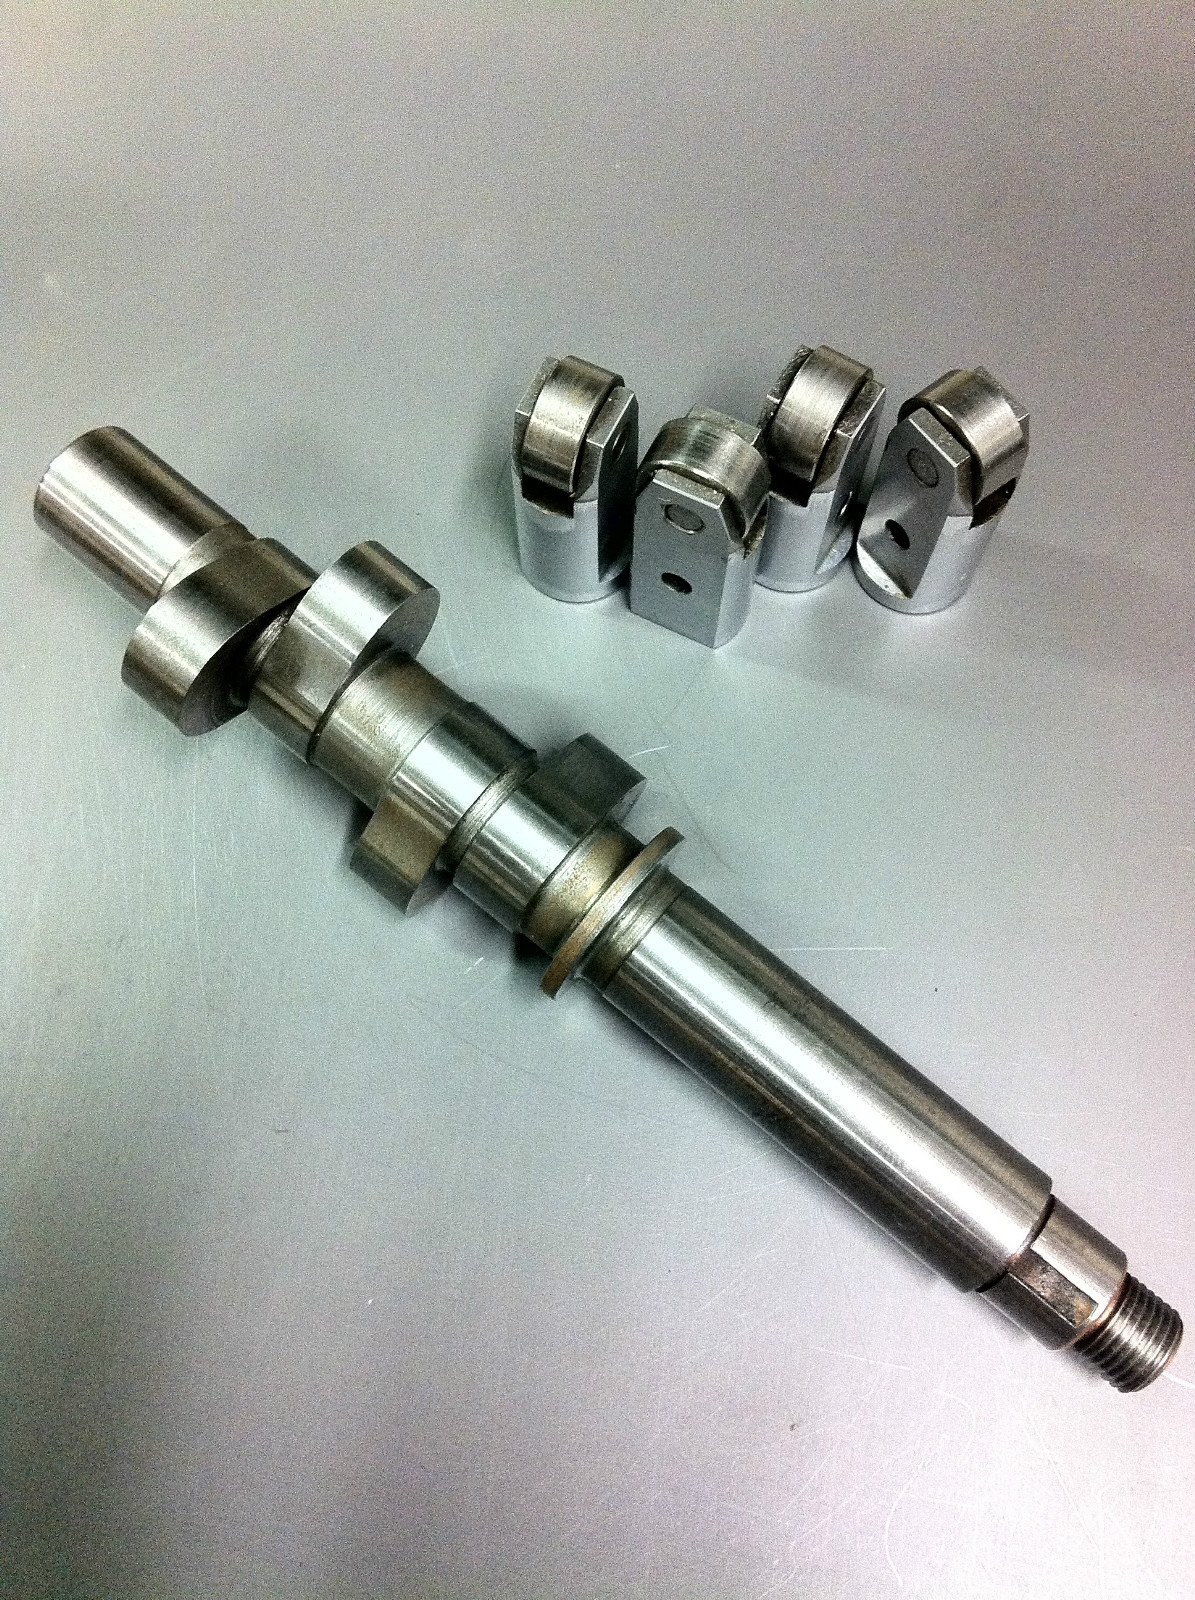
A friend of mine put me on with someone who was selling this super rare Harmon and Collins roller cam set up for an A7/10 BSA, and just coming back from the salt has me thinking of finishing up the LSR bike for next year. I have never seen one of these in person and only heard of them for triumph pre-unit nitro burning motors. Cant wait to put this thing together. Enjoy
-DAN

Hens Teeth

’59 Chevy HEI Conversion

Cars and trucks are a necessary evil. With that said, if you’ve gotta have one (and motorcycles were my sole transportation in life until a few years ago) you might as well have a cool one that can haul motorcycles if necessary. I’ve had a ’59 Chevy Apache for about five years now. It was pretty raw, but evolves slowly as I make incremental improvements. This latest round had me adding a vacuum advance and rebuilding the stock AC/Delco distributor to house a much more recent vintage HEI ignition. The idea and motivation came from Young Dan, who had done it to his ’59 Ford. Thanks Dan.

Per my usual approach, I did my best to hide these modifications and to use as many original or factory parts as possible. It’s not like you can’t tell it’s there, but I didn’t want some big honking red MSD box hanging off the motor either. Wouldn’t seem right. So about two weeks ago we were hanging around the shop and I dug in. Ripped the distributor out after marking some reference points and started taking things apart. Up until that point I had been running fixed timing as I’d previously welded the two timing clamp pieces together due to a shot advance can. A little surgical grinding and they were free again and ready for reuse.

Without getting too much into it, here’s a little background on what changes were made. You can lookup the benefits of vacuum advance elsewhere. The HEI controller is a contact-less pickup and coil controller (makes the coil fire the plugs at the right time) that costs about $20 at any auto parts store. Dime a dozen. Easy to replace. These means no more setting points, more stable ignition, smoother idle and no regular adjustments of any sort required.

Parts used were the stock Delco distributor, a new advance can, a Chrysler slant-six reluctor and pickup and an aftermarket HEI controller and heat sink. I think the whole project cost around $60.

It came out great. Starts right up and runs like a whole new truck. Details in the pictures.

Jason

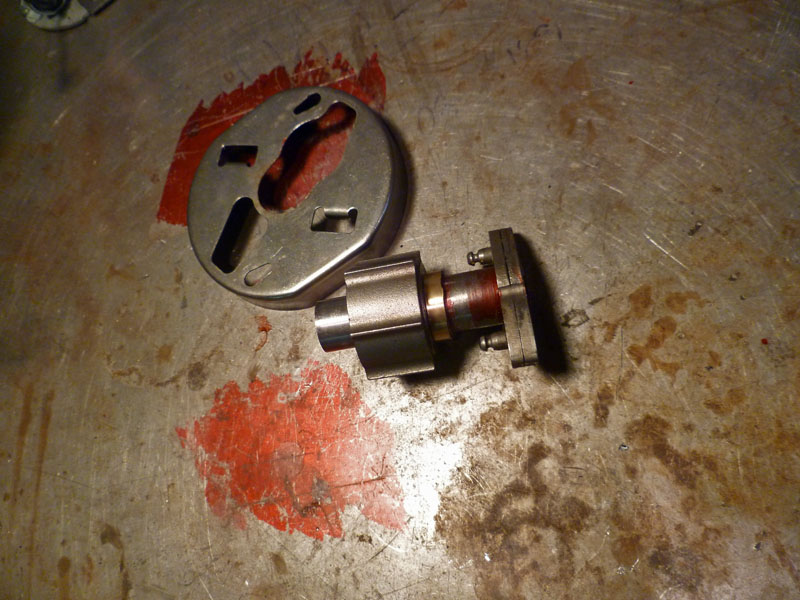
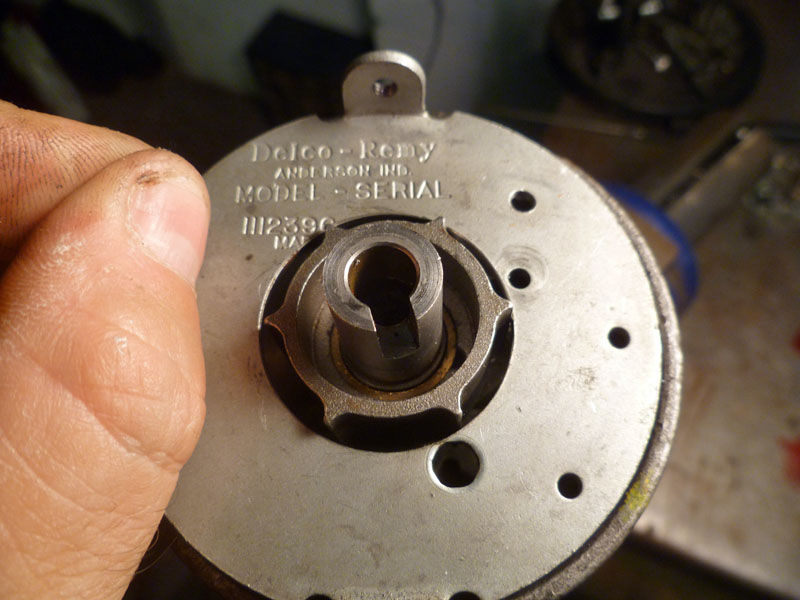
First step was to remove the point cam and grind/file it down as round as possible. Couldn’t use a cutter on the lathe as this part is hardened and precision ground. Once reasonably round, I made a somewhat thin brass bushing and pressed it over the eccentric area. The bushing deformed to some extent, which is what I wanted. Then I mounted the part in the lathe and turned the bushing perfectly round for an interference fit with the reluctor. Some people use epoxy to mount the reluctor, which might be perfectly functional, but you know I don’t glue things together in the shop! I was careful to mount the reluctor peaks where the old point cam peaks were for proper indexing.

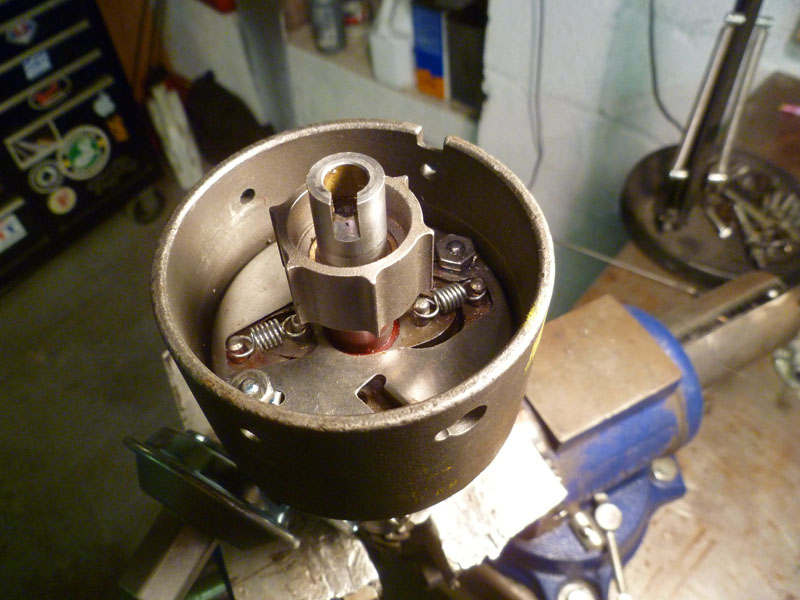
The newly modified reluctor carrier mounted in the distributor with the centrifugal advance weights rebuilt and checked. This particular weight set allows for 31deg of mechanical advance (actuated by increased rpm).

I had to machine the original points plate so that it would fit over the new reluctor while still allowing for mounting the reluctor pickup. One requirement of this project was that all internal parts still be serviceable. Some people (you know who you are) install the reluctor after the weights and plate are installed, leaving you with a permanent alteration and no way to service the weights in the future.

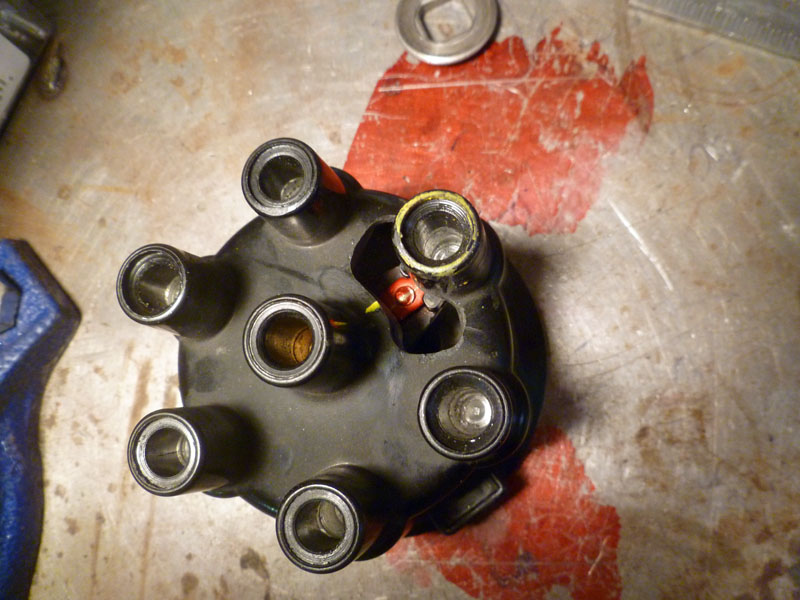
One of the challenges of this conversion was to index the contact rotor (which carries the secondary coil voltage to the appropriate spark plug wire post) properly so that it is adjacent to an internal terminal post when the coil fires. Seems it’d be tough to figure just where the rotor was while setting things up so I made an inspection cap with a hole hogged out (technical term) in it. This made things much easier. Note the scribed line on the rotor and reference marks in yellow on the cap. This allowed me to check rotor phasing while the motor was running with a timing light after all the other work was completed.

Continue reading

Soap Box Derby Racer

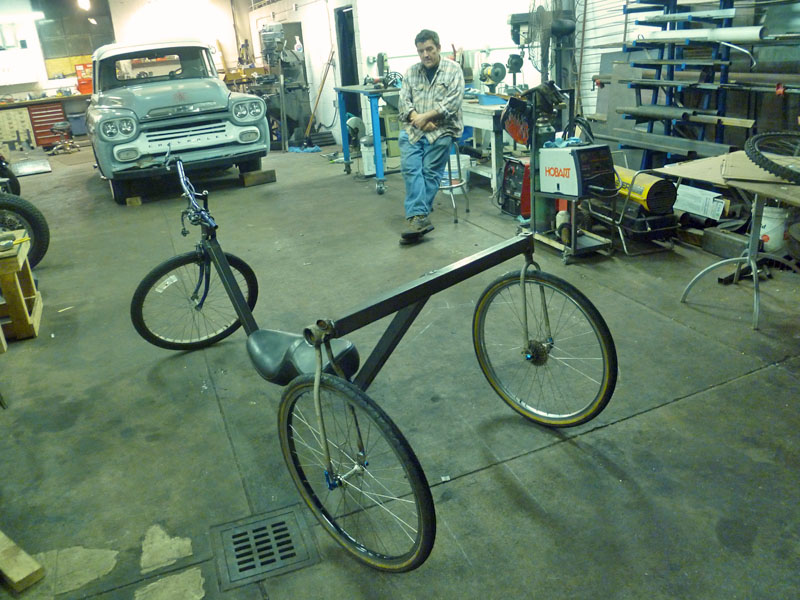
So if you’ve ever read this blog before or met any of us, you already know that if it has wheels, we dig it. Better still, we’d probably like to rebuild it, change it or even make it from scratch. Not that motorcycles ever get boring, but it’s nice to mix it up from time to time.

We’re having a father’s day soap box derby on our block this weekend so Casey and I decided we should put something together for it. We talked about it sporadically over the last few weeks but didn’t actually get anything done. Last week, when we intended to build it, we sat around the shop sidewalk drinking beer with our friends and neighbors all night rather than actually accomplish anything. This was apparently much needed as we’ve all been working our asses off at our jobs lately and just didn’t have it in us to exert any effort on a project.

This left us with four days remaining to come up with something, sketch it out and build it. We started Tuesday night and ended up staying until 2am. We didn’t want to leave until we had a rolling chassis. I think that was an important decision, otherwise it might never have gotten finished.

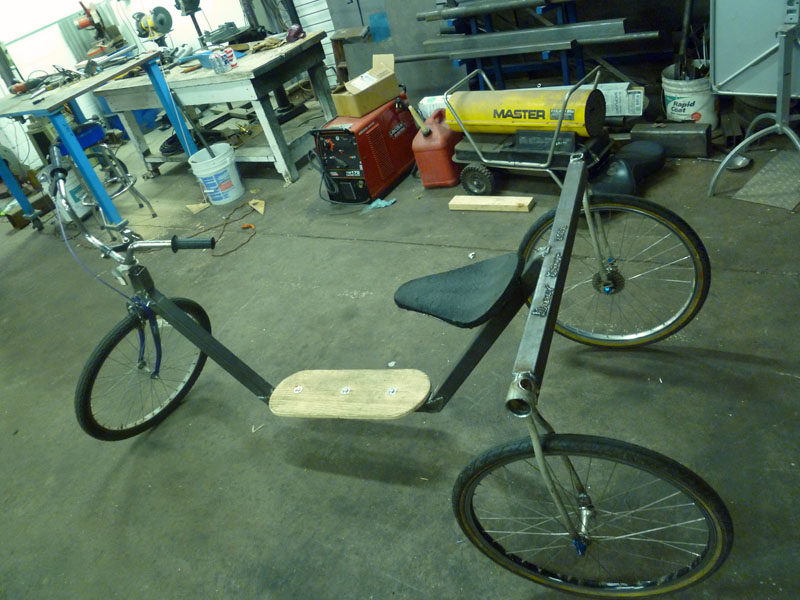
Our friend Al up the street donated an old beater bicycle to the cause and I snatched the wheels off my old Stump Jumper which hasn’t been ridden in years. Using a single length of square tube we had laying around, we created the entire frame. The bicycle was cut up to yield three forks: The original front fork, the rear seat stays serving as a pair and finally, the rear chain stays with the drop out tabs serving as a pair. We notched the square pipe after marking our angles, bent it upward into place and welded it shut. We flattened out the notches we removed to use as gussets on those joints.

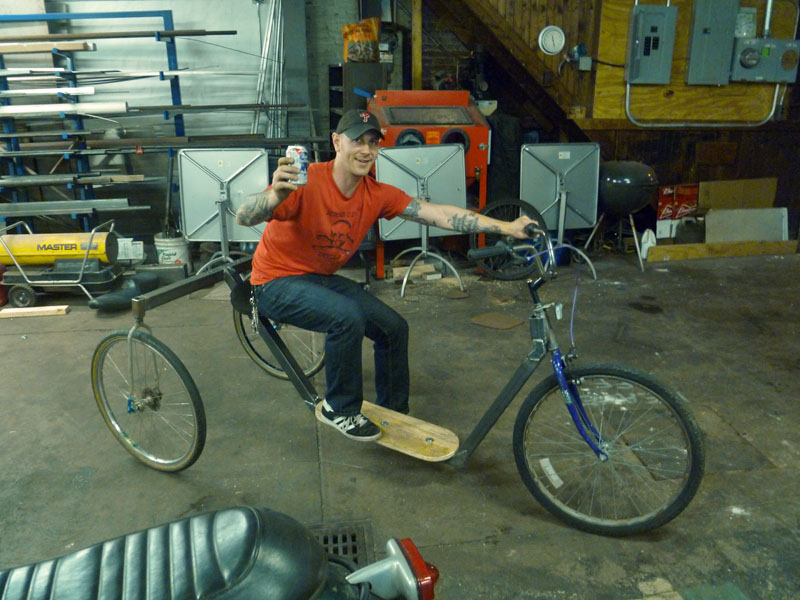
Last night we added handlebars, a deck, a brake and welded a cantilevered seat the rear section so that two people could ride it. As this race is for neighborhood kids, we set it up so kids could sit on the deck with the adult on the seat doing the steering and braking. Not shown is a foot rest/wheel guard on the front to keep small feet out of the front tire.

We had a great time making this together and look forward to running it this Sunday.

Jason

Finished product, less the foot rest we added at the very end.

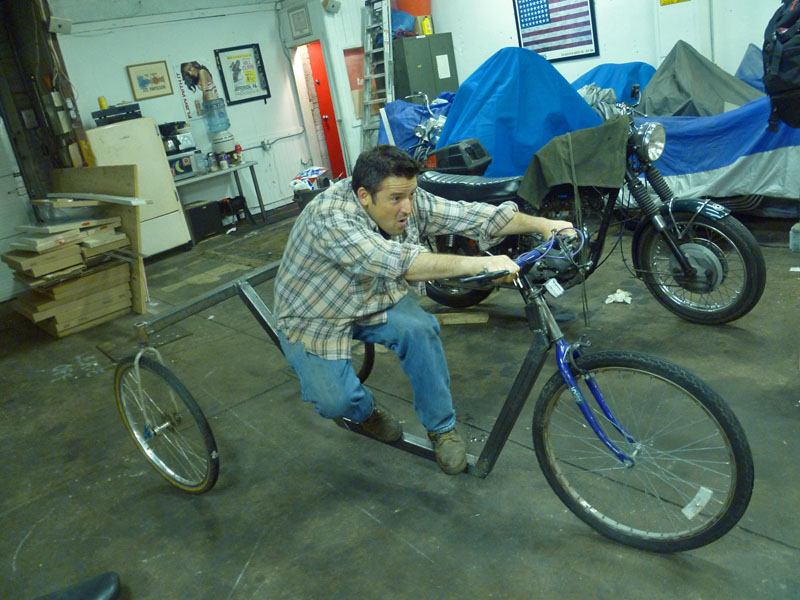
Casey doing his best speed pose on the rolling chassis.

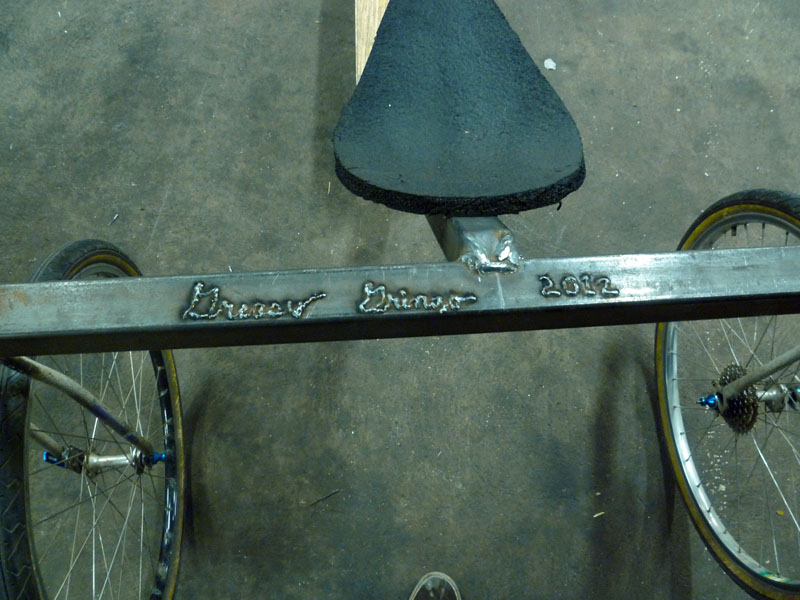
Gotta sign your work, right?

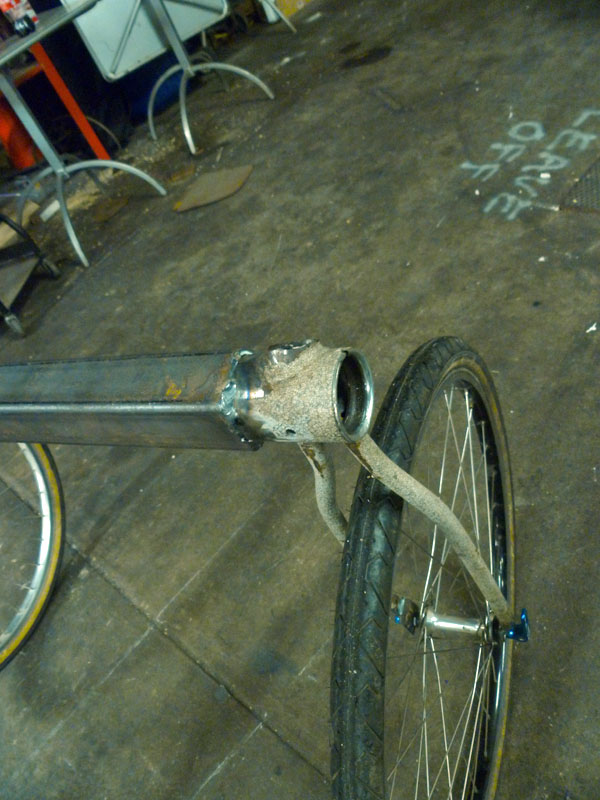
Bottom bracket and chain stays now serve as rear fork.

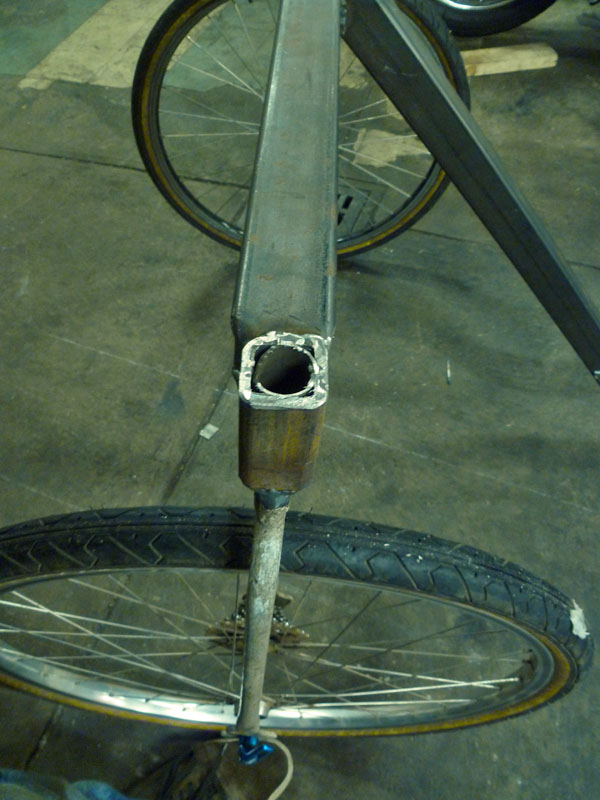
Seat stays serving as other rear fork. A little "smash & weld" going on to make it fit.

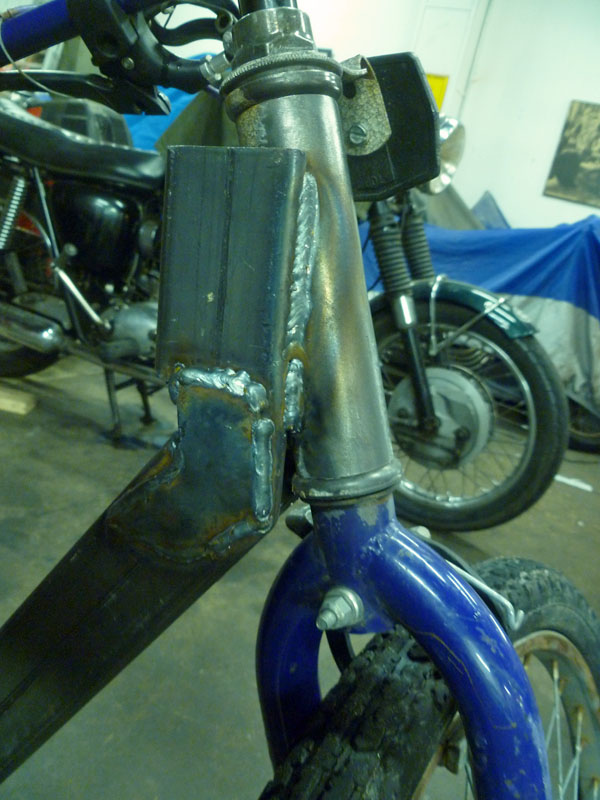
Frankenstein neck tube. Strong like bull!

Rolling chassis at the end of the first night. Still figuring out seating arrangement.

Wes on the finished cart. He hooked us up with handlebars and grips last night in addition to helping a bunch.

Weekend Ride to West Virginia

Happy Dan, Young Dan, VSL and I set off for a weekend trip down to western MD and WV on Saturday morning to meet with with Mitch (Kik) and head to his friend PeeWee’s for a party.

Despite it having rained all night and morning before, it cleared up beautifully for our 8a departure.

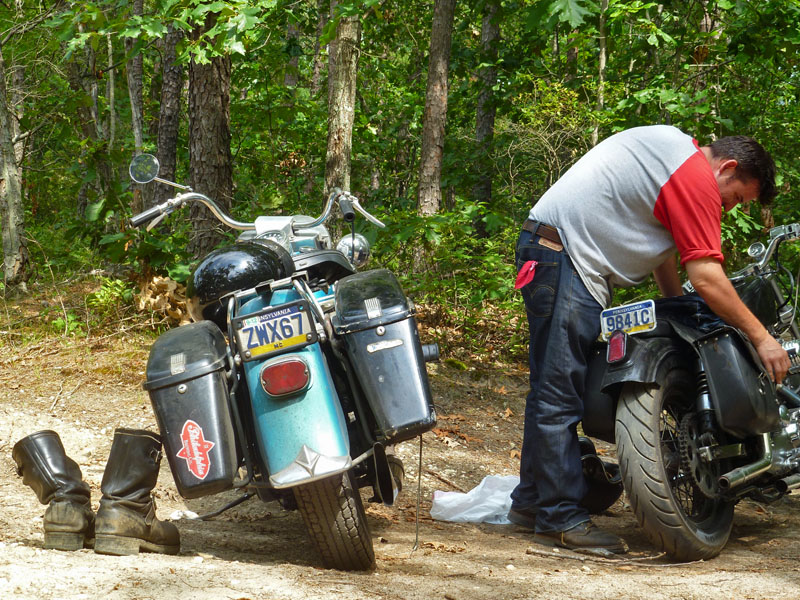
We were riding along through farm roads of southern PA smiling our asses off, feeling lucky to have gotten these two days together when suddenly we note the absence of Vinny. He’s prone to daydreaming, wandering or just plain doing his own thing so we figured it the usual and he’d be along shortly. He wasn’t. After rebuilding his ignition timer (’49 pan) and checking valves and compression, we got it started but something sounded a little off. Then his oil light came on. Uh oh.

Wrecked timing case gears. A big old mess. He had just paid someone a pile of $$$ to build his lower end.

We sat around for five hours waiting for a fetch from Philly. Vinny took it as well as could be expected but we could tell he was pretty sad. Young Dan and I set off to pickup some hoagies and beer for lunch while we were waiting. Twenty miles later we had the sandwiches strapped onto Dan’s bike and a half-case of beer in my saddlebags. Little consolation for Vinny, but at least we didn’t have to sit around hungry in the middle of nowhere while we waited. Oh, did I mention it was a stunningly beautiful day? It was. We were itching to get going, but not willing to leave one of our own behind.

After Vinny and his bike were safely in a truck with his friends, we got back on our way and made it to PeeWee’s just as the party was wrapping up (ring a bell?). Nothing left but drunks, crazies and a bunch of people who, to our best estimation, were under the influence of LSD or similar. It seemed that way, at least. We had fun fucking with them (good naturedly) and making new friends.

There were SICK old bikes all over that place. Pics below.

Mitch and Timmy, our hosts, made sure we had all the cold beer we could stomach and all the food we cared to eat. We even had a late night Waffle House stop for good measure before checking into the Day’s Inn. We’re out of practice with this stuff and are not much for sleeping on the ground lately.

Plus, we wanted to get up at 6am and head to WV and catch up on some lost riding time. Mitch and Timmy looked upon us with suspicion when we told them we were getting up at 6 to go riding. They were even more surprised when we woke them up the next morning ready to go, and good for our word.

I think they had some business to attend to that day and saw us off.

We spent the morning rolling through the Catoctin mountains just west of Frederick and even hit some goat paths with stone washes and spring water running across the road and even a few critters. Hit a small town for breakfast and then decided to head over to West Virgia for lunch and to dip our feet in the hot spring there.

Then we hot-rodded it home on the highway for four solid hours.

It was a nice weekend, if too short. We rode somewhere around 550 miles.

‘Til next time.

Thanks Mitch and Timmy and PeeWee.

Sorry, VSL. We’ll have you back up in no time.

Jason

Angry Dan, Mitch and Young Dan having a sunset beer

Beautiful red knuck at PeeWee's


Continue reading