Convert-O-Bike Project (Final)

Time keeps moving and I found myself a day away from Emmett’s birthday, needing to get down the shop to finish up. Still had the rear fork/axle to figure out, all the wheel bearings, the crank assembly, and finally, some cleaning up and polishing to do.

Got down there around 3p on Saturday, put some good music on and grabbed a big mug of coffee. I had a great time, which is what this is supposed to be all about. I was done by seven. Megan thought for certain that I’d be my usual maniacally obsessed self and get home at three in the morning. Sorry to disappoint.

Emmett loves it! I may have created a monster. He said nothing other than “Bike! Bike! BIke!” all morning after we gave it to him. His legs are about two inches too short to fully engage the pedals, but it’ll be no time at all until it fist him perfectly. He demanded that I push him all around the house while he steered, which I was happy to do.

Details of the build are in the pics as always. This was a fun one. Thanks for joining me.

Jason
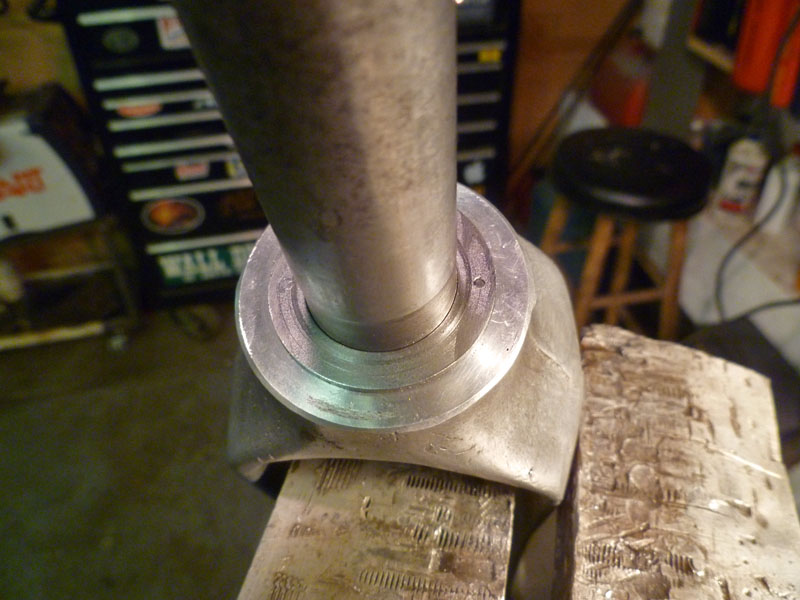
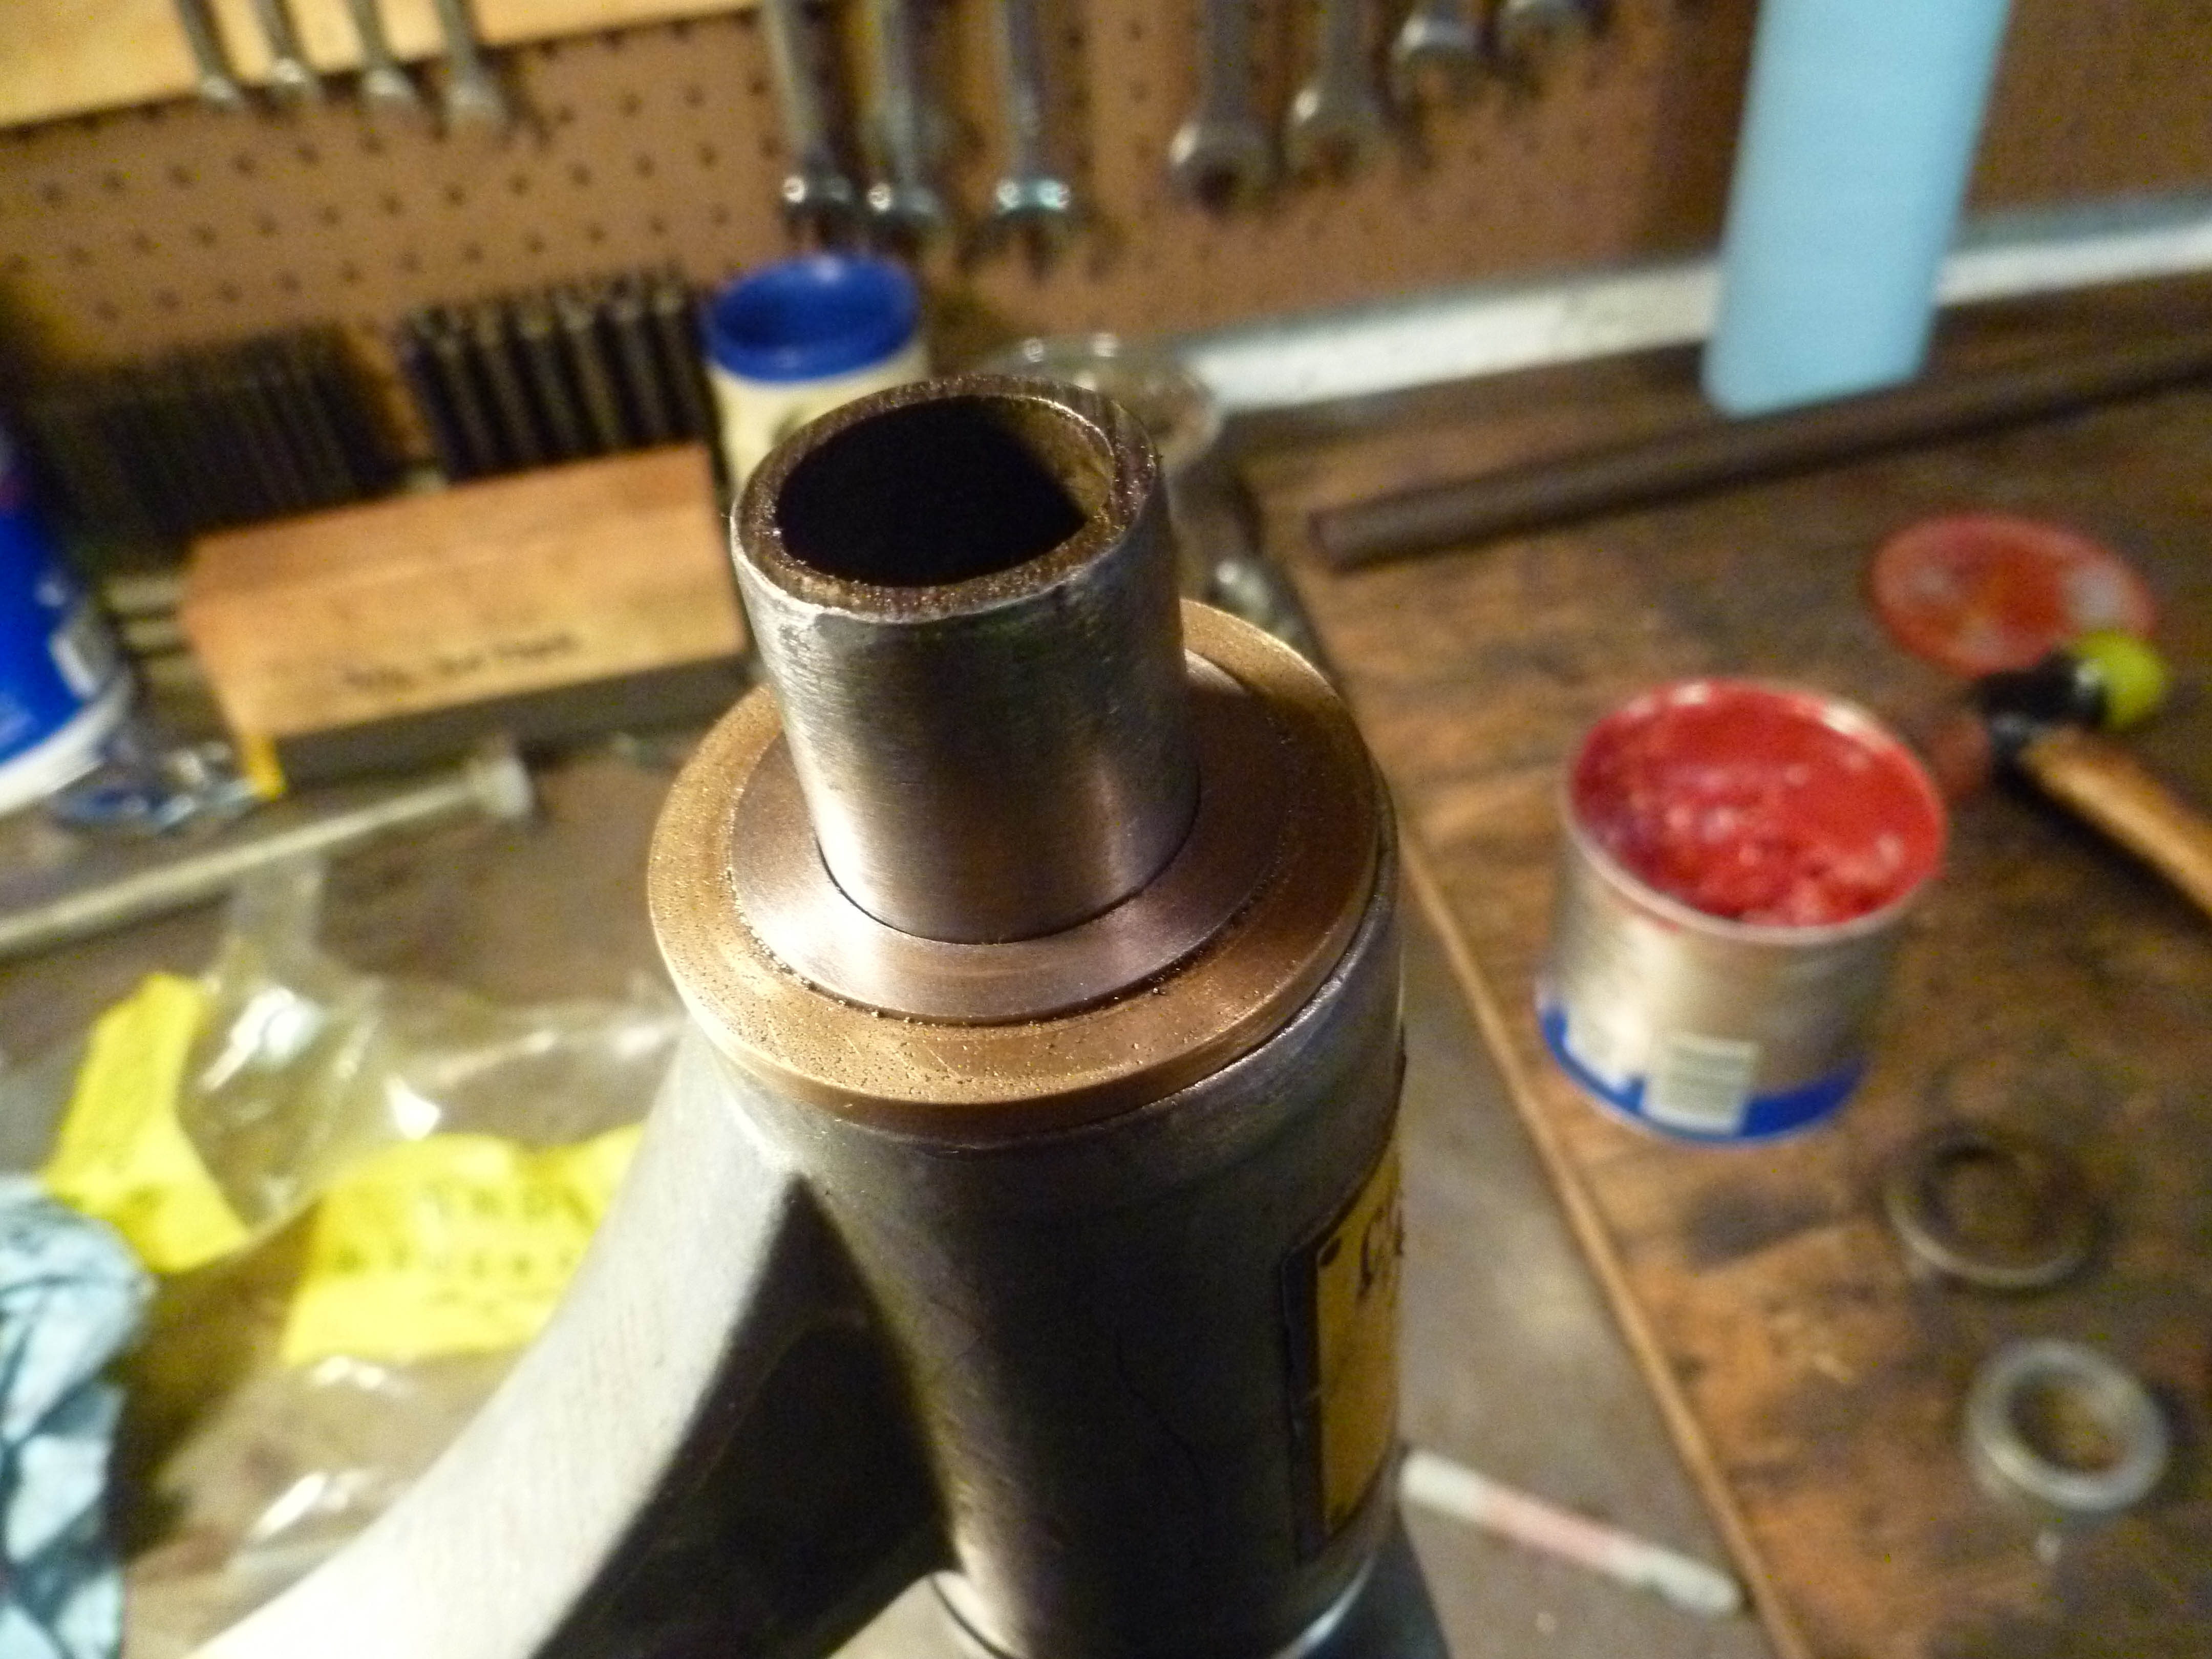
I embedded a hardened steel thrust bearing into a counter-bore in the bronze bearing between the fork and head tube so the original material would not get worn away. Here you can see it pinned in place so it doesn’t rotate against the aluminum shoulder.
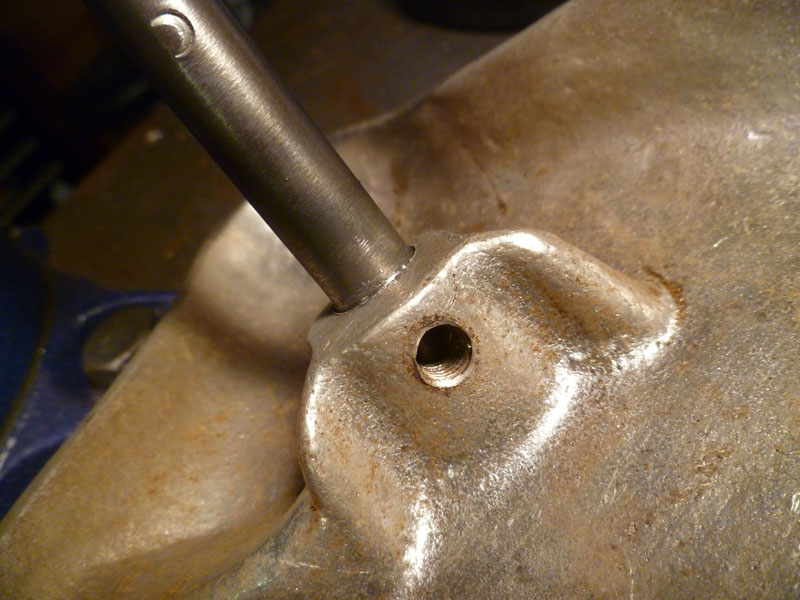
The seat post fit in the seat was hammered, leaving the seat wobbly and about to fall off. I built up the post with welding rod and turned it back down to a large enough diameter to press fit into the seat. The set screw remains although is now basically only for decoration.
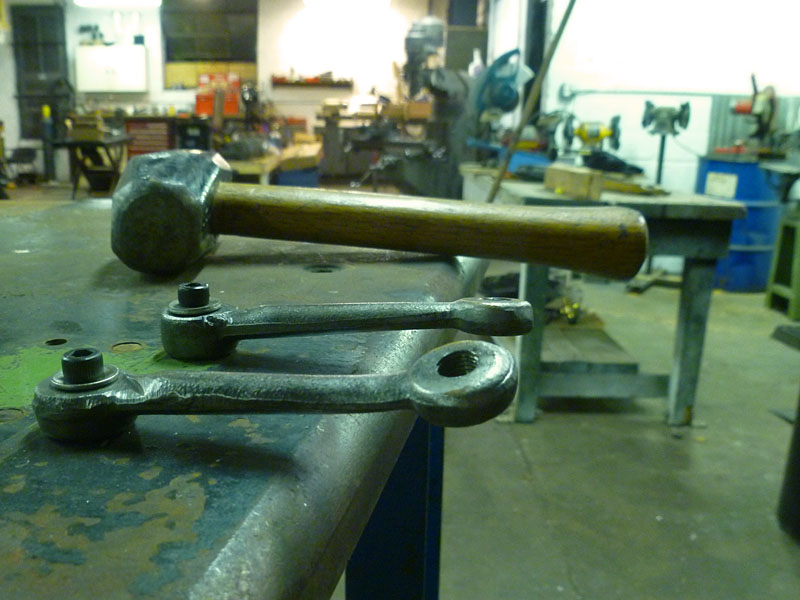
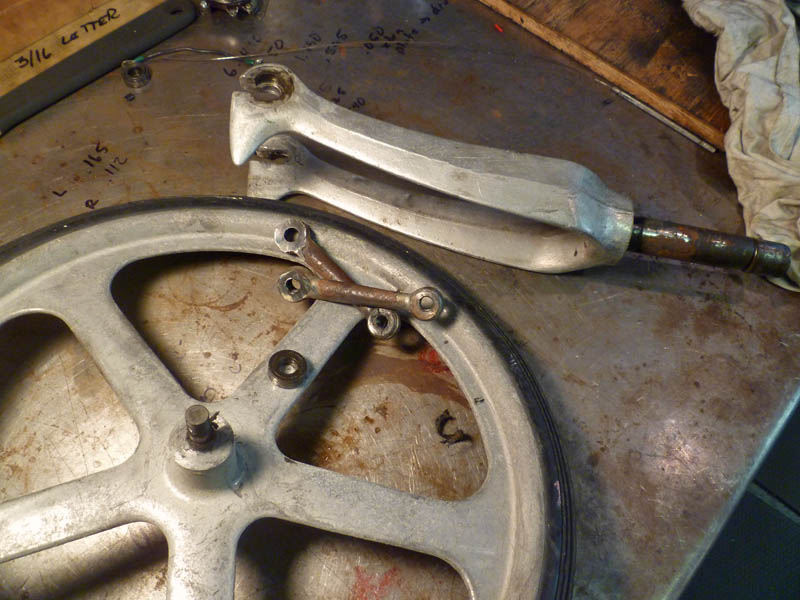
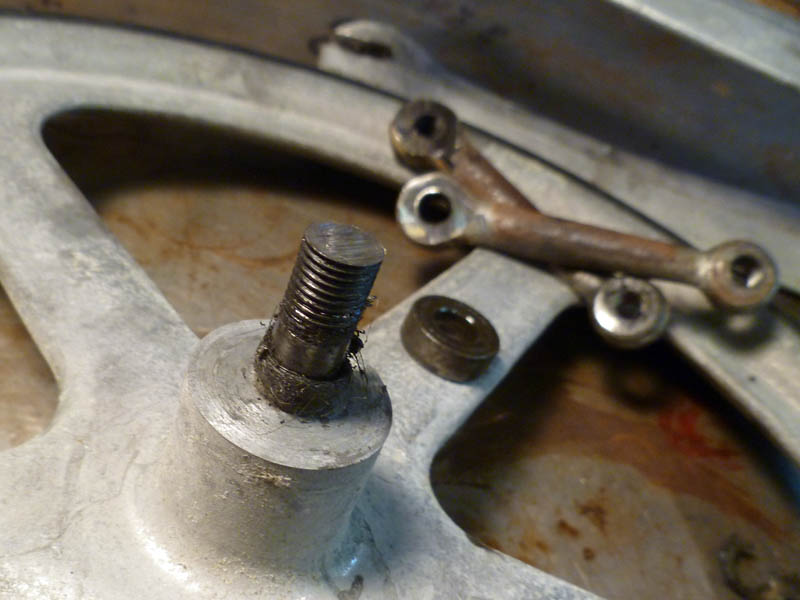
By this point, I was pretty certain this tricycle had been backed over by a car in someone’s garage. The cranks were twisted and bent pretty severely. Luckily we have a heavy duty jig/welding table in the shop. Bolted the cranks to the table next to each other so I could straighten them out with heat and a large pipe.

Continue reading

Convert-O-Bike Project (step 2)

After looking at the mess that was the head and steering parts I spent a day trying to figure out how to fix it. I really didn’t want to make a new stem or weld and reshape the existing one. Research into bearings (thanks, McMaster-Carr for having the best industrial supply business in the world) showed that no available ball bearings would fit the tight dimensions between the fork and frame head tube. I started thinking about how make up some bronze self-lubricating bushings instead. Couldn’t find any sizes that were plug-and-play so I made up a sandwich of two bronze bushings and a steel shim between them, pressed together concentrically. Worked great, if a little too much work for such a simple goal.

Once these bushings were made up, I counterbored one of them for a steel thrust washer so the fork crown (aluminum) wouldn’t get worn away over time. You can’t tell it’s even in there in the pictures. Clean.

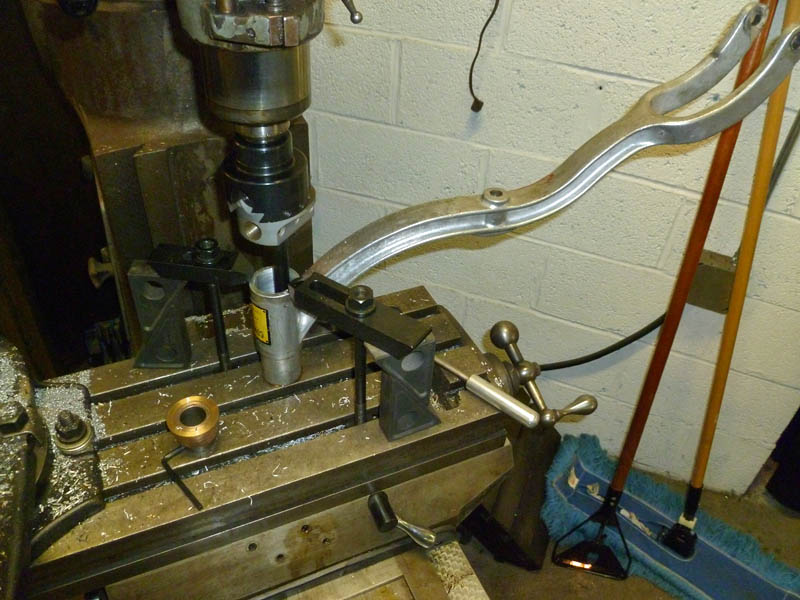
The head tube needed to be bored some for press fit of the bushings. Normally I’d have just turned the bushings down, but the frame had a big seam in the tube that would have prevented a proper fit. I mounted the trike frame to the milling machine table in kind of an oddball fashion, but it worked. I was too lazy to indicate the tube so just eyeballed the setup resulting in the bore being slightly eccentric with the original hole. Whatever. It’s a tricycle, not a track frame. It is silky smooth assembled with zero detectable play.

‘Til next time.

Jason

Frame mounted on the table for boring. Note the three-piece bronze bushing next to it.

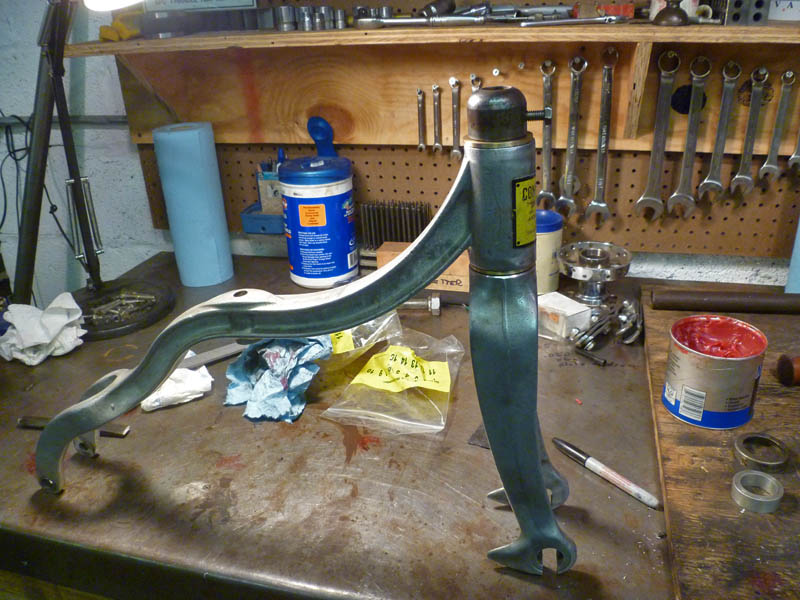
Finished fit of fork in frame bushing.

The top collar needs to be machined down a little as the stack height has increased slightly. Easy enough.

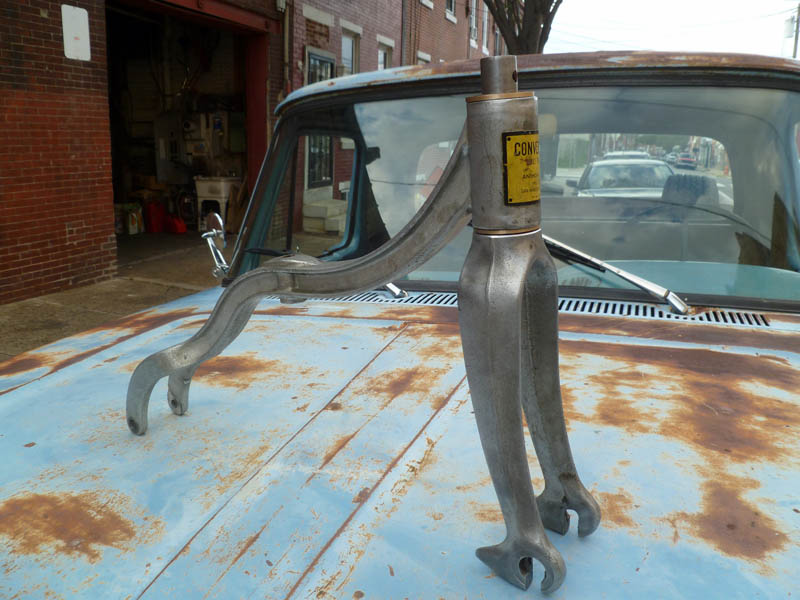
Finished frame and fork. Beautiful castings. Reminds me of the days I used to sweat high-dollar SE Racing framesets that lawn mowing money wouldn’t cover.

Previous installment . . .

Next installment . . .

Convert-O-Bike Project

It’s shop season again. Spent the summer moving to a new house and trying to squeeze in as many rides as possible. Now that things are cooling off, my mind is turning to interesting shop projects.

I found this tricycle for my two year old son Emmett about a month ago. He could not take his eyes off it. Once he climbed aboard, it was a real bear pulling him off. A week later I went back alone and bought it for him. I intend to rebuild it (it was pretty beat) for his upcoming second birthday in November. The shop wanted over $100 for it. I pointed out to him that almost every part of it was damaged beyond being functional. Every bearing was seized or rough, the head tube and fork had an inch of play as the bearings had long ago disappeared. The metal in metal areas was severely beat up and distorted. So I made the case that I am about the only customer that exists for this bike with both the desire and ability to fix it up and put it back into use. He could not argue with that logic and I ended up getting it for $70. After pricing bearings yesterday. . . I still overpaid. I don’t care, though.

The trike is an Anthony Brothers Convert-O-Bike. A little researched showed that they have been making them for over 50 years now. From a sticker on the underside of this one, it appears to be made in 1980, despite the ’50s design cues. If you look at the way the rear wheels attach, you’ll notice a forked connection on the main frame. This allows the rear axle to be replaced by a single wheel, converting the bike to a two-wheeler. Cool! The frame, wheels and most other parts are cast aluminum. Only the handlebars and seat post are steel. The grips are the only plastic on the whole bike. When I’m done with it, this bike will last for a hundred years and maybe my great grandkids will ride it.

I got down to the shop yesterday afternoon after going for a nice Fall motorcycle ride. It was a little tougher to get apart than I expected and damaged far more than I originally realized. It’s entirely disassembled, cleaned and inspected now. I have the various bearings on order. I still need to figure out how to bush/bearing the steering tube as the dimensions do not support the use of conventional ball bearings and I am unaware of how it was originally constructed. I think I’m going to make up some bronze bushings with thrust washers. We’ll see.

Pics of the break-down follow.

I can’t wait to see Emmett’s face when I give it to him.

Happy Fall,

Jason

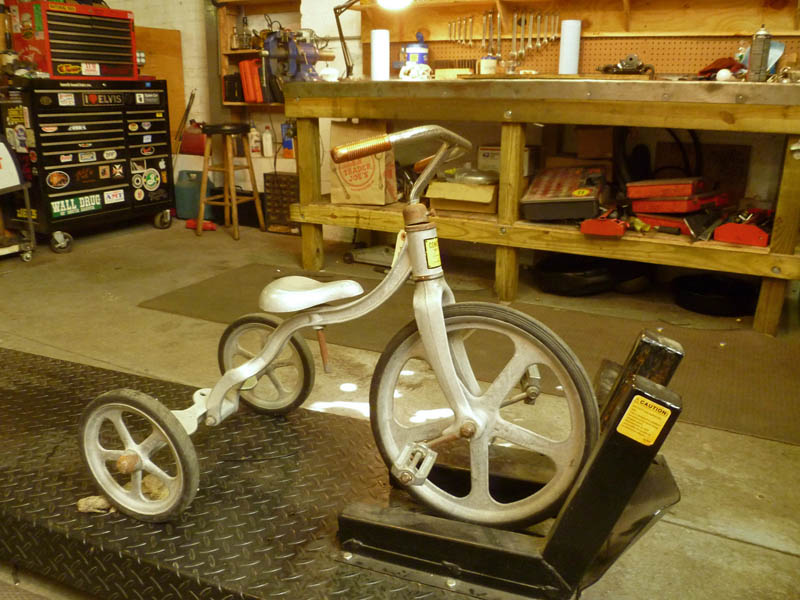
On the lift before dis-assembly.

Front end parts. The cranks were screwed on and welded. They needed to be cut to be removed. I was careful to leave enough metal on the spindle and cranks for reuse.

Close-up of front axle and cranks. The cranks are significantly bent and twisted. I’ll likely weld the ends to the edge of welding table and bend back straight.

Continue reading