Found myself with a free afternoon in the shop today and put some more time in on the Suzuki 4LS hub to Norton Roadholder fork conversion. After pulling all the parts out of the kerosene tank from soaking all week, I started to fix up the fork legs.
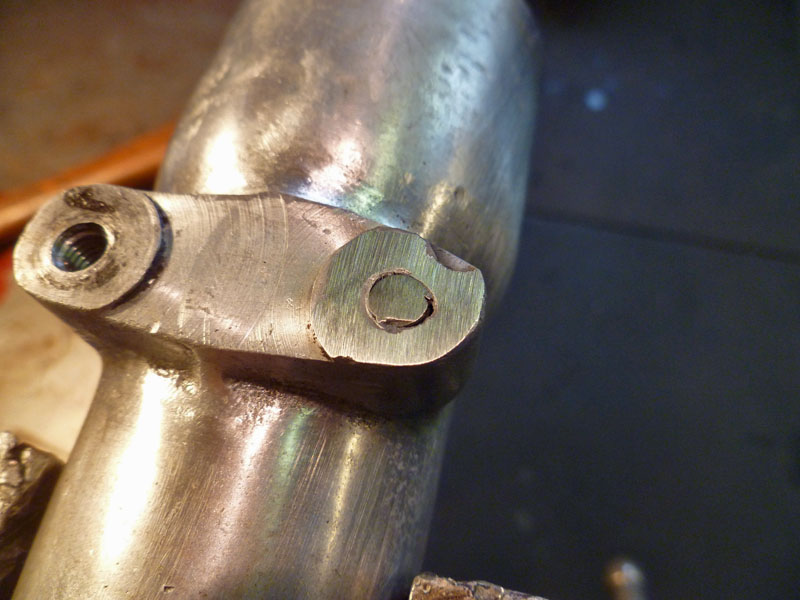
The one leg had a broken off stud in the fender mount boss that looked like it’d been there for a while. Rusted in pretty good and a nice jagged break indicating it took a lot of force to snap. Usually that means it’s stuck pretty good. The other leg had a brake stop boss that needed to come off. Got both done today but I’ll save the latter for another article. As the new setup will use these fender mount bosses as brake stay mounts, I thought setting them up for a larger stud (1/4″ – 20) and installing steel thread inserts would be wise.
This article will show you how to remove a broken fastener from a blind hole using what is commonly known as an “EZ-Out” or screw extractor. It will also show how to properly install a helical thread repair insert, or Heli-Coil which is the primary manufacturer of these style inserts. I used a milling machine to do the drilling and tapping for the thread repair, but this certainly isn’t necessary. Since I have one, I’m gonna use it where it helps me. You could just as easily do it with a hand drill in a vice (with a little care) or better yet, in a drill press. Drilling and tapping in a fixed setup like a drill press or milling machine ensures the holes are drilled square and the tap starts correctly.
I’ve heard plenty of people say that helical insert thread repairs are no good or don’t last. Bullshit. When installed correctly (I suspect many that say they don’t work are ham-fisters) they will be stronger and last longer than the original threads. Many manufacturing applications use them as standard equipment, not just for repairs but for new products.
There are sleeve style inserts for thread repairs too. They have strengths and weaknesses just like helical inserts. Some fixes may lend themselves to one or the other, but that’s a subject for another day. Both will perform beyond adequately when installed with care.
I had a great day listening to old blues and gospel music with the early spring sun shining in my workshop window. Just me and an interesting project. Hope you find this helpful.
Jason

The first step is to grind or file down the broken screw so you have a nice flat surface to start with. Be careful not to gouge up the surrounding area too much. After it's ground flat, you can center punch the broken screw so the drill will not skip off.

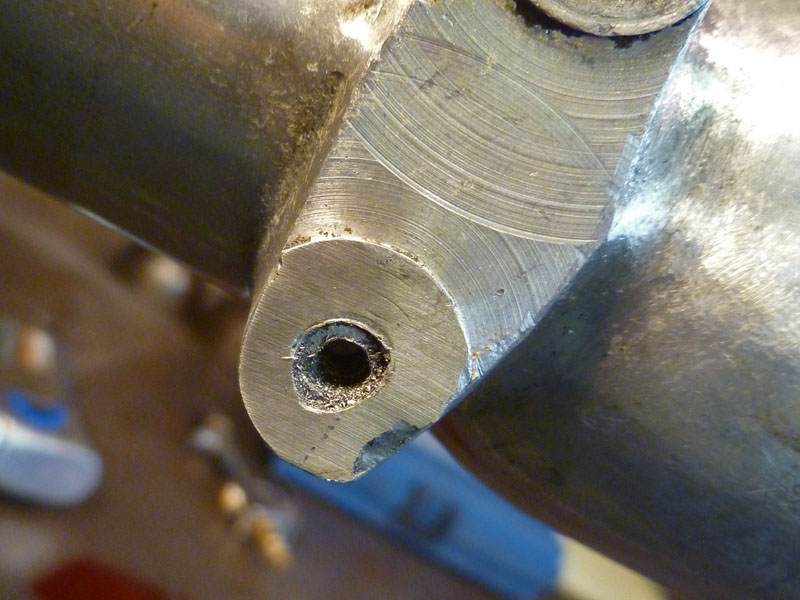
Carefully drill a hole in the center of the broken screw. The largest hole you can drill without going into the surrounding material is best. This serves two purposes: 1) Allows use of a larger screw extractor that can take more force 2) Thins the screw you're attempting to remove, exerting less force on the hole in which it's stuck.

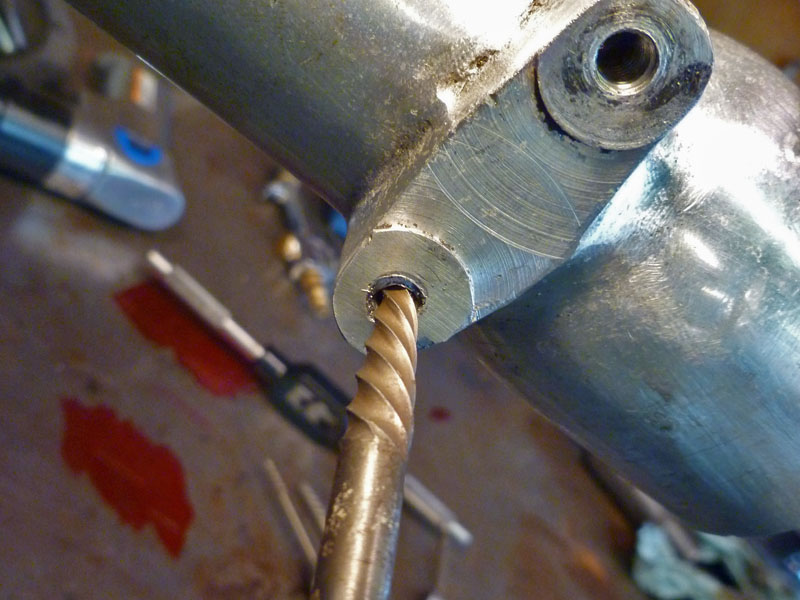
After choosing the extractor that fits the hole you just drilled, place it in the hole and smack it forcefully with a hammer so that it bites into the screw. Be careful not to shift the extractor or put any lateral force on it after you've "set" it into the screw. You can see in the picture how the sharp edges on the extractor bite into the screw and are twisted counter-clockwise such that it grips better as it is turned outward.
Continue reading
